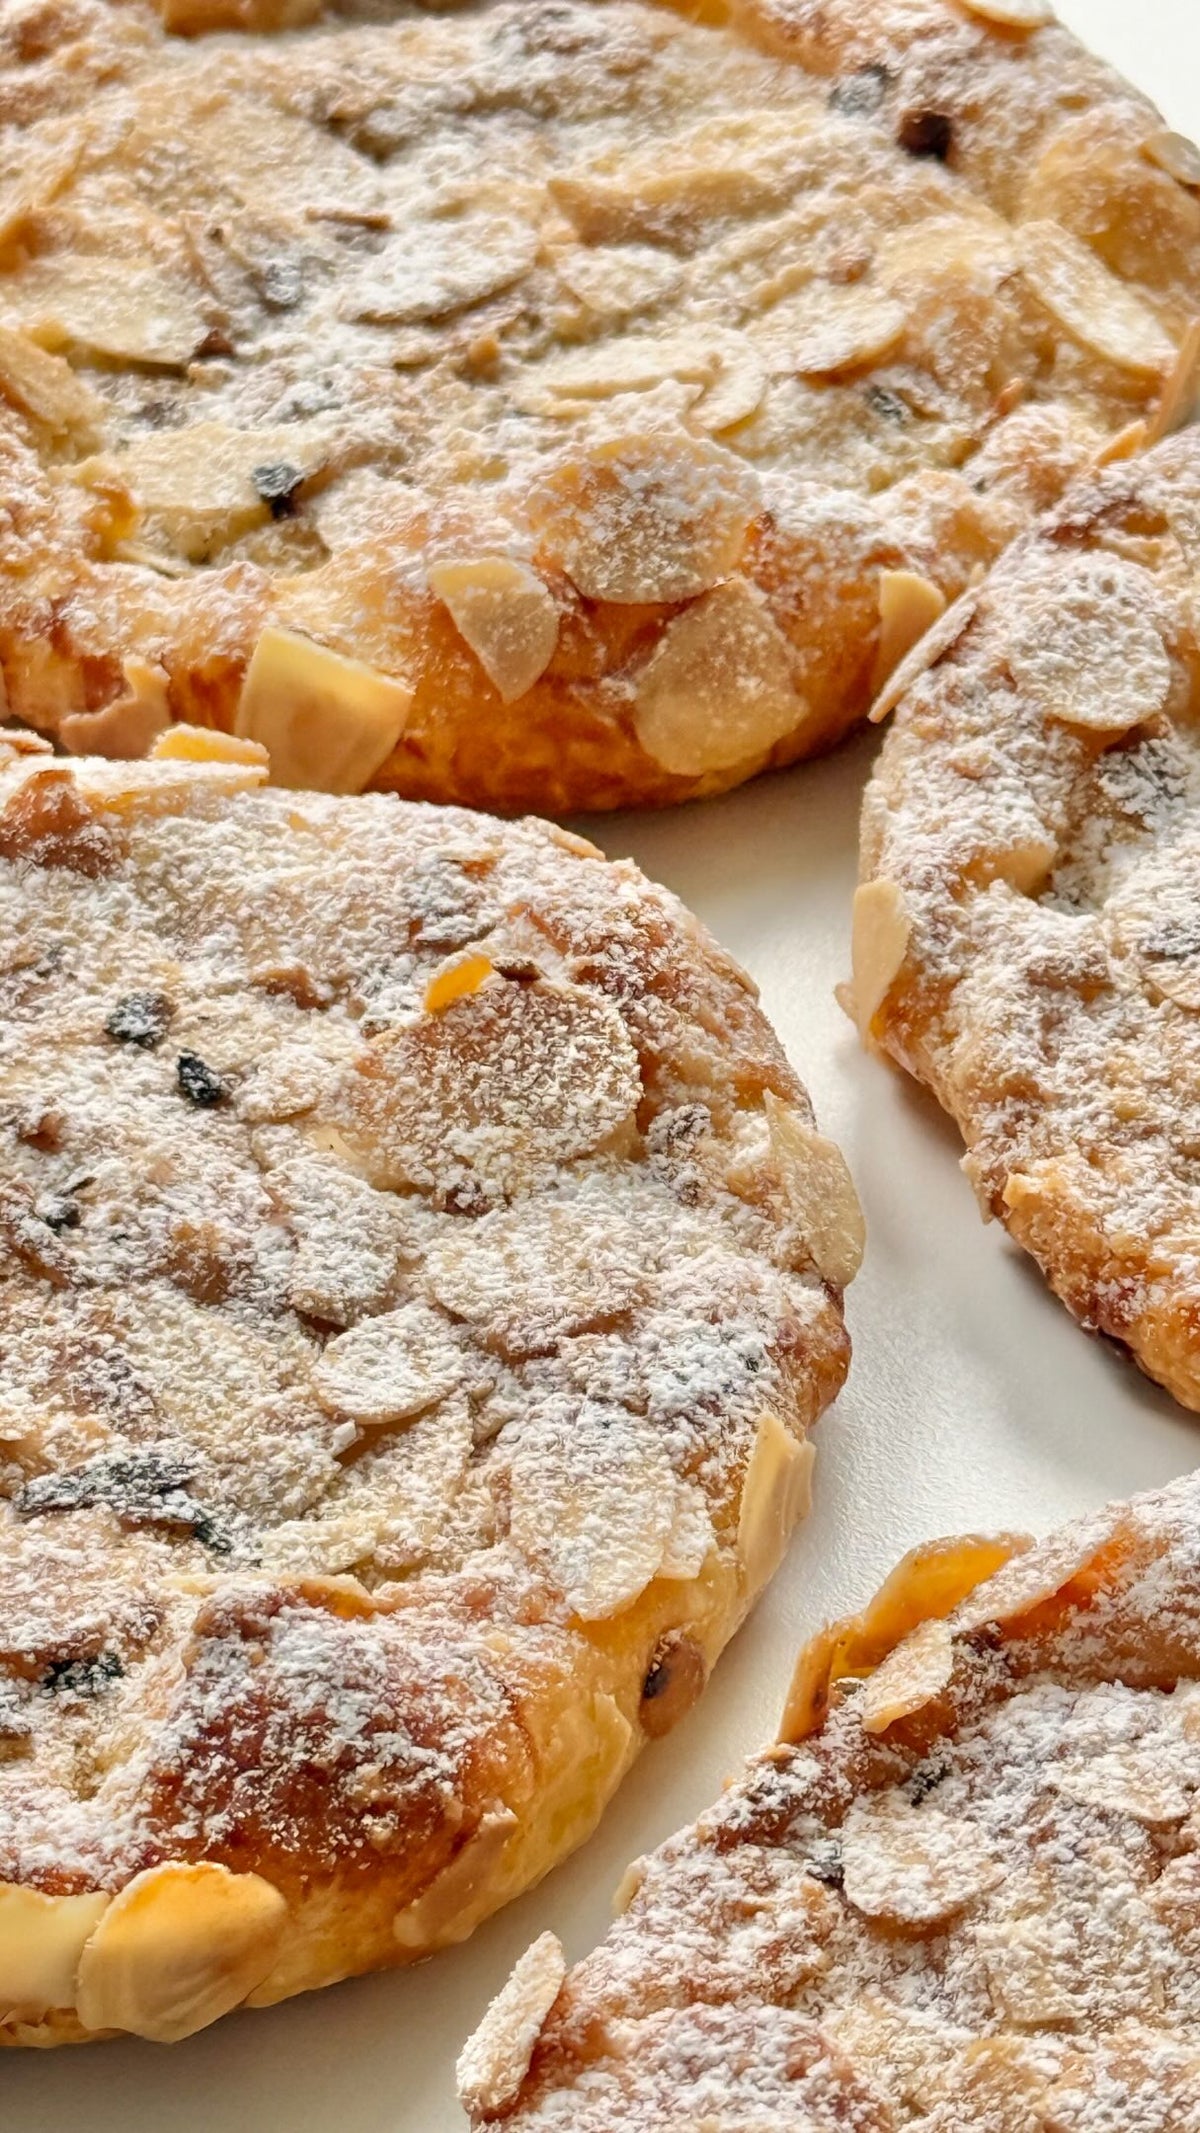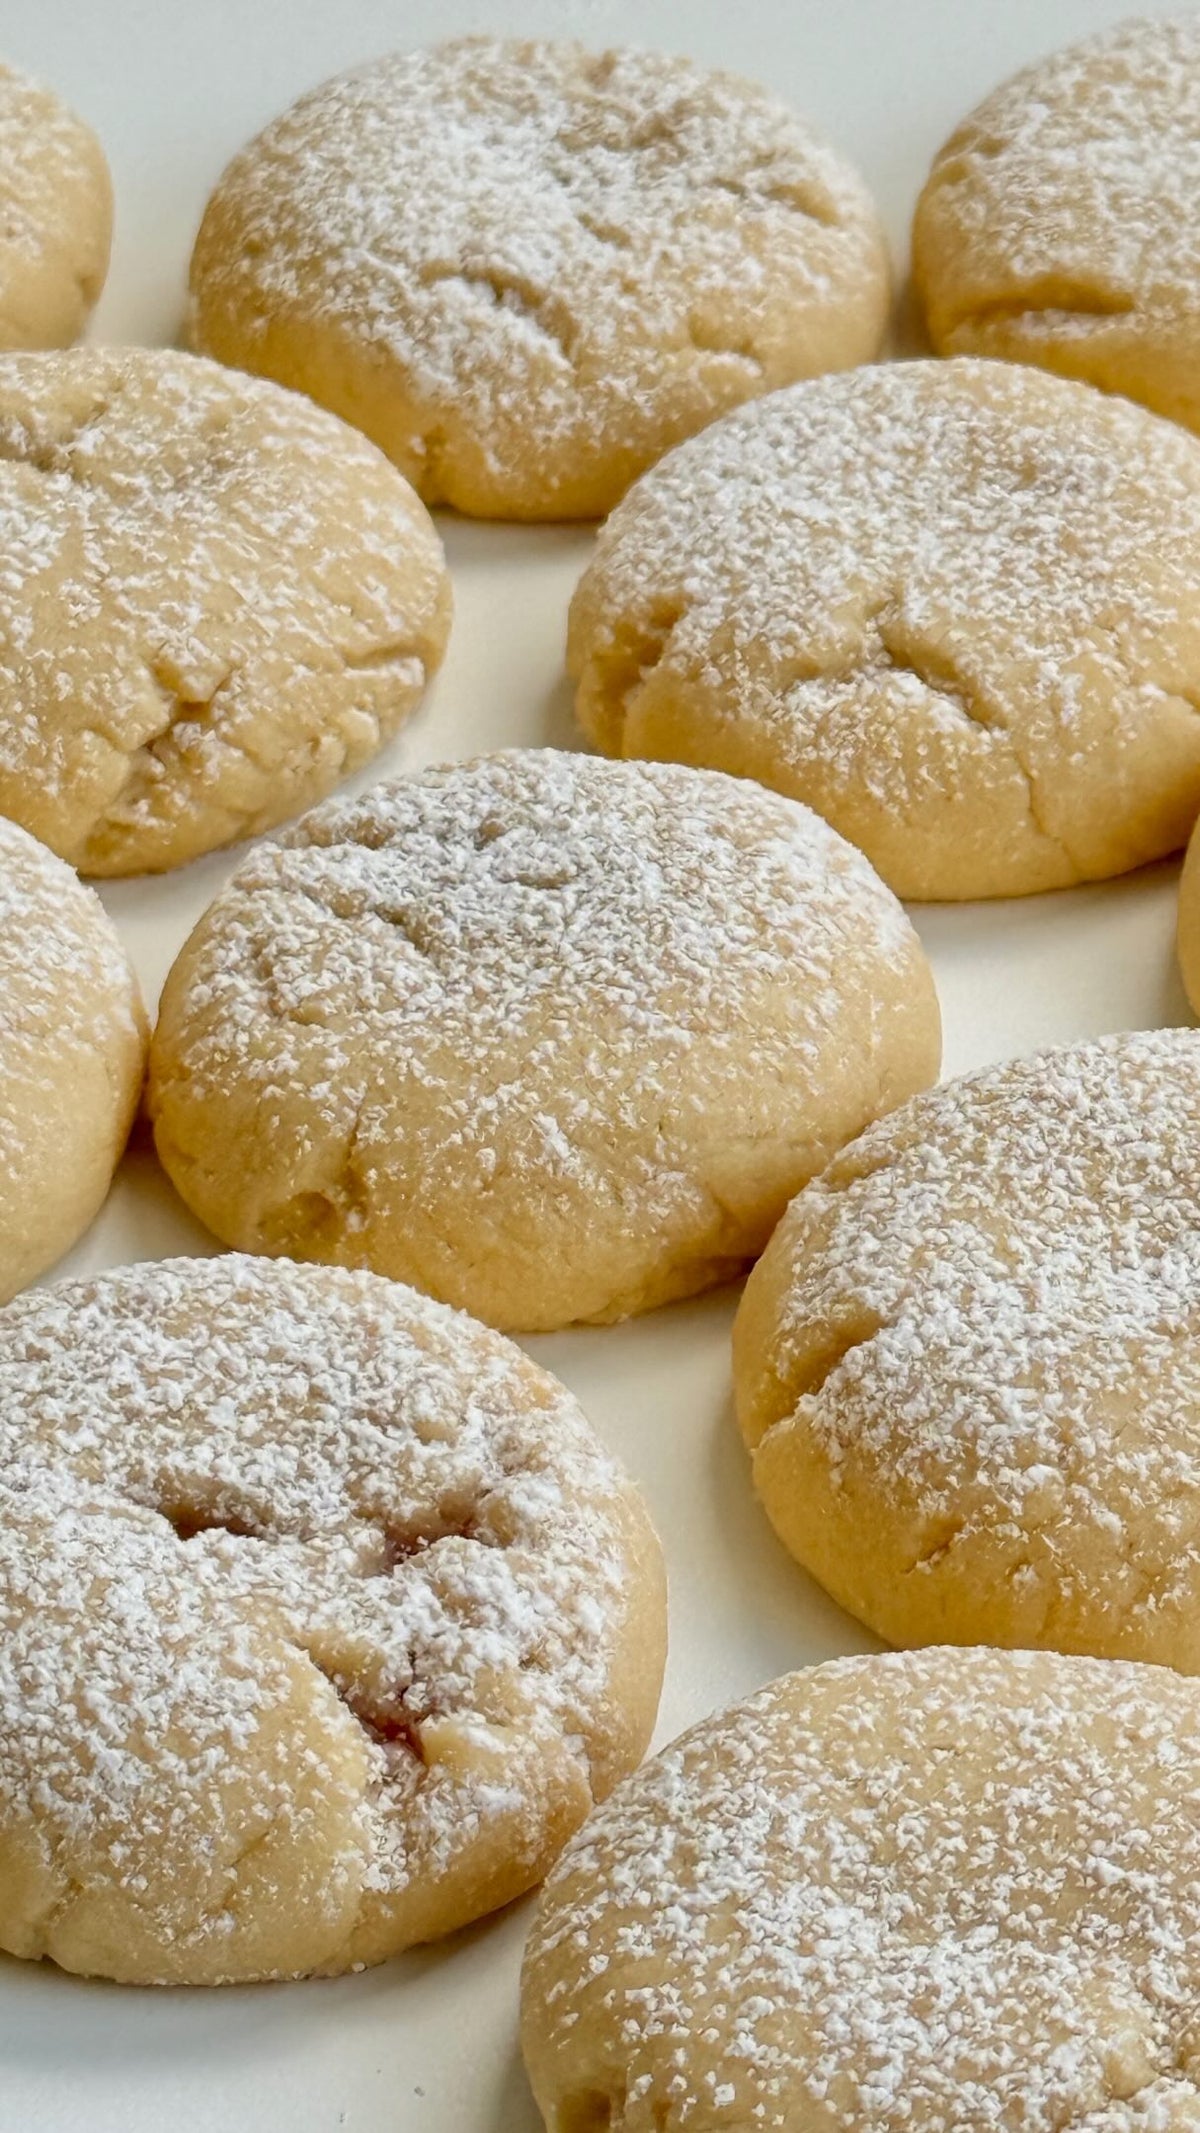
Melonpan von Food with Style, fertig angerichtet
Pastry

Melonpan

O melonpan é um pãozinho doce japonês, fofinho e macio, coberto por uma casquinha crocante de massa de biscoito. Recém-saído do forno, fica leve...

Compartilhar
Porções
6 porções
Preparo 1 hora
Cozimento 18 minutos

Ingredientes

  • Para a massa fermentada
  • Para a massa de biscoito (cobertura)

Modo de preparo

  1. 1
    Peneire a farinha da massa fermentada em uma tigela. Faça um buraco no centro, coloque o fermento, um pouco do açúcar e parte do leite morno. Misture delicadamente e deixe descansar por cerca de 10 minutos, até espumar e ativar.
  2. 2
    Junte o restante do açúcar, o sal, o resto do leite, a gema e a manteiga em ponto de pomada. Sove tudo até obter uma massa macia e levemente grudenta (cerca de 8-10 minutos). Cubra e deixe crescer em lugar quentinho por cerca de 1 hora, ou até dobrar de volume.
  3. 3
    Enquanto isso, prepare a massa de biscoito: misture a farinha, o açúcar e o extrato de baunilha. Acrescente a manteiga em ponto de pomada e 1 tbsp de leite e sove rapidamente até ficar lisa. Se precisar, coloque um pouco mais de leite. Embrulhe em filme plástico e leve à geladeira.
  4. 4
    Divida a massa fermentada crescida em 6 partes iguais e faça bolinhas. Divida a massa de biscoito em 6 pedaços e abra cada um em um disco fino (polvilhe com farinha se necessário).
  5. 5
    Cubra cada bolinha com um disco de massa de biscoito, como uma toquinha, sem chegar até a base. Marque a superfície com riscos cruzados formando losangos, usando uma faca afiada, e polvilhe com açúcar cristal.
  6. 6
    Deixe os melonpan descansarem por mais 30 minutos, cobertos.
  7. 7
    Asse em forno preaquecido a 180 °C (350 °F), com calor em cima e embaixo, por cerca de 18-20 minutos, até dourarem levemente. Não deixe passar do ponto: eles devem continuar macios. O melonpan fica muito melhor fresquinho, com a casquinha crocante e o miolo macio. Se sobrar, é só esquentar rapidinho que no dia seguinte ainda fica uma delícia.

Video

Melonpan Questions
The topping only has 90 g flour, 40 g sugar, 30 g butter and 1-2 tbsp milk, so it is a stiff dough that needs the butter to be genuinely soft. If it crumbles, knead in the second tablespoon of milk a little at a time until it comes together smoothly. Roll the circles between two sheets of parchment or on a lightly floured surface, and if the dough warms up too much and tears, chill it briefly before shaping.

Fresh yeast works if you crumble it into the well with the sugar and lukewarm milk instead of the 1 tsp instant yeast, and let it stand until it foams before mixing in the rest. For the 100 ml milk in the dough and the 1-2 tbsp in the topping, an unsweetened plant milk works fine - the milk mainly supplies liquid and a little richness. Keep the butter soft in both doughs, since the texture of the yeast dough and the cookie crust depends on it being workable rather than melted.

Let the buns cool completely before storing, otherwise steam from the soft yeast dough softens the sugar-sprinkled crust from underneath. Keep them at room temperature in a loosely covered container or paper bag rather than an airtight box, and eat them within a day or two. To revive the crust, warm them for a few minutes in an oven at the baking temperature of 180 °C (350 °F).

Yes - the cookie dough is the easiest part to make ahead, since it keeps well wrapped in the fridge; just let it soften slightly before rolling it into circles. The yeast dough can also do its first rise slowly in the fridge overnight instead of at room temperature, then be divided into 6 balls the next morning. Either way, keep the final 30-minute rest after topping the balls, since that is what gives the buns their lift in the oven.

The recipe has you place the cookie circle like a cap that does not reach all the way to the bottom, which leaves room for the yeast dough to expand upward without pushing the crust off. If the circles are rolled too thin they tear apart as the bun rises, and if they are wrapped too far down they can slip. Score the criss-cross pattern with a sharp knife so the crust has defined lines to split along, and press the topping gently onto the ball so it sticks before the final 30-minute rest.

delicioso, testado e pronto para inspirar

Explore 400+ Receitas Saborosas