
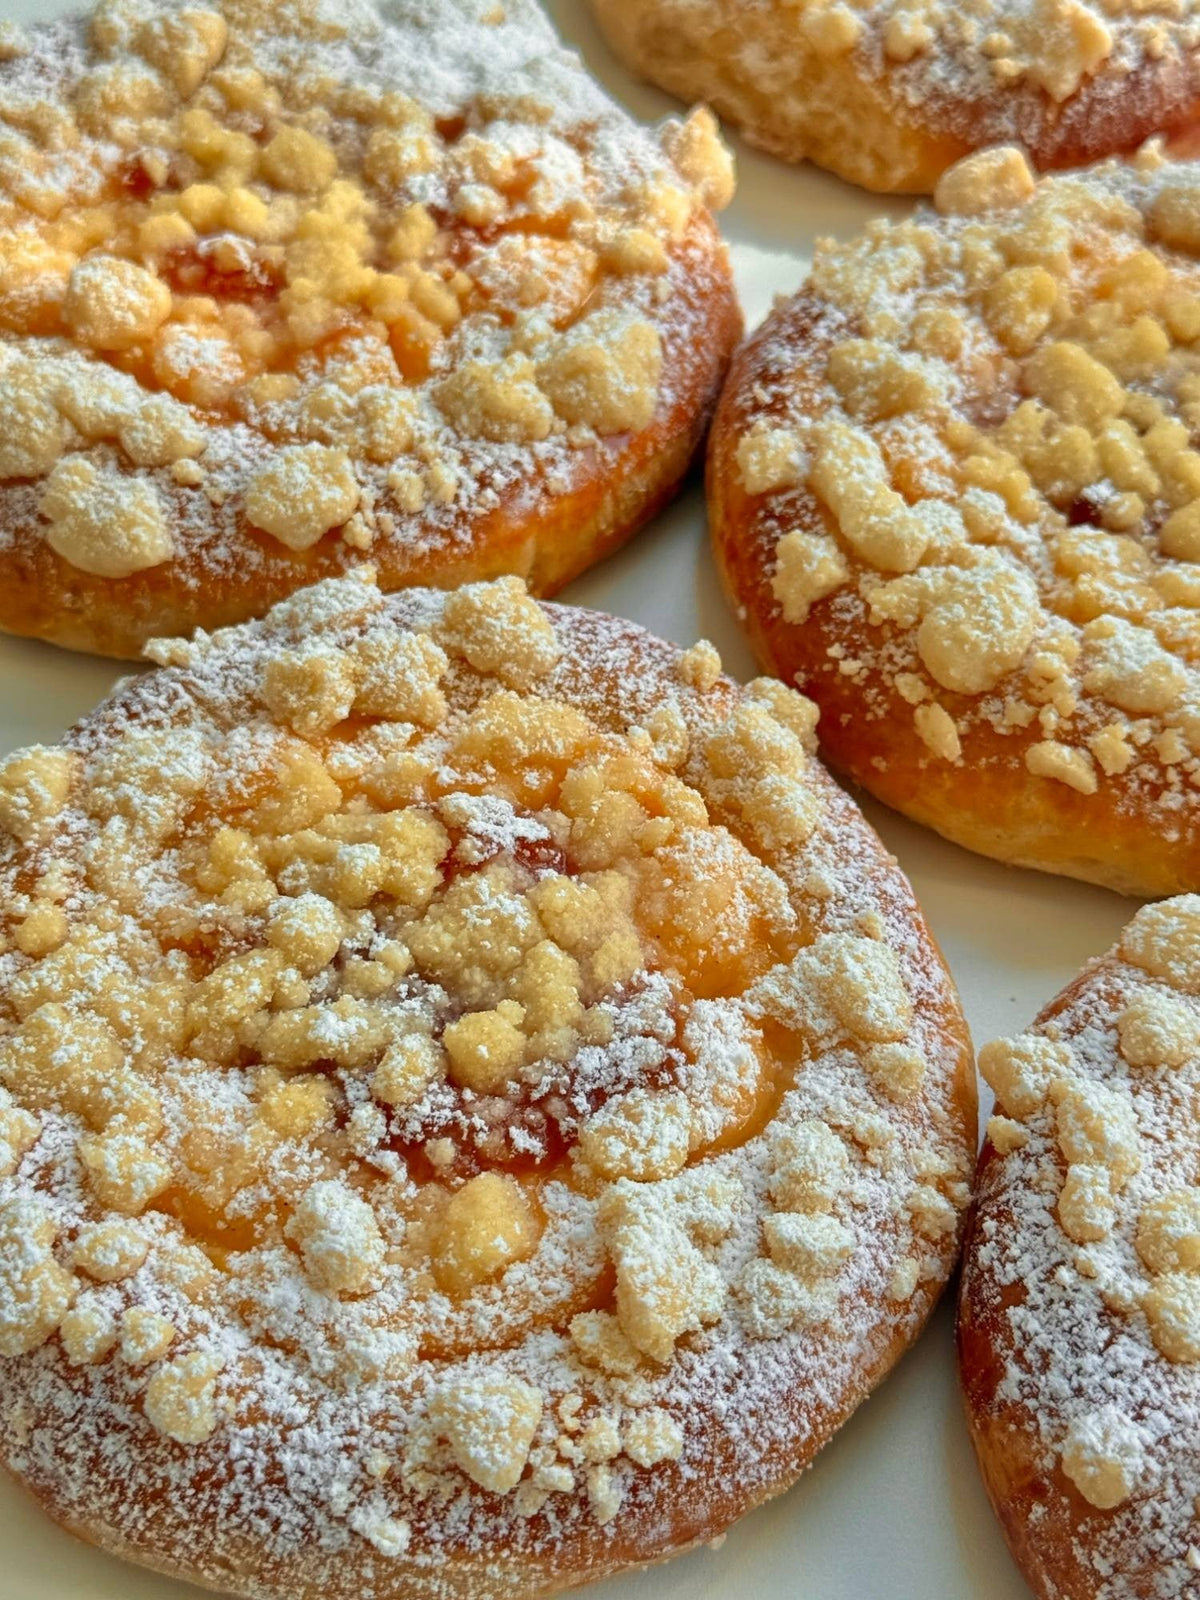
Melonpan von Food with Style, fertig angerichtet
Pastry

Melonpan

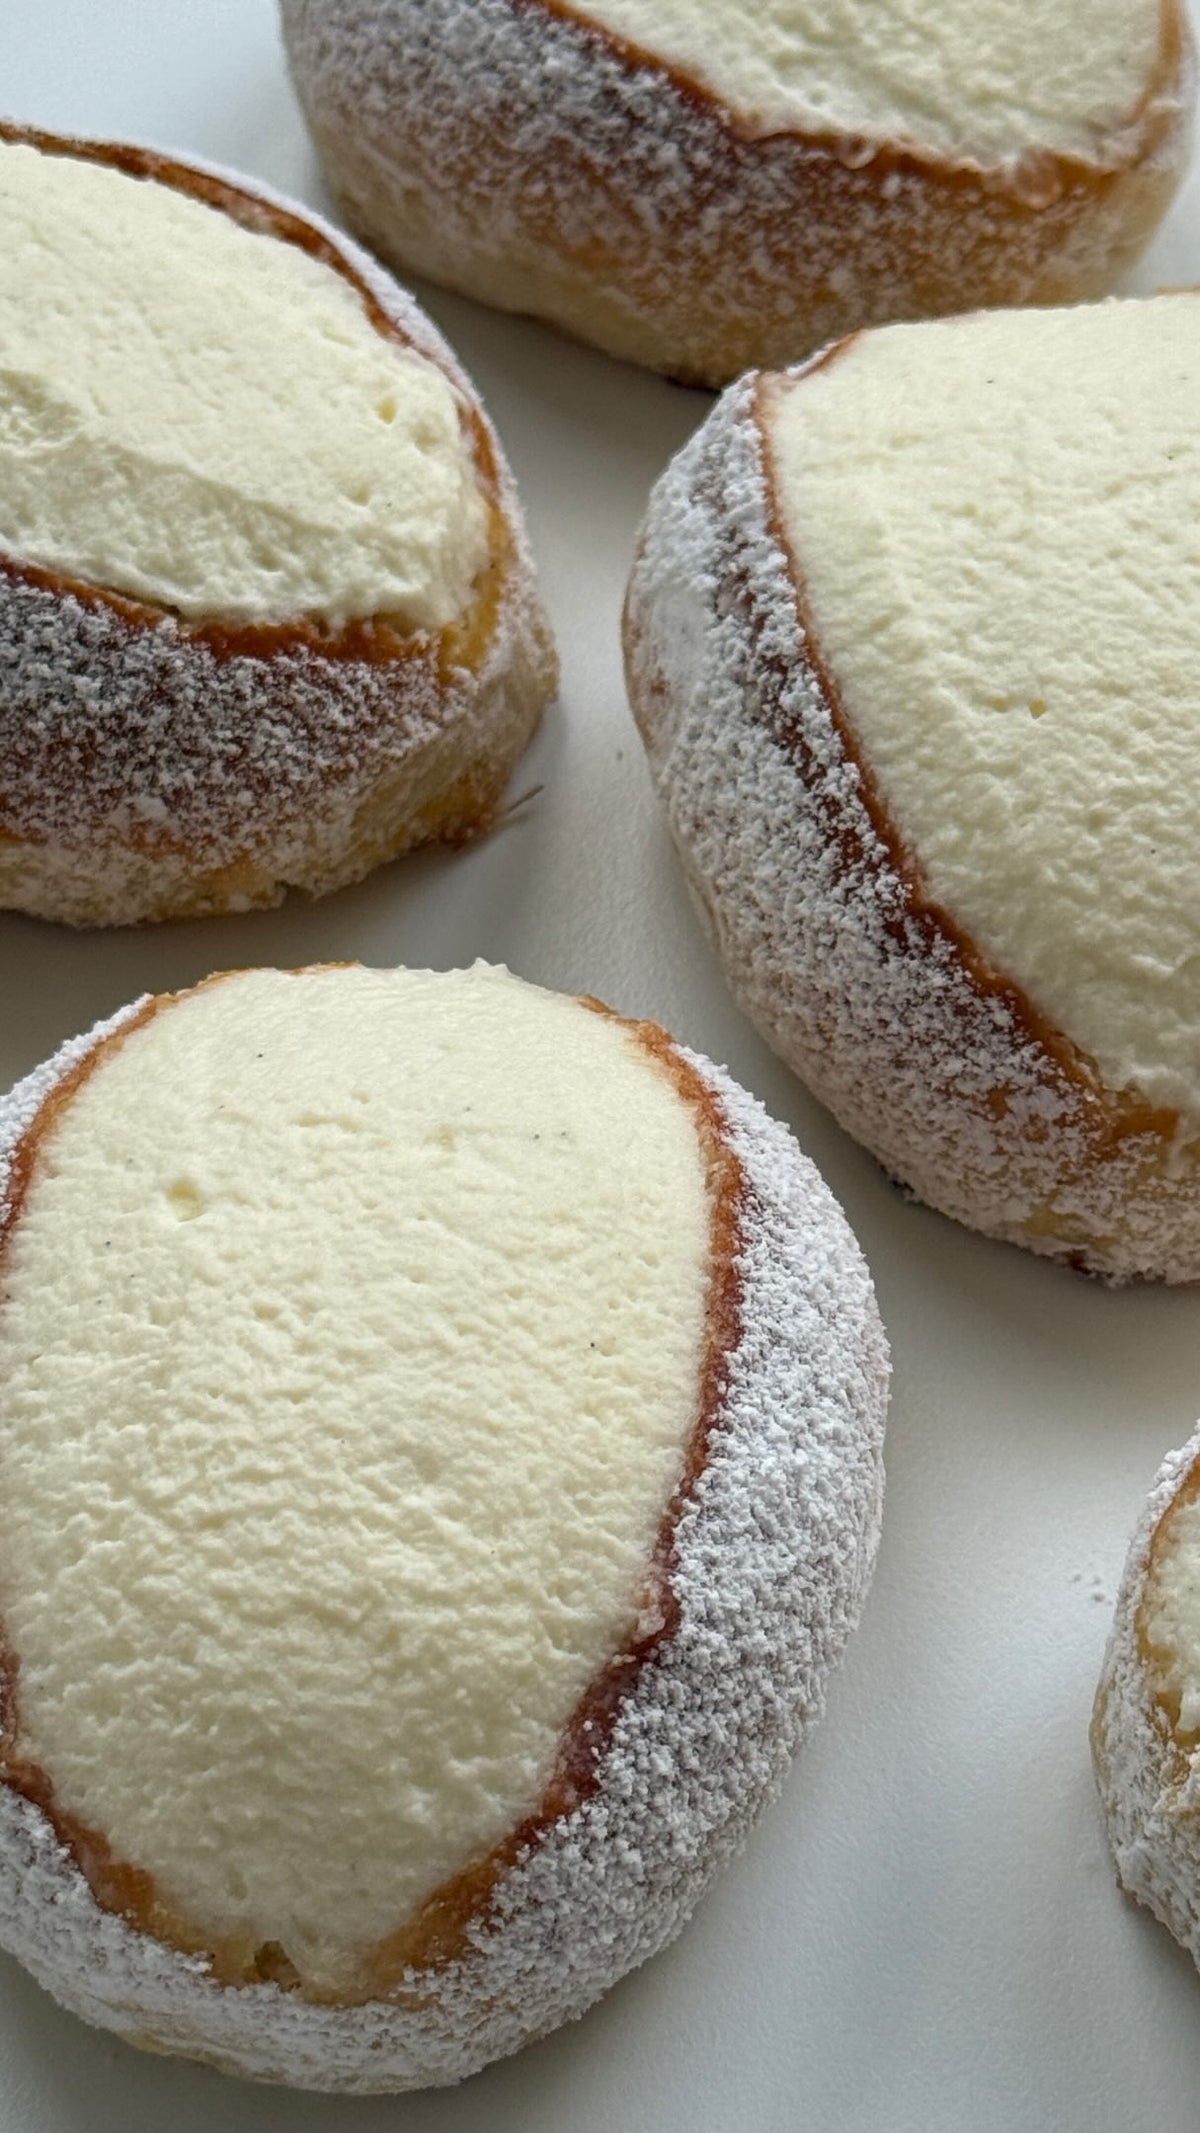
Melonpan er et luftig japansk søtt brød med sprø kakeskorpe. Nybakt er det mykt og luftig inni, og delikat sprøtt utenpå.

Del
Porsjoner
6 porsjoner
Forberedelse 1 time
Steketid 18 minutter

Ingredienser

  • Til gjærdeigen
  • Til kakedeigen (topping)

Fremgangsmåte

  1. 1
    Sikt melet til gjærdeigen i en bakebolle. Lag en grop i midten, ha i gjæren, litt av sukkeret og litt av den lunkne melken. Rør forsiktig sammen og la stå i ca. 10 minutter til blandingen bobler og gjæren har våknet.
  2. 2
    Tilsett resten av sukkeret, saltet, resten av melken, eggeplommen og det romtempererte smøret. Elt alt til en myk, litt klissete deig (ca. 8-10 minutter). Dekk til og la heve på et lunt sted i ca. 1 time, eller til deigen er dobbelt så stor.
  3. 3
    Lag kakedeigen imens: bland mel, sukker og vaniljeekstrakt. Tilsett det romtempererte smøret og 1 tbsp melk, og elt raskt sammen til en glatt deig. Ha i litt mer melk om det trengs. Pakk inn i plastfolie og sett kaldt.
  4. 4
    Del den hevede gjærdeigen i 6 like deler og trill dem til boller. Del kakedeigen i 6 biter og kjevle hver bit ut til en flat sirkel (strø på litt mel om nødvendig).
  5. 5
    Legg en kakesirkel over hver bolle - som en liten hette, ikke helt ned til bunnen. Skjær et rutemønster i toppen med en skarp kniv, og dryss over strøsukker.
  6. 6
    La melonpanene etterheve i 30 minutter til, tildekket.
  7. 7
    Stek i forvarmet ovn på 180 °C (350 °F) over- og undervarme i ca. 18-20 minutter, til de er lys gyldne. Ikke stek dem for lenge - de skal holde seg myke. Melonpan smaker best helt nybakt - med sprø skorpe og myk kjerne. Blir det noen igjen, varmer du dem bare raskt opp, så smaker de nydelig dagen etter også.

Video

Melonpan Questions

The topping only has 90 g flour, 40 g sugar, 30 g butter and 1-2 tbsp milk, so it is a stiff dough that needs the butter to be genuinely soft. If it crumbles, knead in the second tablespoon of milk a little at a time until it comes together smoothly. Roll the circles between two sheets of parchment or on a lightly floured surface, and if the dough warms up too much and tears, chill it briefly before shaping.

Fresh yeast works if you crumble it into the well with the sugar and lukewarm milk instead of the 1 tsp instant yeast, and let it stand until it foams before mixing in the rest. For the 100 ml milk in the dough and the 1-2 tbsp in the topping, an unsweetened plant milk works fine - the milk mainly supplies liquid and a little richness. Keep the butter soft in both doughs, since the texture of the yeast dough and the cookie crust depends on it being workable rather than melted.

Let the buns cool completely before storing, otherwise steam from the soft yeast dough softens the sugar-sprinkled crust from underneath. Keep them at room temperature in a loosely covered container or paper bag rather than an airtight box, and eat them within a day or two. To revive the crust, warm them for a few minutes in an oven at the baking temperature of 180 °C (350 °F).

Yes - the cookie dough is the easiest part to make ahead, since it keeps well wrapped in the fridge; just let it soften slightly before rolling it into circles. The yeast dough can also do its first rise slowly in the fridge overnight instead of at room temperature, then be divided into 6 balls the next morning. Either way, keep the final 30-minute rest after topping the balls, since that is what gives the buns their lift in the oven.

The recipe has you place the cookie circle like a cap that does not reach all the way to the bottom, which leaves room for the yeast dough to expand upward without pushing the crust off. If the circles are rolled too thin they tear apart as the bun rises, and if they are wrapped too far down they can slip. Score the criss-cross pattern with a sharp knife so the crust has defined lines to split along, and press the topping gently onto the ball so it sticks before the final 30-minute rest.

deilig, testet og klar til å inspirere
Utforsk 400+ smakfulle oppskrifter