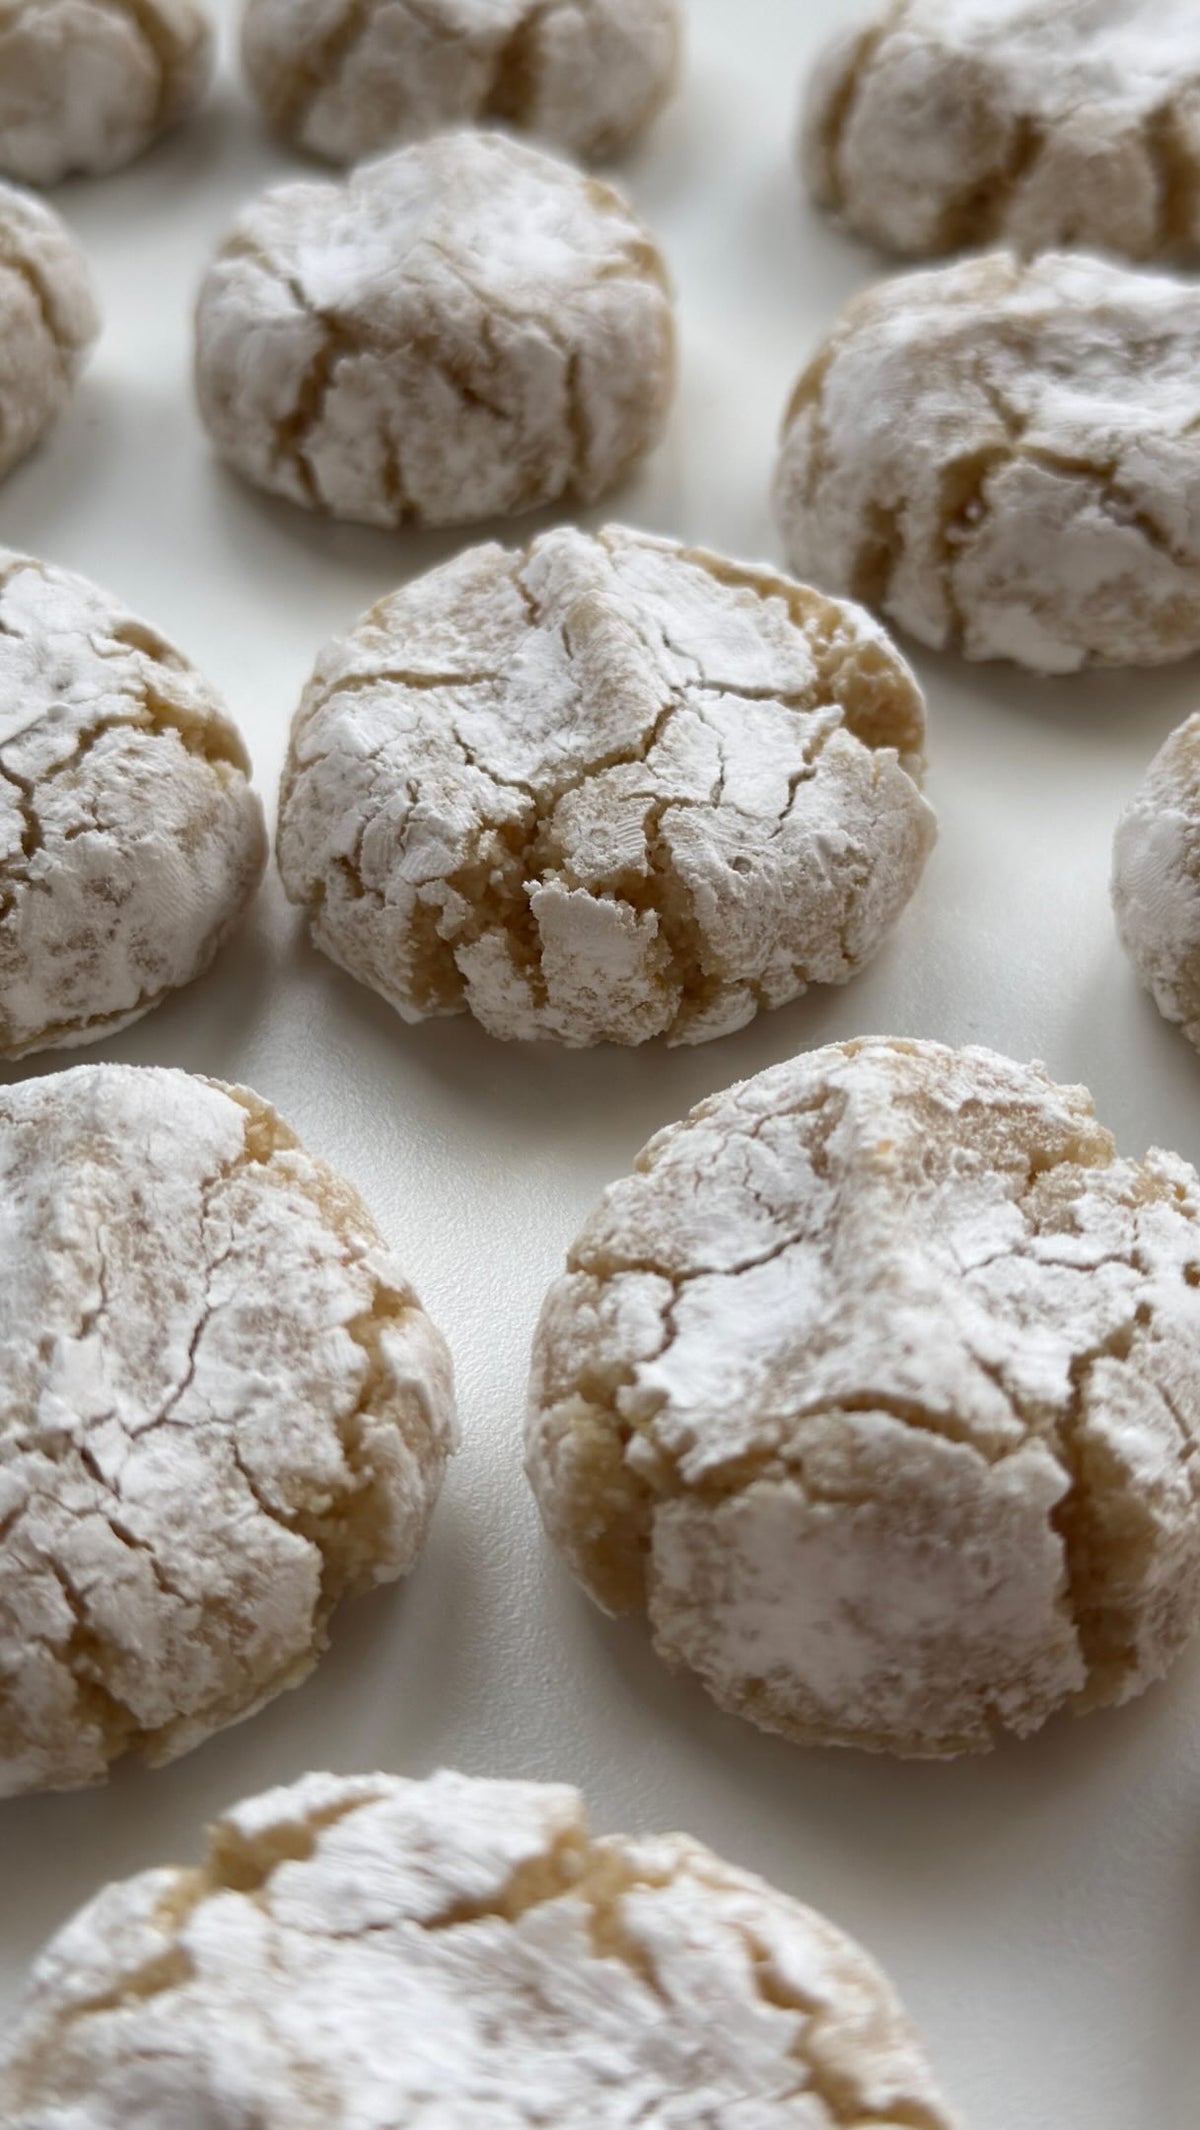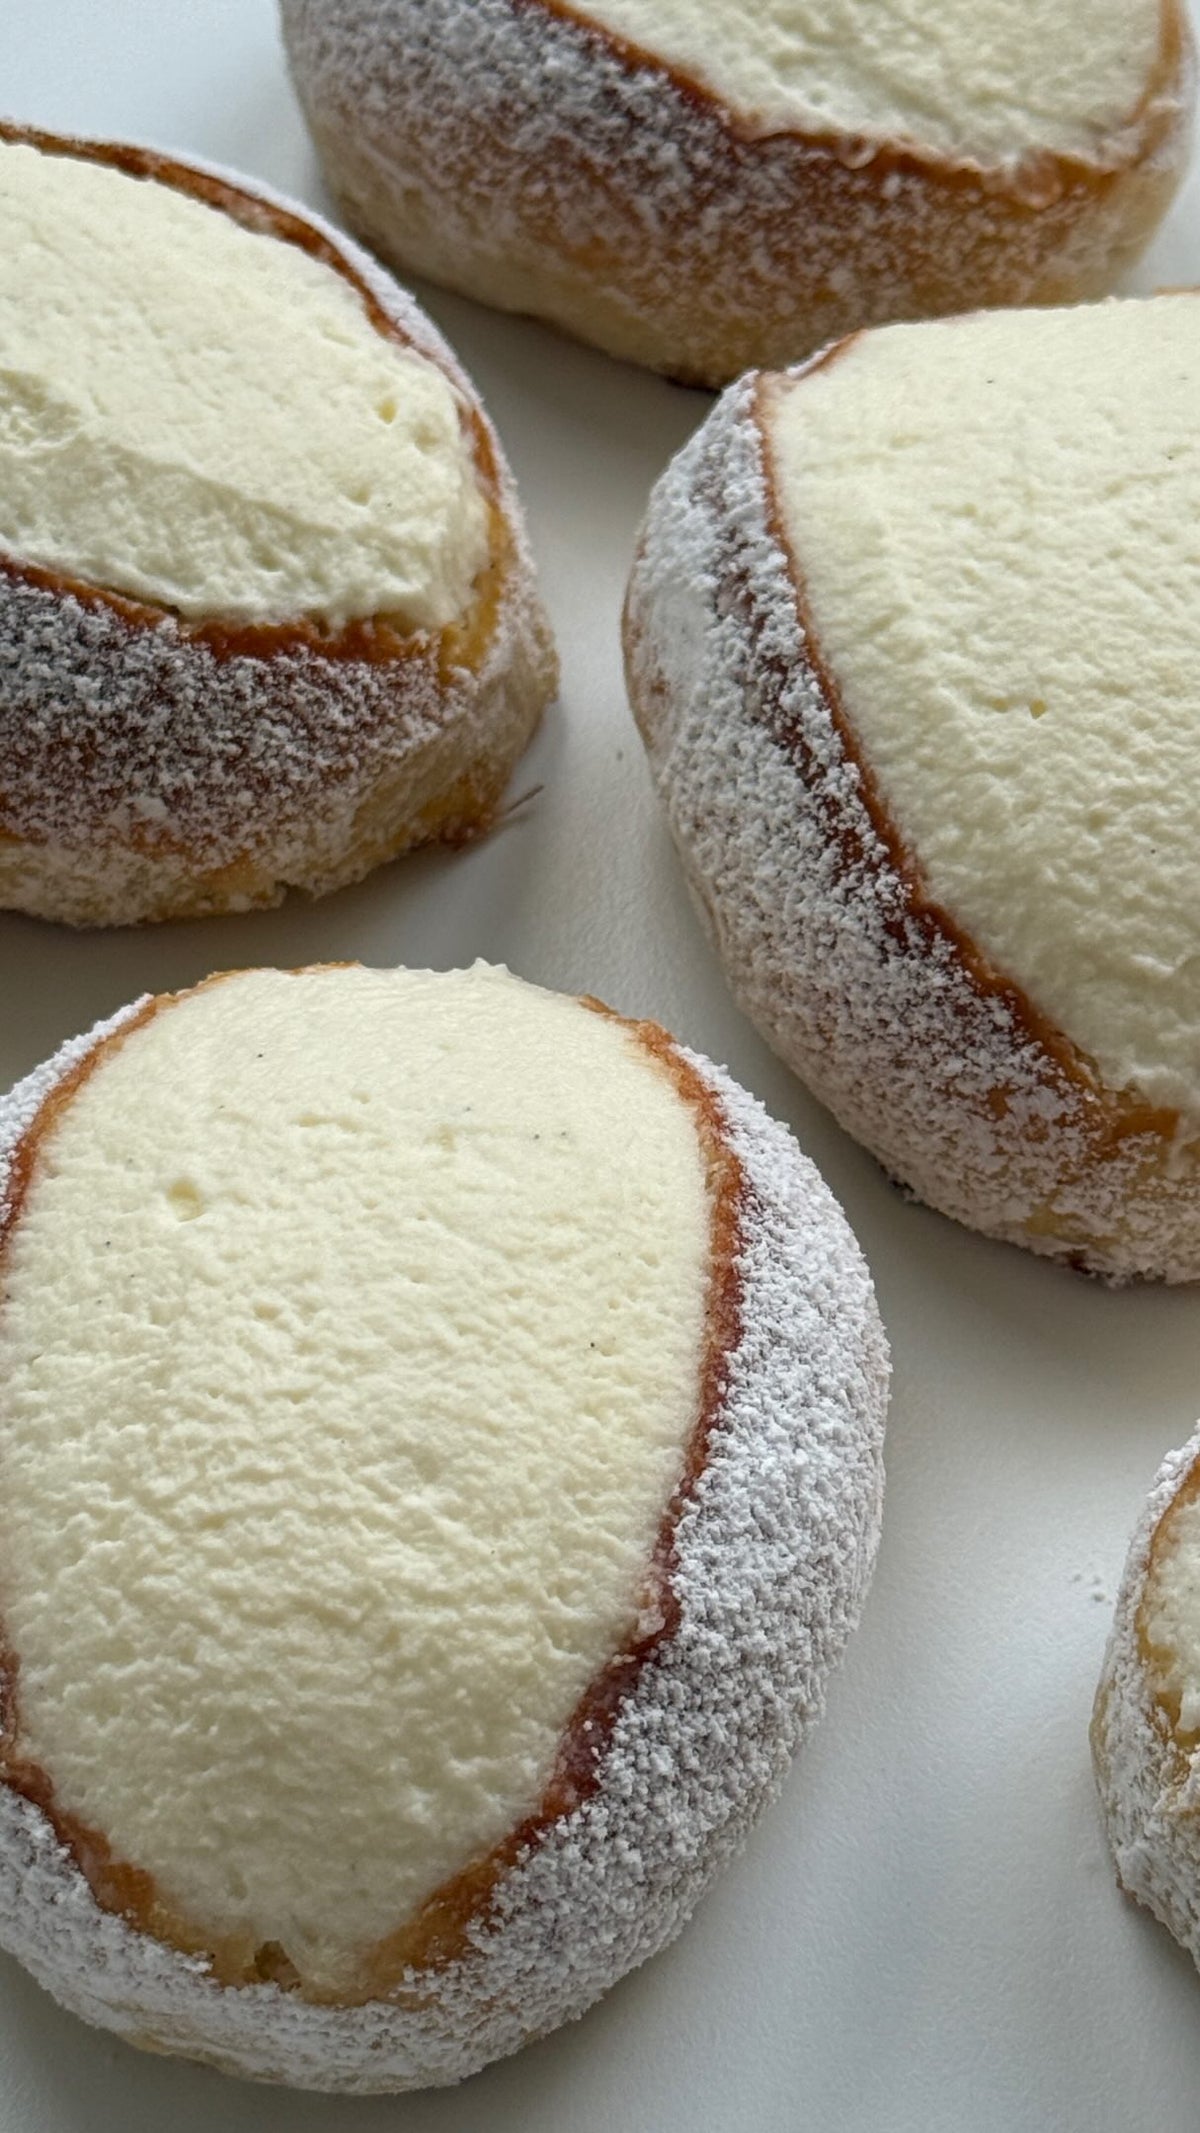

Vanillekipferl von Food with Style, fertig angerichtet
Pastry

Vanillekipferl

Feine, elegante Vanillekipferl mit mürbem Biss und klassischem Vanillearoma. (ergibt ca. 18-24 Stück)

Teilen
Portionen
18 Kekse
Backzeit 12 Minuten

Zutaten

  • Zum Wälzen / Bestäuben

Zubereitung

  1. 1
    Mehl, Puderzucker, gemahlene Mandeln, Salz und Vanille vermischen. Die kalte Butter dazugeben und zügig zu einem glatten Teig verkneten. Wichtig: schnell arbeiten, damit der Teig nicht warm wird.
  2. 2
    Den Teig zu einer langen Rolle formen, fest in Frischhaltefolie wickeln und etwa 60 Minuten kalt stellen.
  3. 3
    Den Backofen auf 170 °C / 338 °F Ober-/Unterhitze vorheizen. Ein Backblech mit Backpapier auslegen.
  4. 4
    Die gekühlte Teigrolle in etwa 1.5 cm dicke Scheiben schneiden (je ca. 20 g). Jedes Stück zu einer Kugel, dann zu einer kurzen Rolle formen und die Enden vorsichtig nach unten biegen, sodass die klassischen Kipferl entstehen.
  5. 5
    Wird der Teig beim Formen zu weich, die geformten Kipferl noch einmal 15-20 Minuten kalt stellen, damit sie beim Backen ihre Form behalten.
  6. 6
    12-15 Minuten backen. Die Kipferl sollen hell bleiben und nur an den Spitzen etwas Farbe bekommen.
  7. 7
    Aus dem Ofen nehmen, kurz abkühlen lassen und noch warm (aber nicht heiß) vorsichtig in Puderzucker und Vanillezucker wälzen oder leicht bestäuben.
  8. 8
    Vollständig auskühlen lassen - erst dann werden sie richtig mürbe und stabil. Perfekt für die Weihnachtszeit, als kleines Mitbringsel oder einfach zum Kaffee.

Video

Vanillekipferl Questions

Ground blanched almonds make up 70 g of the dough and carry a lot of its tenderness, so they need a like-for-like replacement rather than just more flour. Finely ground hazelnuts or walnuts work well and simply shift the flavour; for a nut-free version, use the same weight of very finely ground blanched almonds' stand-in such as ground sunflower seeds. Keep the grind fine, because coarse pieces make the thin crescent tips break when you bend them.

Store them in an airtight tin at room temperature once they have cooled completely - the recipe stresses that they only become tender and stable after full cooling, and packing them warm traps steam and softens them. Layer them between parchment, since the crescents are fragile and the powdered-sugar coating rubs off easily. Many bakers find the texture improves after a day or two in the tin, and you can dust with a little extra powdered sugar before serving.

Yes - the dough is already shaped into a log and wrapped in plastic wrap for its 60-minute chill, so you can simply leave it in the fridge longer and bake the next day. If it has firmed up too much to slice cleanly, let it sit at room temperature for a few minutes before cutting your 1.5 cm slices. The wrapped log also freezes well; thaw it in the fridge until it is just sliceable.

The dough is very short: 100 g butter against 140 g flour and 70 g almonds, with no egg or liquid to bind it. Crumbliness usually means it simply needs another minute of quick kneading so the cold butter cubes distribute - press it firmly together rather than adding water, which would toughen it. If it still refuses to hold, your butter may be too cold straight from the fridge; let the cubes stand a few minutes, but keep working swiftly so the butter does not warm through.

Spreading means the butter was too warm when the cookies went in, which is why the recipe calls for chilling the formed crescents another 15-20 minutes if the dough softens while shaping. Roll each piece into a ball first, then a short log, and bend the ends downward so the crescent is even in thickness - thin, overworked tips brown fast and break. At 170 °C / 338 °F for 12-15 minutes the cookies should stay pale with just a hint of colour at the tips, so pull them before they take on real colour.

köstlich, erprobt und bereit zu inspirieren

Entdecke 400+ leckere Gerichte