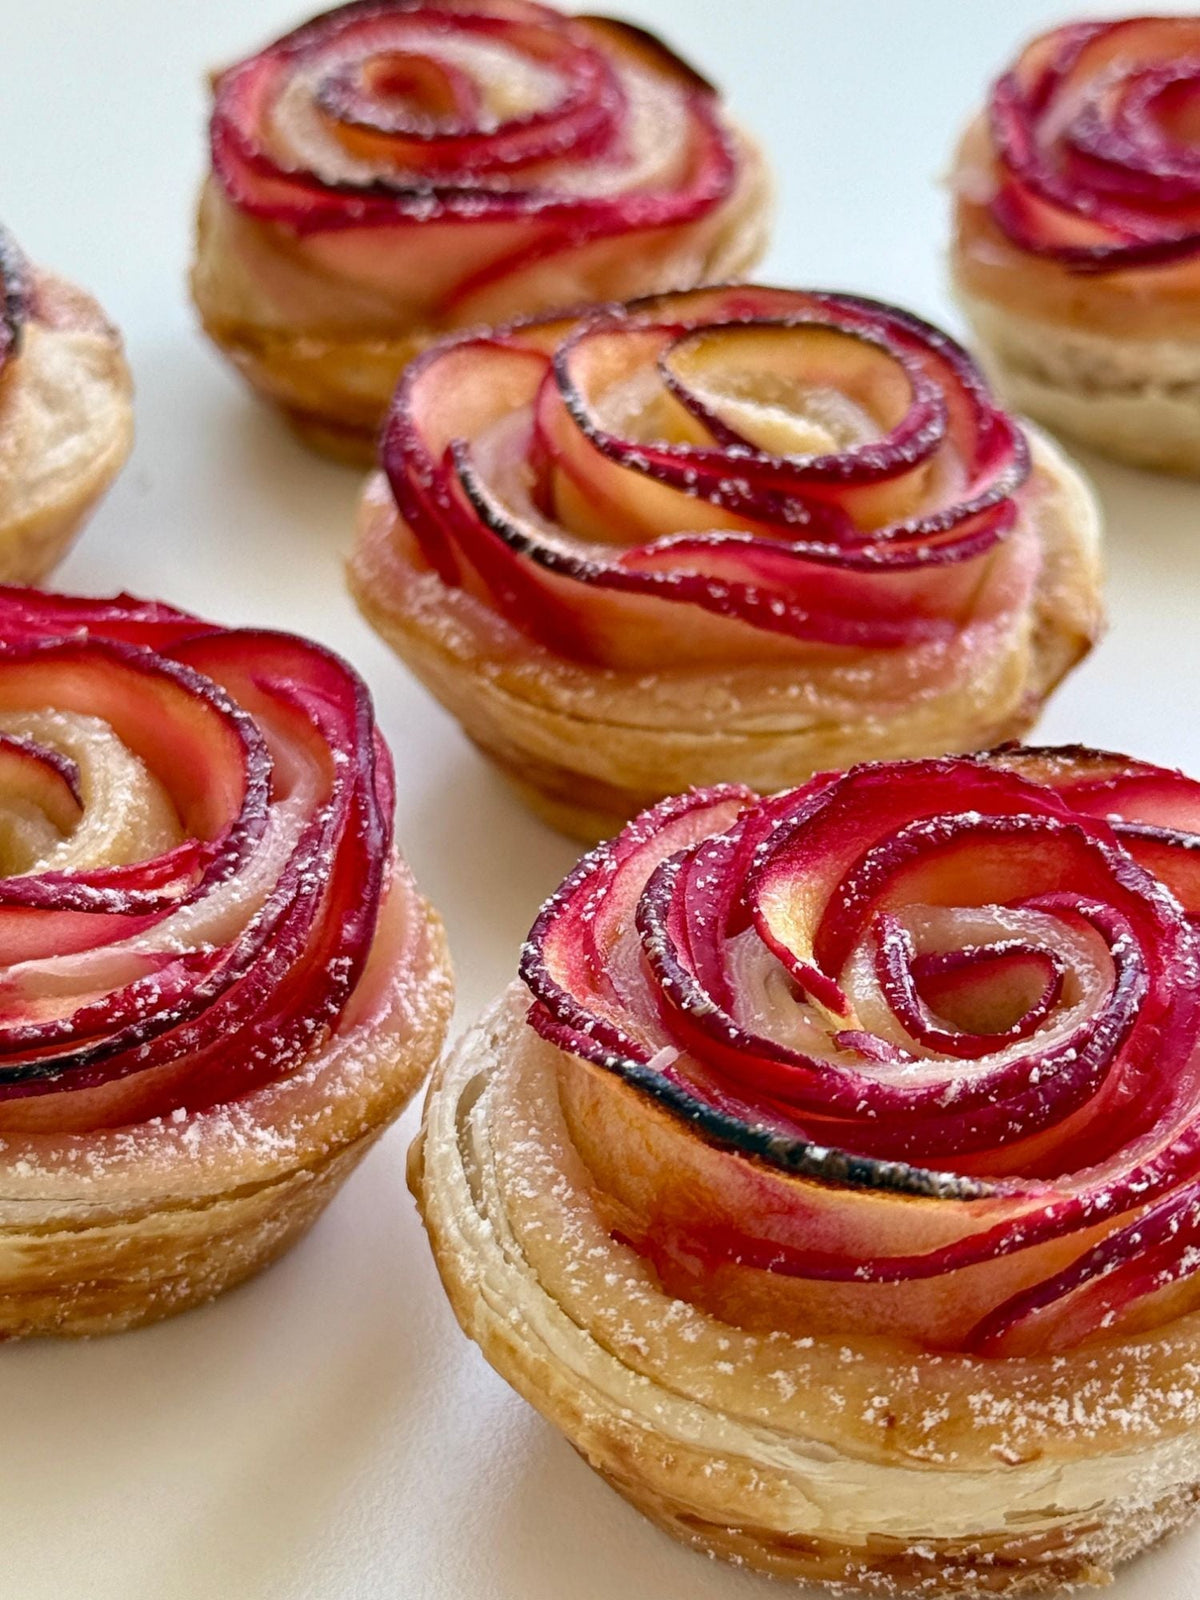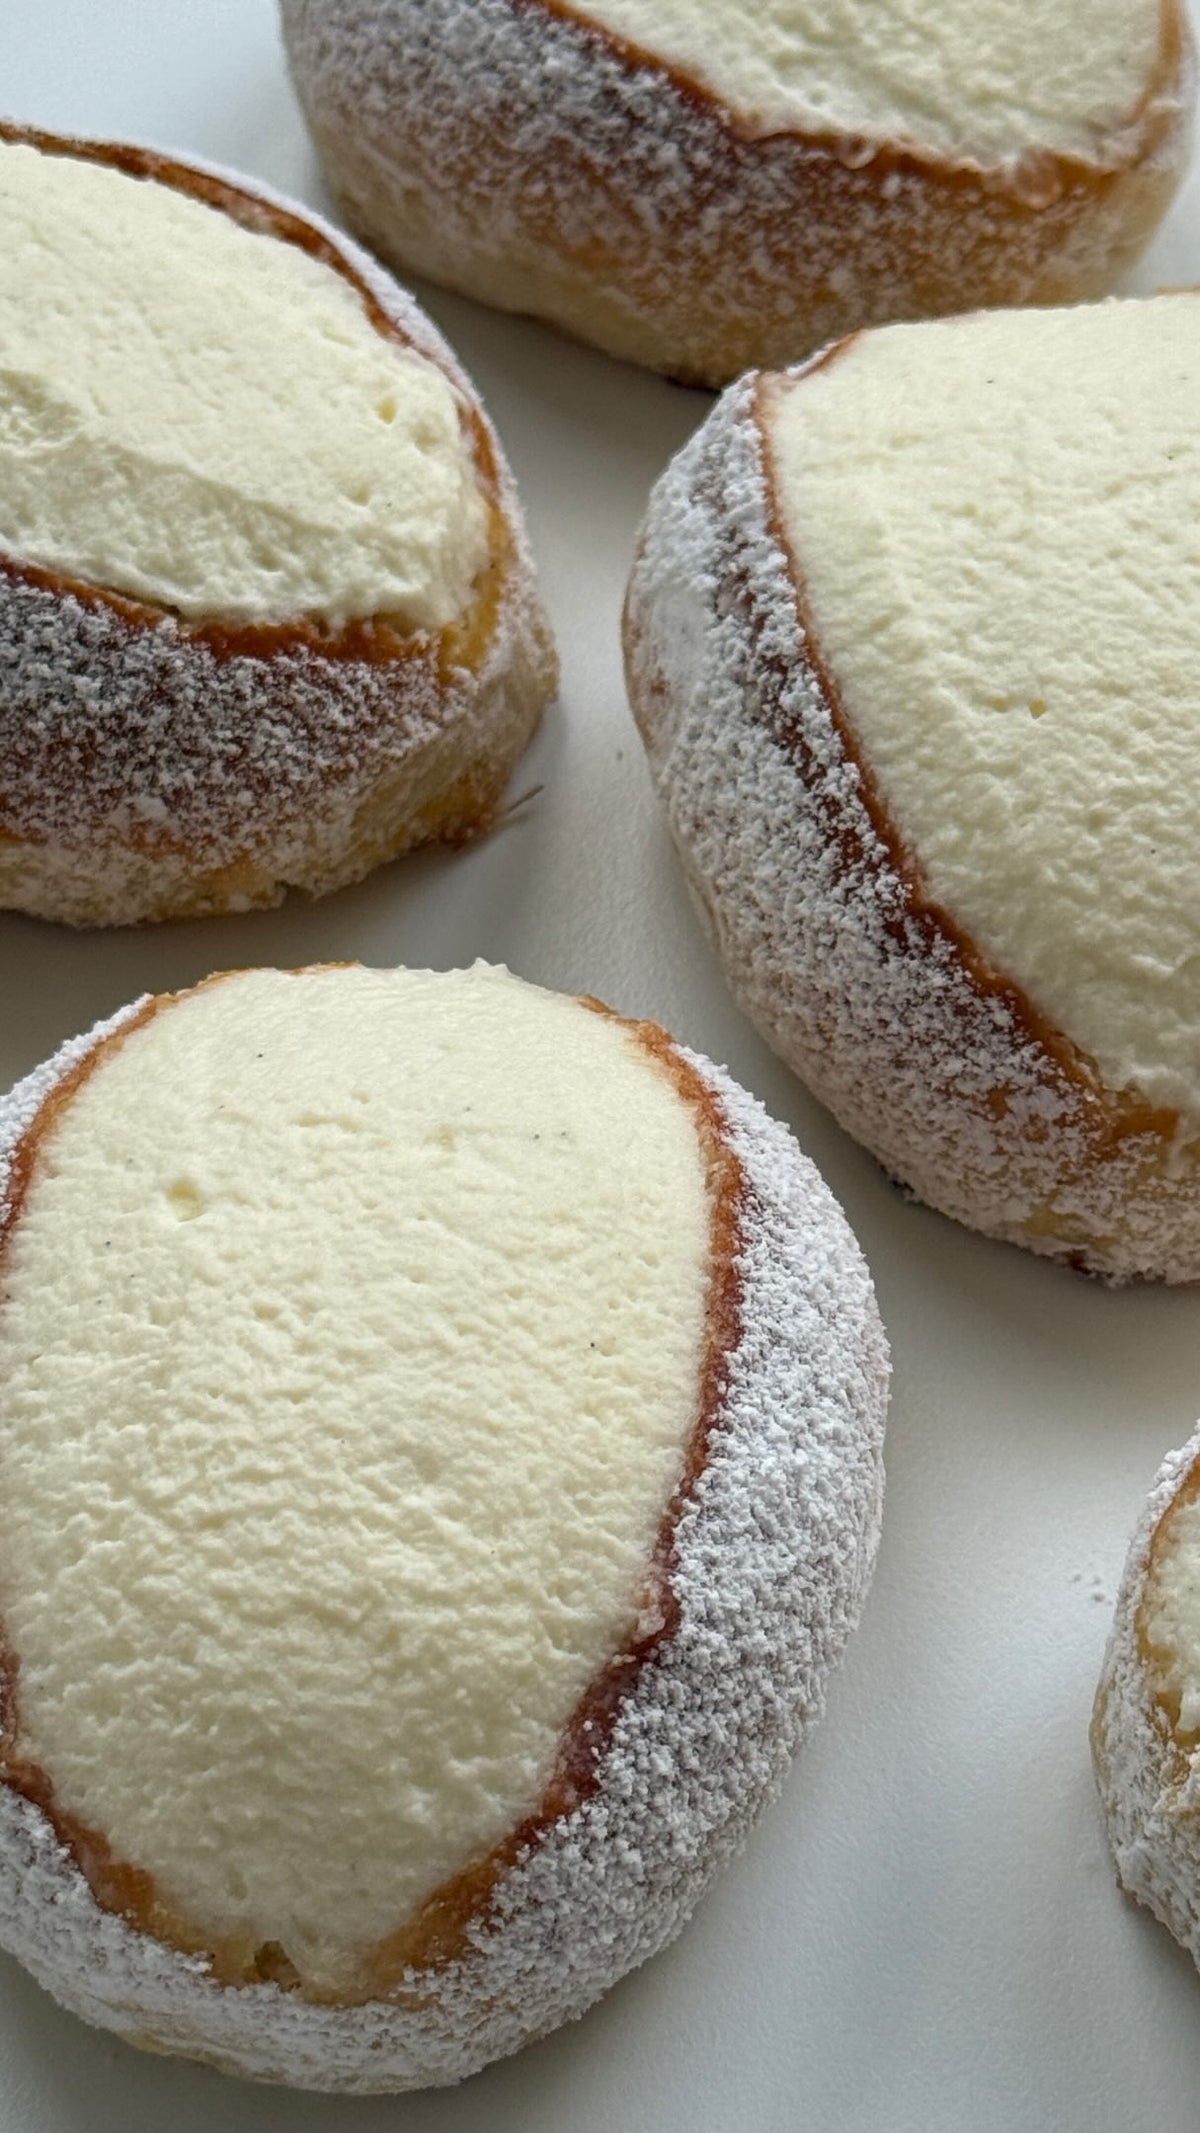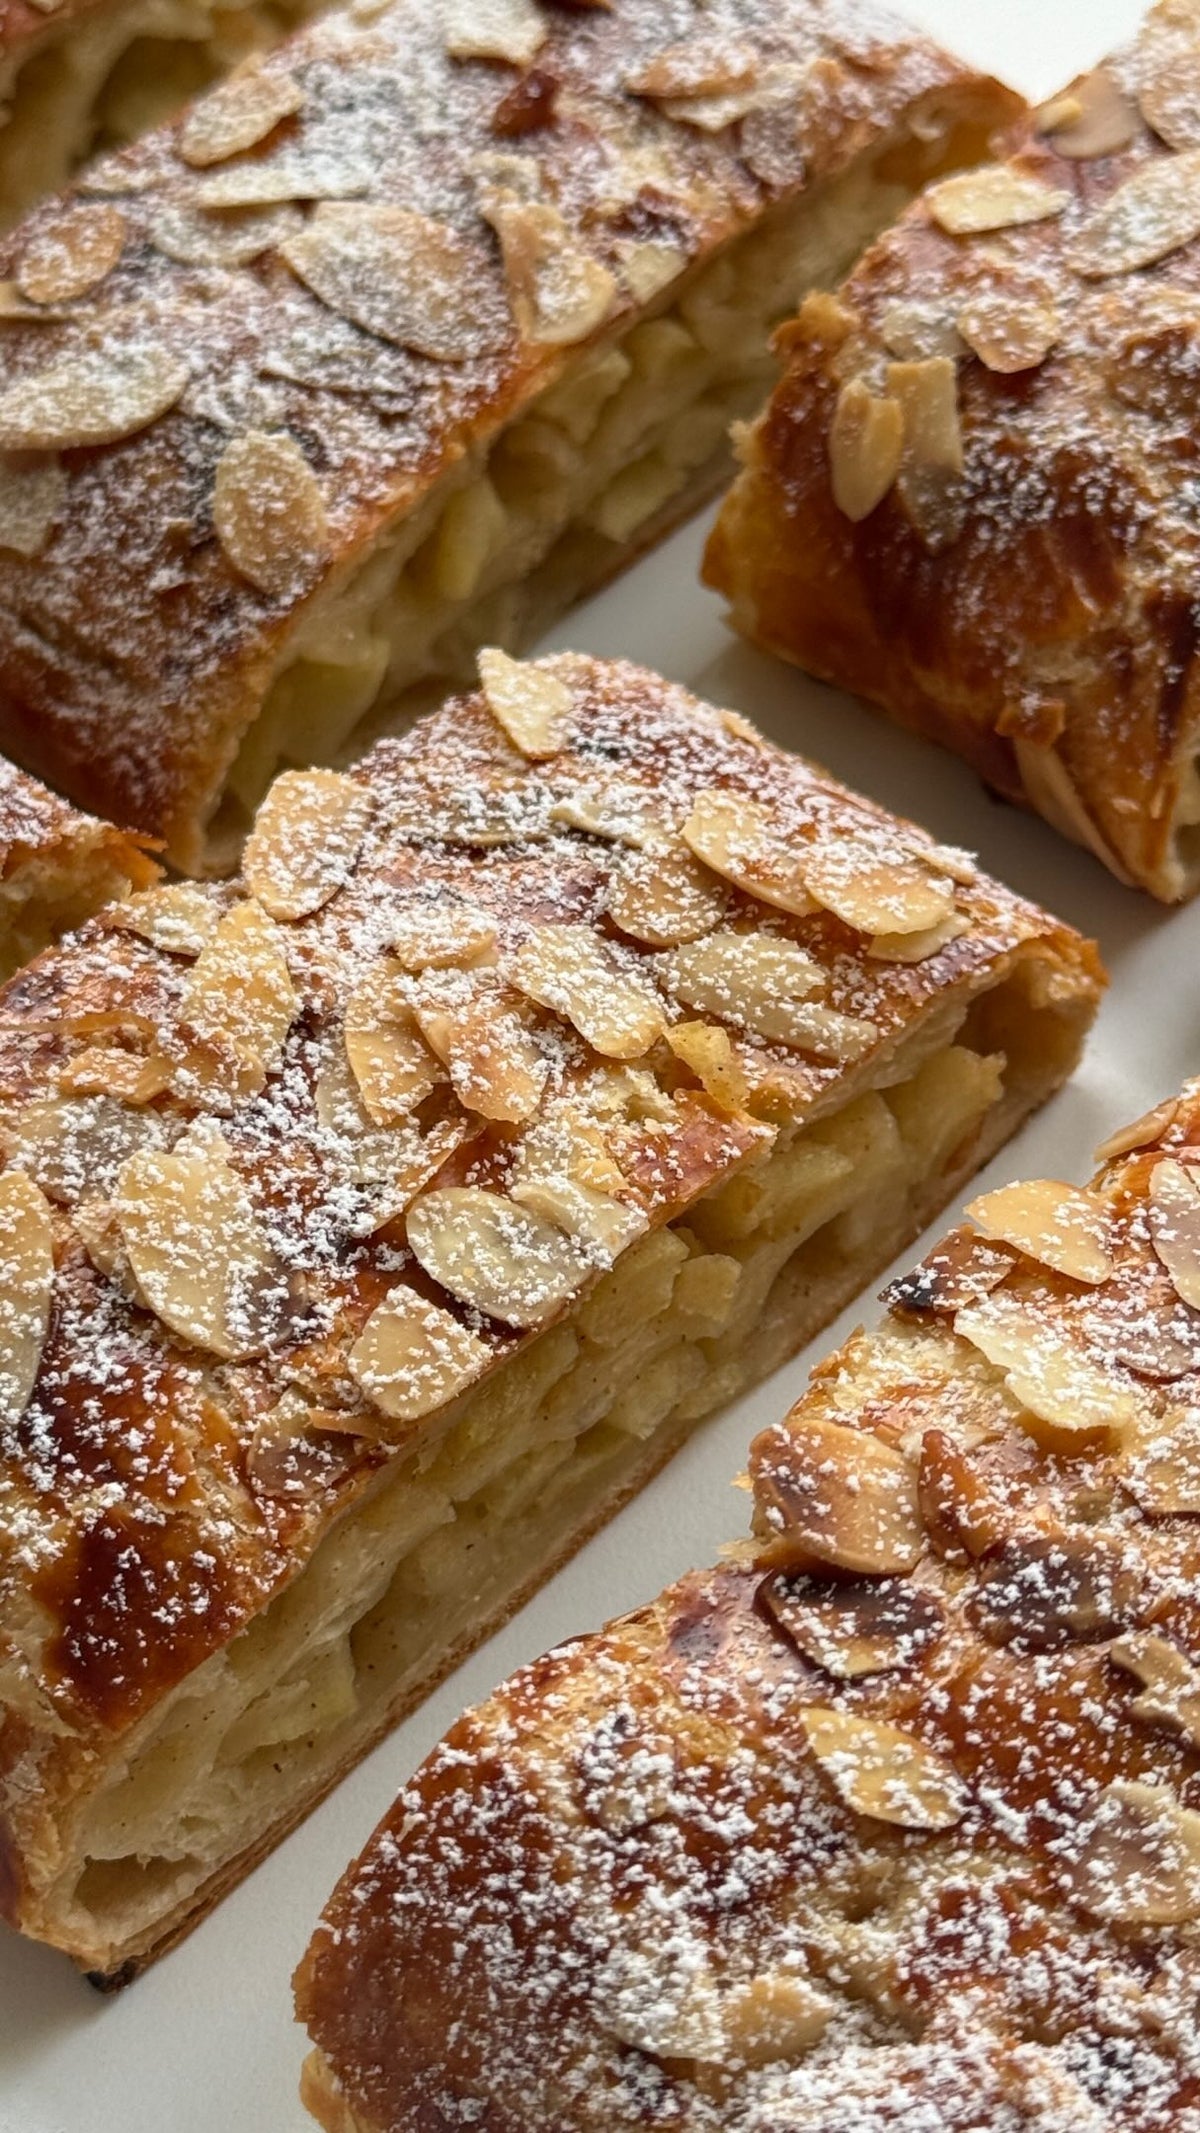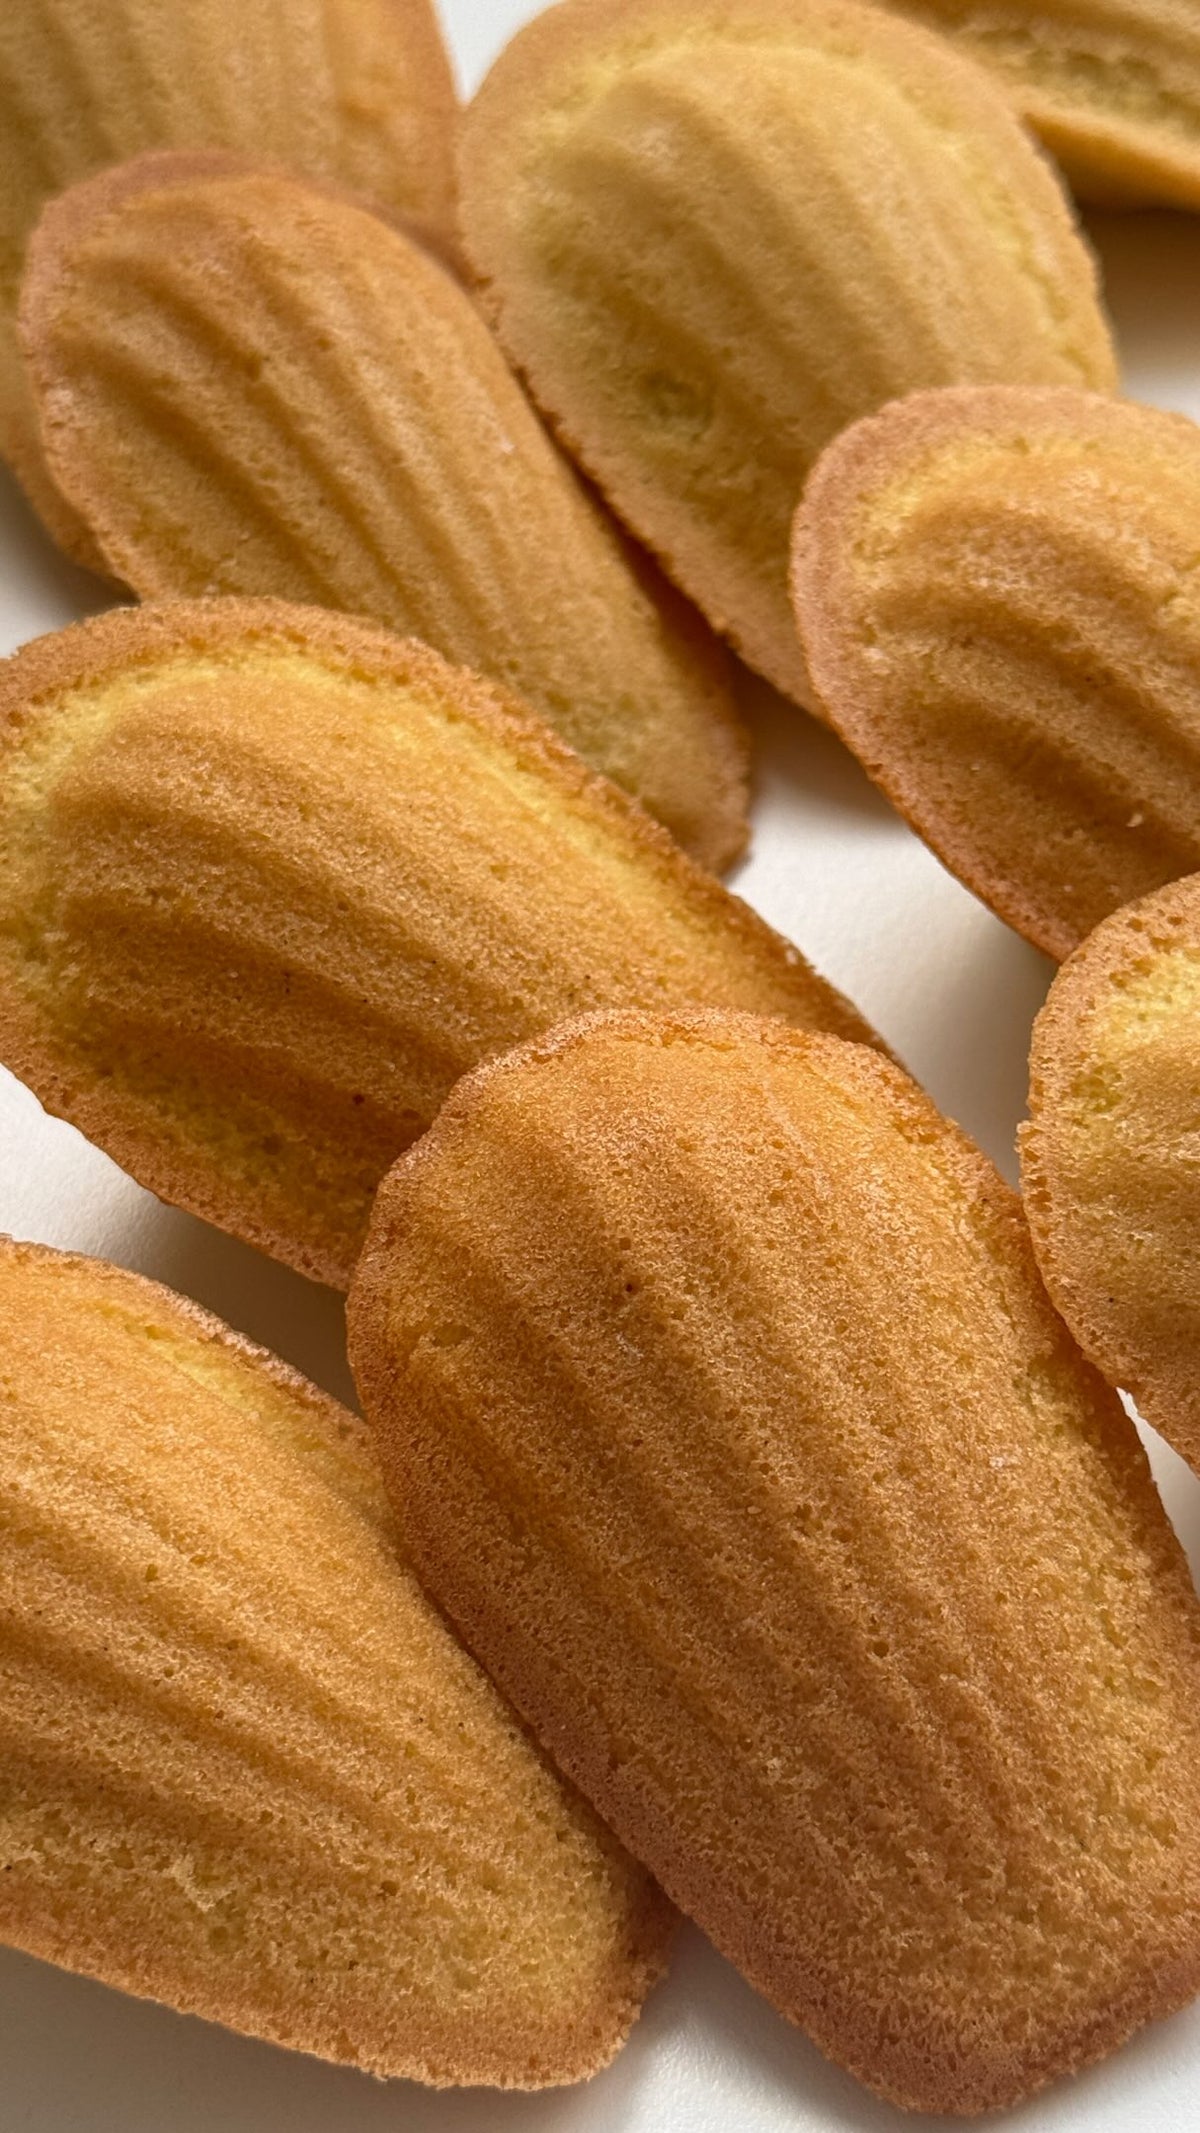



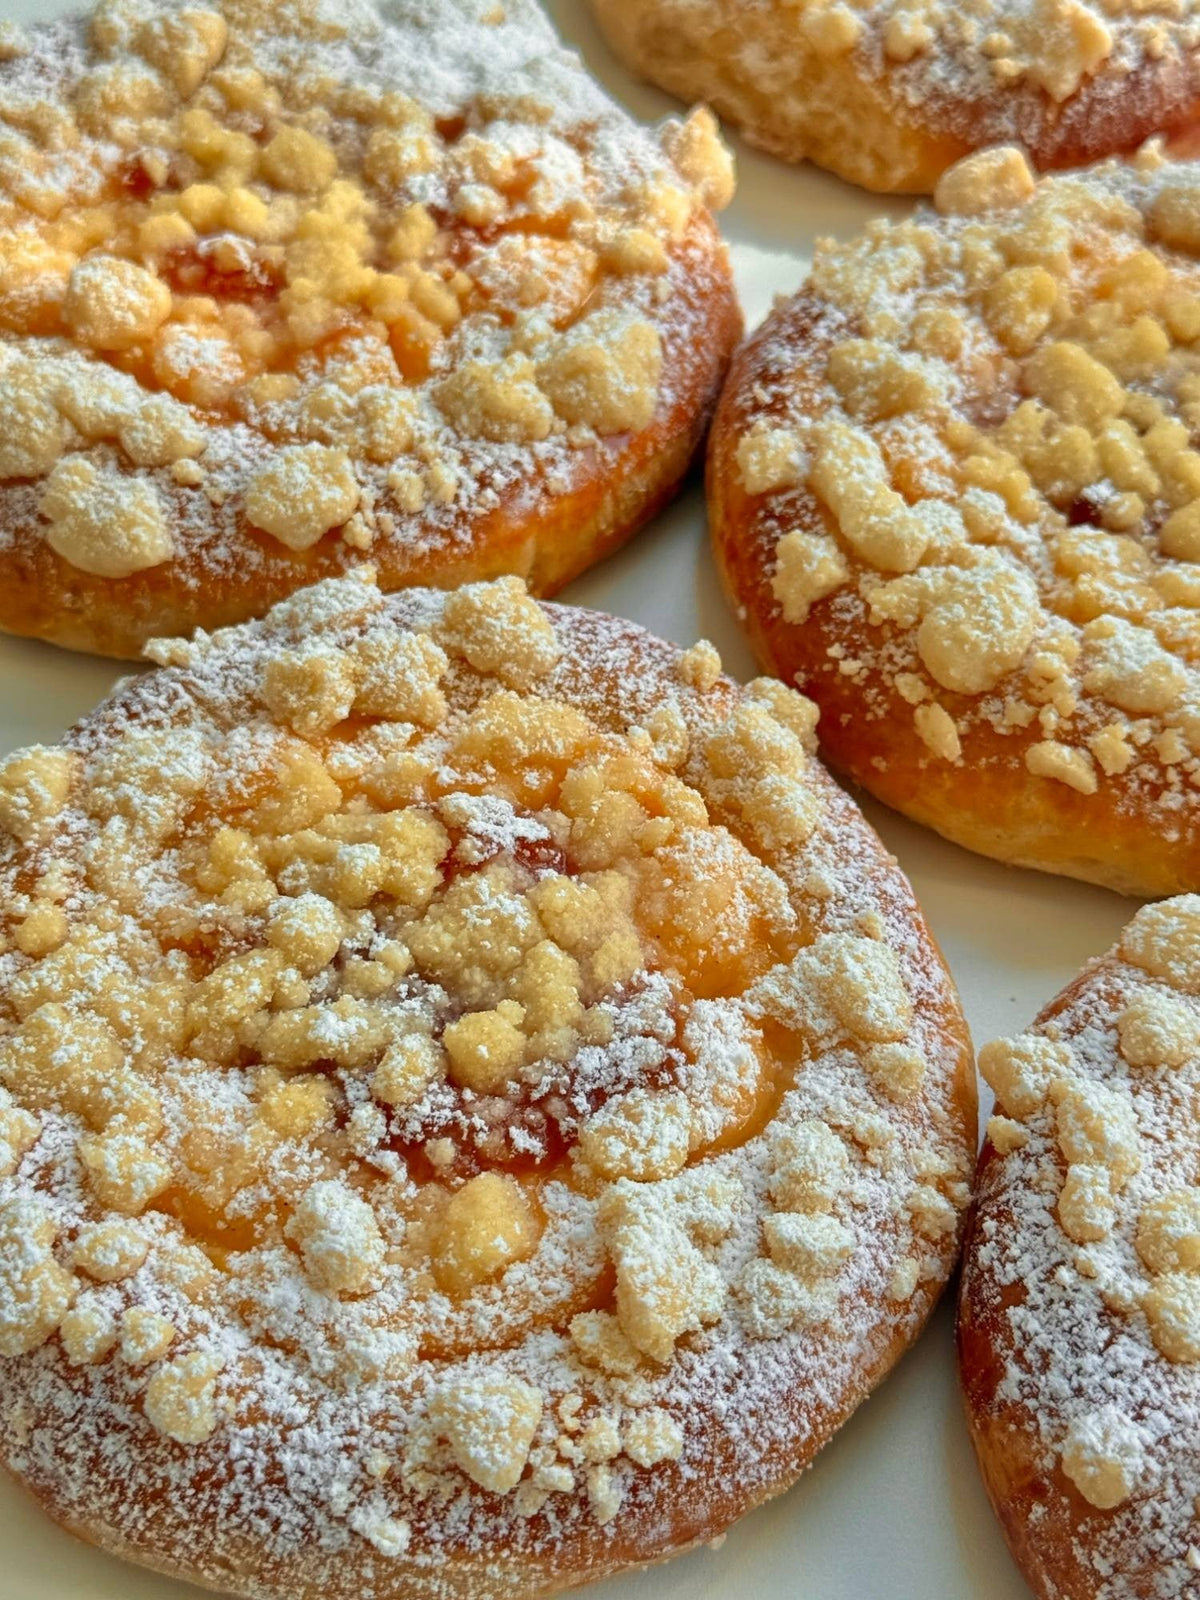
Melonpan von Food with Style, fertig angerichtet
Pastry

Melonpan

El melonpan es un pan dulce japonés muy esponjoso cubierto con una capa crujiente de galleta. Recién horneado, por dentro queda tierno y suave,...

Compartir
Raciones
6 porciones
Preparación 1 hora
Cocción 18 minutos

Ingredientes

  • Para la masa de levadura
  • Para la masa de galleta (cobertura)

Preparación

  1. 1
    Tamiza la harina de la masa de levadura en un bol. Haz un hueco en el centro y añade la levadura, un poco del azúcar y algo de la leche tibia. Remueve con suavidad y deja reposar unos 10 minutos, hasta que burbujee y se active.
  2. 2
    Incorpora el resto del azúcar, la sal, la leche restante, la yema de huevo y la mantequilla blanda. Amasa todo hasta obtener una masa blanda y ligeramente pegajosa (unos 8-10 minutos). Tapa y deja levar en un lugar cálido alrededor de 1 hora, o hasta que doble su volumen.
  3. 3
    Mientras tanto, prepara la masa de galleta: mezcla la harina, el azúcar y el extracto de vainilla. Añade la mantequilla blanda y 1 tbsp de leche y amasa brevemente hasta que quede lisa. Si hace falta, agrega un poco más de leche. Envuelve en film transparente y refrigera.
  4. 4
    Divide la masa levada en 6 porciones iguales y bolea cada una. Divide la masa de galleta en 6 trozos y estira cada uno formando un disco plano (enharina si es necesario).
  5. 5
    Cubre cada bola de masa con un disco de galleta, como si fuera una gorra, sin llegar hasta la base. Marca la superficie con un cuchillo afilado haciendo un enrejado en forma de rombos y espolvorea con azúcar granulada.
  6. 6
    Deja reposar los melonpan otros 30 minutos, tapados.
  7. 7
    Hornea en el horno precalentado a 180 °C (350 °F) con calor arriba y abajo durante unos 18-20 minutos, hasta que estén ligeramente dorados. No los hornees de más: deben quedar tiernos. El melonpan está mejor recién hecho, con la costra crujiente y el interior suave. Si sobra alguno, basta con calentarlo un momento y al día siguiente sigue estando riquísimo.

Video

Melonpan Questions

The topping only has 90 g flour, 40 g sugar, 30 g butter and 1-2 tbsp milk, so it is a stiff dough that needs the butter to be genuinely soft. If it crumbles, knead in the second tablespoon of milk a little at a time until it comes together smoothly. Roll the circles between two sheets of parchment or on a lightly floured surface, and if the dough warms up too much and tears, chill it briefly before shaping.

Fresh yeast works if you crumble it into the well with the sugar and lukewarm milk instead of the 1 tsp instant yeast, and let it stand until it foams before mixing in the rest. For the 100 ml milk in the dough and the 1-2 tbsp in the topping, an unsweetened plant milk works fine - the milk mainly supplies liquid and a little richness. Keep the butter soft in both doughs, since the texture of the yeast dough and the cookie crust depends on it being workable rather than melted.

Let the buns cool completely before storing, otherwise steam from the soft yeast dough softens the sugar-sprinkled crust from underneath. Keep them at room temperature in a loosely covered container or paper bag rather than an airtight box, and eat them within a day or two. To revive the crust, warm them for a few minutes in an oven at the baking temperature of 180 °C (350 °F).

Yes - the cookie dough is the easiest part to make ahead, since it keeps well wrapped in the fridge; just let it soften slightly before rolling it into circles. The yeast dough can also do its first rise slowly in the fridge overnight instead of at room temperature, then be divided into 6 balls the next morning. Either way, keep the final 30-minute rest after topping the balls, since that is what gives the buns their lift in the oven.

The recipe has you place the cookie circle like a cap that does not reach all the way to the bottom, which leaves room for the yeast dough to expand upward without pushing the crust off. If the circles are rolled too thin they tear apart as the bun rises, and if they are wrapped too far down they can slip. Score the criss-cross pattern with a sharp knife so the crust has defined lines to split along, and press the topping gently onto the ball so it sticks before the final 30-minute rest.

deliciosas, probadas y listas para inspirar
Explora Más de 400 Recetas Deliciosas