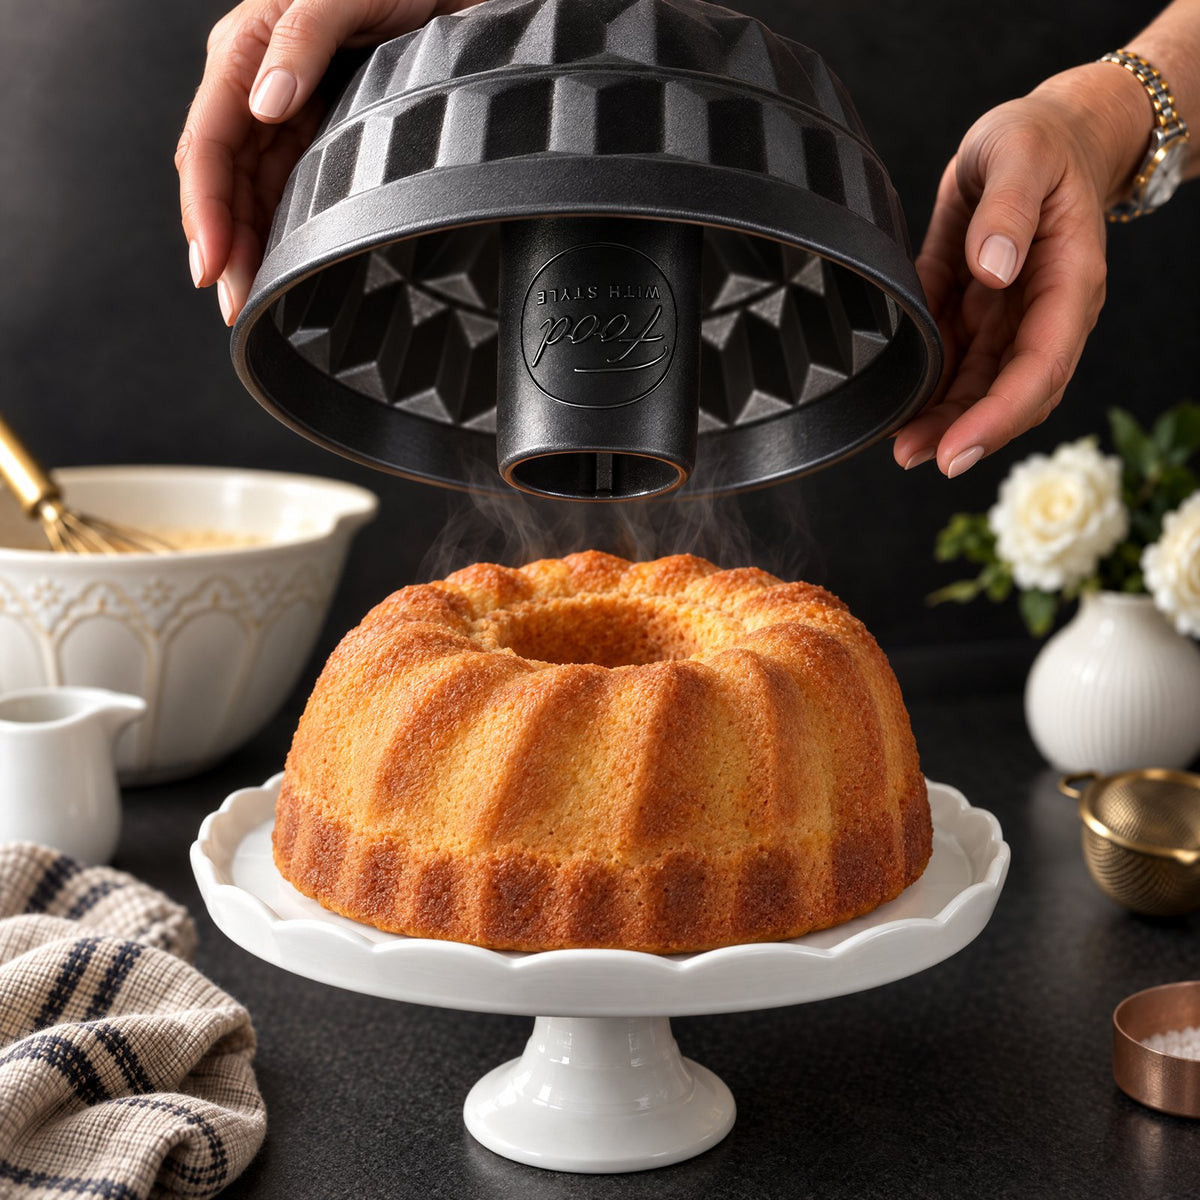

Danish Dream Cake von Food with Style, fertig angerichtet
Cake

Torta dei sogni danese

Una torta soffice e leggera con una copertura al cocco caramellata: umida, burrosa e semplicemente irresistibile.

Condividi
Cottura 20 minuti

Ingredienti

Preparazione

  1. 1
    Scaldare il forno a 180°C (350°F), statico. Foderare lo stampo con carta forno.
  2. 2
    Montare le uova con lo zucchero e la vaniglia per 4-5 minuti, fino a ottenere un composto chiaro e spumoso.
  3. 3
    In una ciotola a parte mescolare la farina 00, il lievito e il sale. Incorporare gli ingredienti secchi al composto di uova mescolando delicatamente dal basso verso l'alto.
  4. 4
    Scaldare il latte con il burro finché il burro non è completamente sciolto, poi unire all'impasto mescolando.
  5. 5
    Versare l'impasto nello stampo preparato e cuocere per 20-25 minuti.
  6. 6
    Per la copertura al cocco, scaldare in un pentolino il burro, lo zucchero di canna e il latte. Per una copertura più delicata, basta far sciogliere insieme gli ingredienti. Per un gusto di caramello più intenso, lasciare sobbollire dolcemente il composto per 2-4 minuti.
  7. 7
    Unire il cocco rapè mescolando e distribuire la copertura in modo uniforme sulla torta ancora parzialmente cotta.
  8. 8
    Rimettere la torta in forno e cuocere per altri 10-15 minuti, finché la copertura non è dorata.
  9. 9
    Lasciare intiepidire la torta prima di tagliarla a quadrotti.

Video

Danish Dream Cake Questions

The lift in this cake comes almost entirely from air beaten into the eggs and sugar, so the full 4-5 minutes of whisking until pale and fluffy is not optional. Once the flour goes in, fold gently rather than stir, and add the milk-butter mixture warm but not hot, since heat and vigorous mixing both knock the air back out. If you deflate the batter at either step, the baking powder alone cannot rescue the texture.

Shredded coconut is what gives the topping its structure and chew, so desiccated or flaked coconut works, but a coconut-free version will not set the same way. Brown sugar can be replaced with white sugar if that is all you have, though you will lose some of the caramel depth the topping is known for. Keep the butter-sugar-milk ratio as written, otherwise the topping runs off the cake or stiffens too much to spread.

Let it cool completely before storing, or trapped steam will soften the golden topping. Keep it covered at room temperature rather than in the fridge, since cold firms up the butter in both the sponge and the coconut layer and dulls the flavour. Cut squares stay best when the cut sides are pressed together or covered.

You can weigh out the dry mix of flour, baking powder, and salt ahead and keep it covered, and line the pan in advance. Do not mix the batter ahead - the beaten eggs lose volume on standing and the baking powder starts working as soon as it meets the milk. The coconut topping can be cooked ahead too, but it will thicken as it cools, so warm it gently before spreading.

The cake bakes 20-25 minutes first so the surface is set enough to carry the topping; adding it too early lets it sink into a still-wet batter. Spread it evenly and quickly with a light hand so you do not tear the surface, then return it to the oven for the final 10-15 minutes. Watch it closely at the end, because the sugar in the topping goes from golden to burnt faster than the sponge browns.

delizioso, testato e pronto a ispirare
Esplora oltre 400 Ricette Gustose