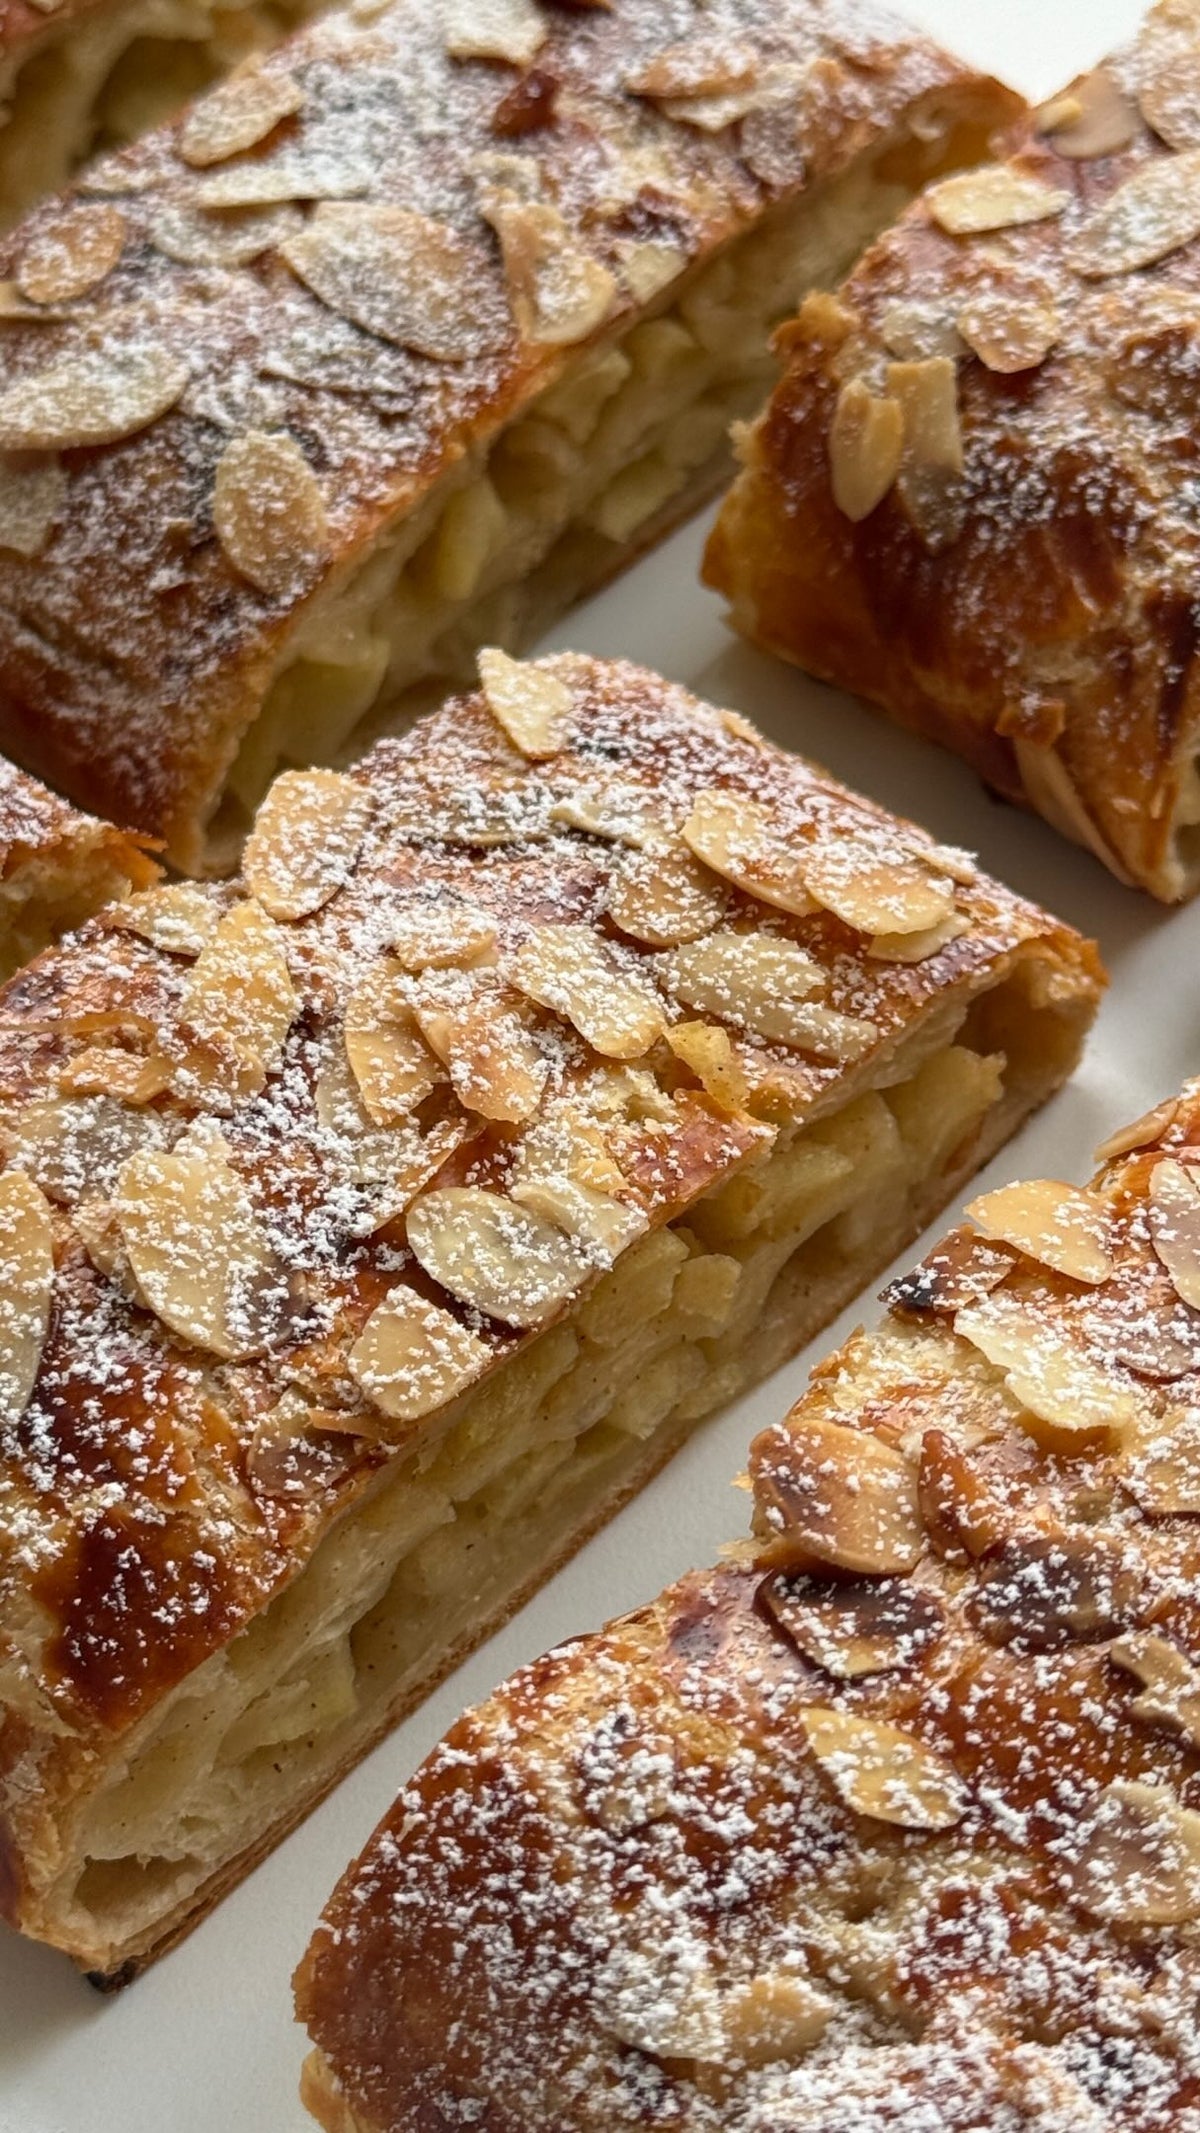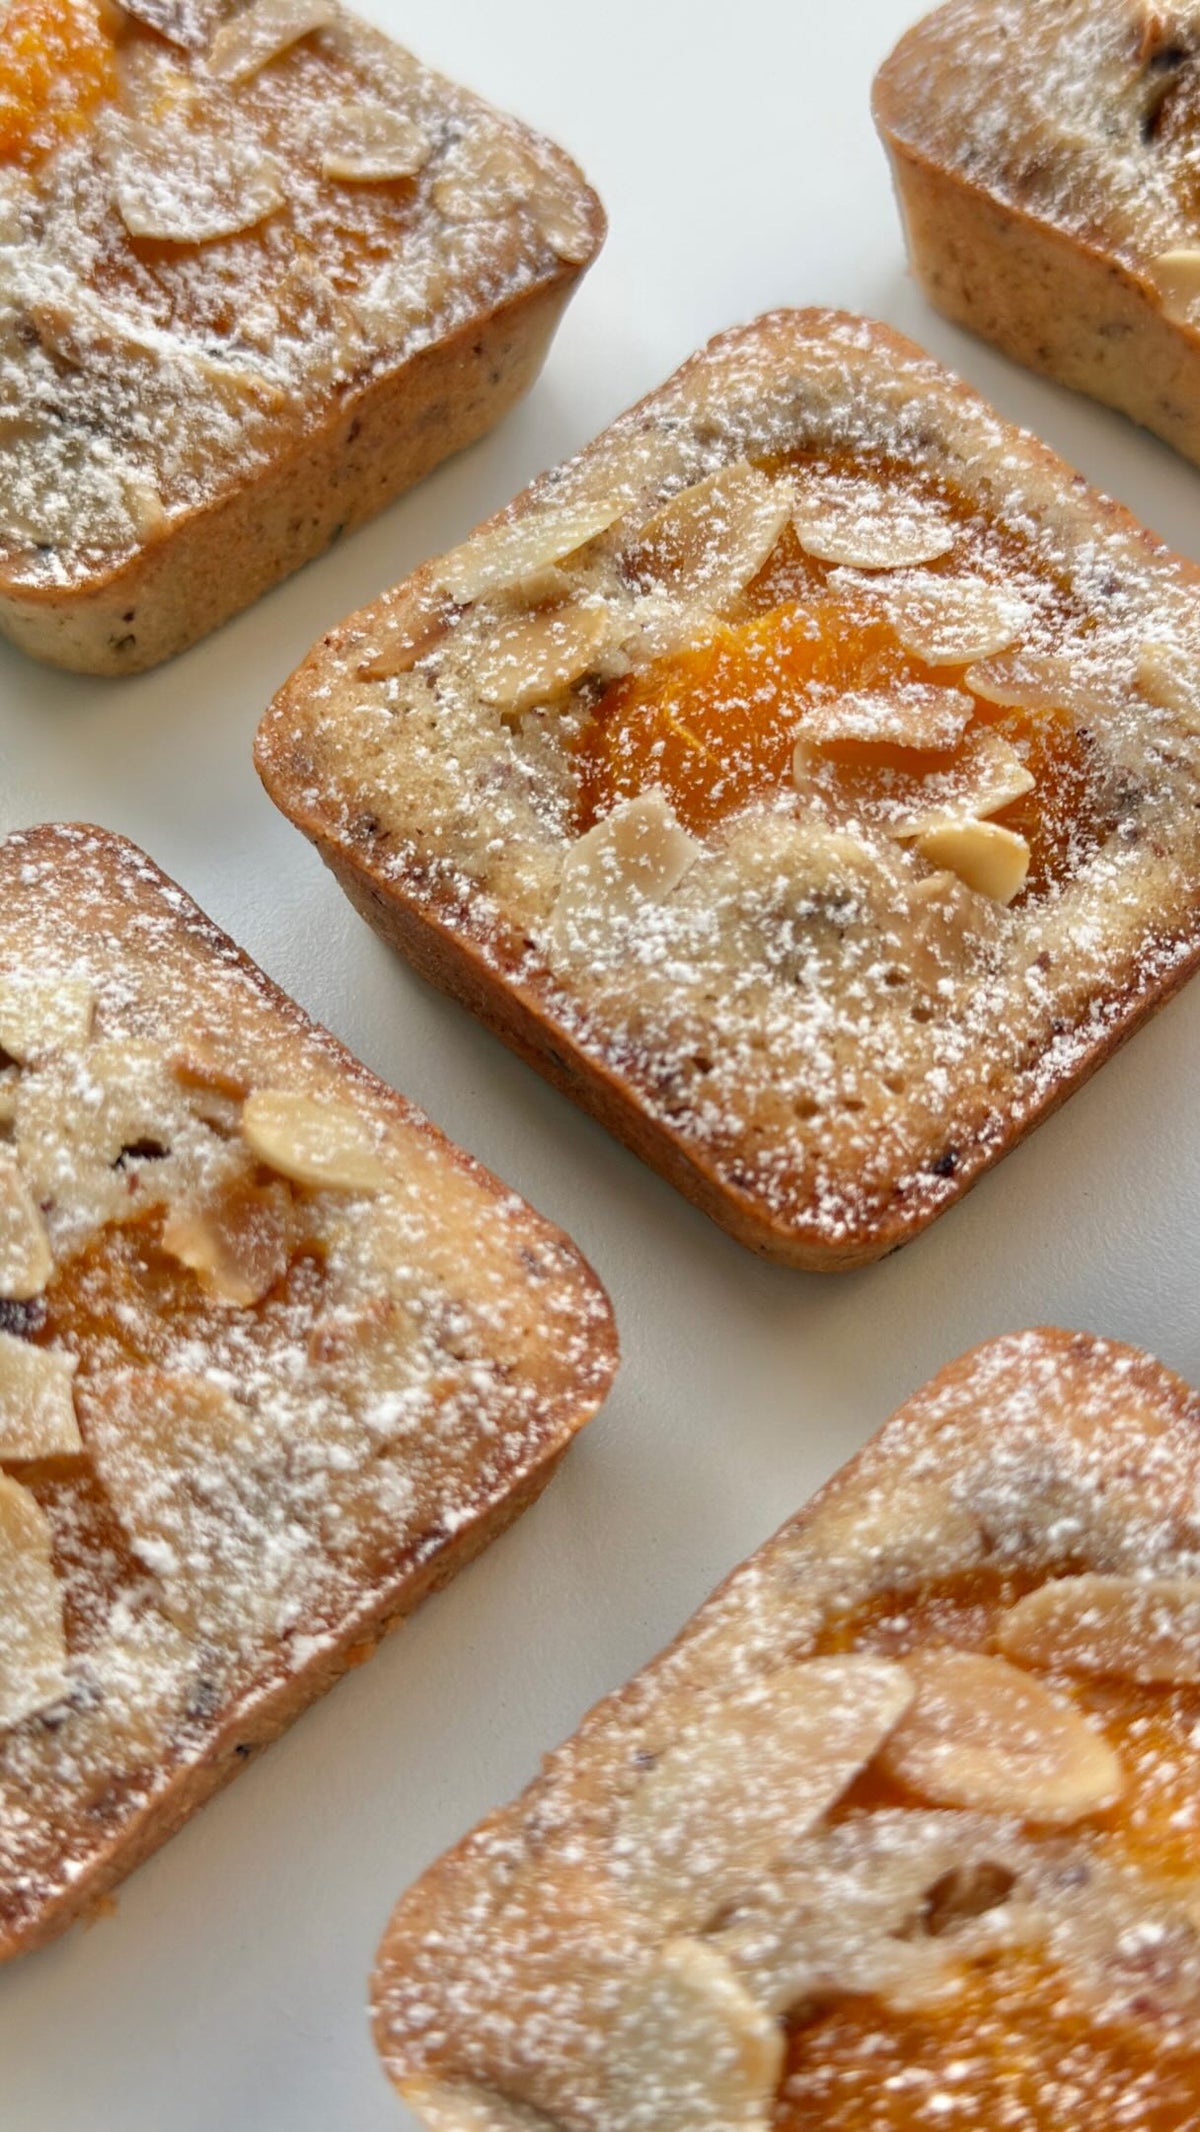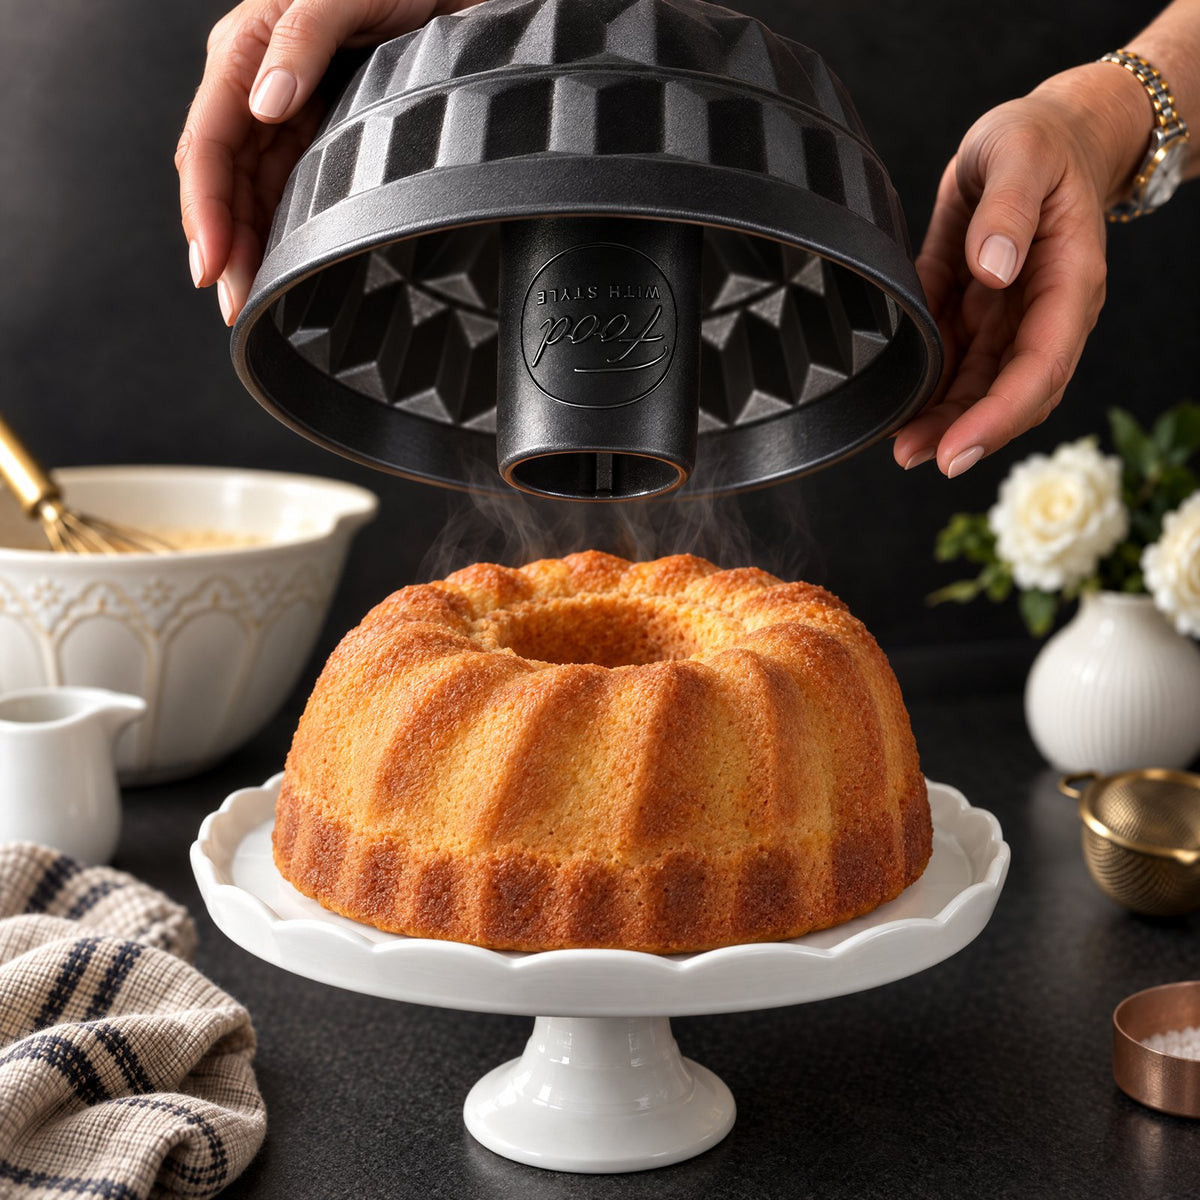


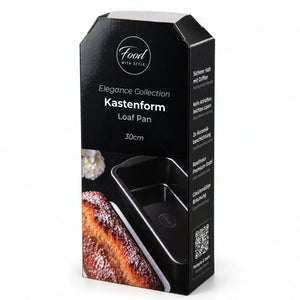
Apple Sheet Cake von Food with Style, fertig angerichtet
Cake

Apple Sheet Cake

This apple cake is a comfort we crave all year round. Make sure to follow each step and enjoy baking!

Share
Servings
12 servings
Cook Time 35 minutes

Ingredients

  • For the Batter
  • For the Apple Filling

Directions

  1. 1
    Peel, core and dice the apples. In a saucepan, cook them with butter, sugar, cinnamon and a dash of lemon juice for about 5 minutes over medium heat, until soft but not mushy. If there’s too much liquid, don’t use all of it - just enough to keep the filling juicy. Let cool.
  2. 2
    Preheat the oven to 180 °C (top/bottom heat). Line the baking pan with parchment paper or grease well.
  3. 3
    Cream the butter with sugar, vanilla and salt. Add the eggs one at a time. Mix flour and baking powder, then fold into the batter briefly. Add milk until smooth.
  4. 4
    Spread the batter evenly into the prepared pan.
  5. 5
    Spoon the cooled apple filling over the batter and gently swirl it in with the back of a spoon - don’t fully mix, a marbled look is perfect. Sprinkle generously with the almonds.
  6. 6
    Bake for 35-40 minutes, until golden brown and the apple top is slightly caramelized. (Check with a toothpick in the cake part.)
  7. 7
    Let cool in the pan and dust with powdered sugar before serving. Fresh from the oven it’s lovely - but it gets even more tender and flavorful the next day.

Video

FAQ

Apple Sheet Cake Questions

Since the apple layer sits on top, the classic toothpick test only works if you poke it into the cake part underneath, not into the fruit. Look for a golden brown surface and slightly caramelized apples after 35-40 minutes. If the toothpick comes out with wet batter still clinging, give it a few more minutes.

You are already free to choose here, the recipe suggests Elstar, Boskoop or Jonagold since they hold their shape while cooking. Just adjust the sugar in the filling within the 30-40 g range depending on how tart your apples are. Softer, sweeter apples may need less sugar and a shorter cooking time to avoid turning to mush.

Let it cool completely in the pan first, then keep it covered so it stays moist. The recipe notes it gets more tender and flavorful the next day, which happens as the apple filling settles into the batter overnight. So if you can resist, waiting a day is worth it.

Yes, the apple filling needs to cool anyway before it goes on the batter, so you can easily cook it ahead of time and let it sit while you prepare everything else. Just don't skip that cooling step, warm filling would melt into the batter instead of creating that nice marbled swirl. The batter itself is quick to whip up, so there is no real need to make it ahead.

The biggest risk is mixing too much, the recipe is clear that you should only gently swirl with the back of a spoon for a marbled look, not stir everything together. Overmixing turns your nice layered effect into a uniform mush and can also make the batter dense. Also make sure to drain excess liquid from the filling first, too much juice will make the batter soggy instead of marbled.