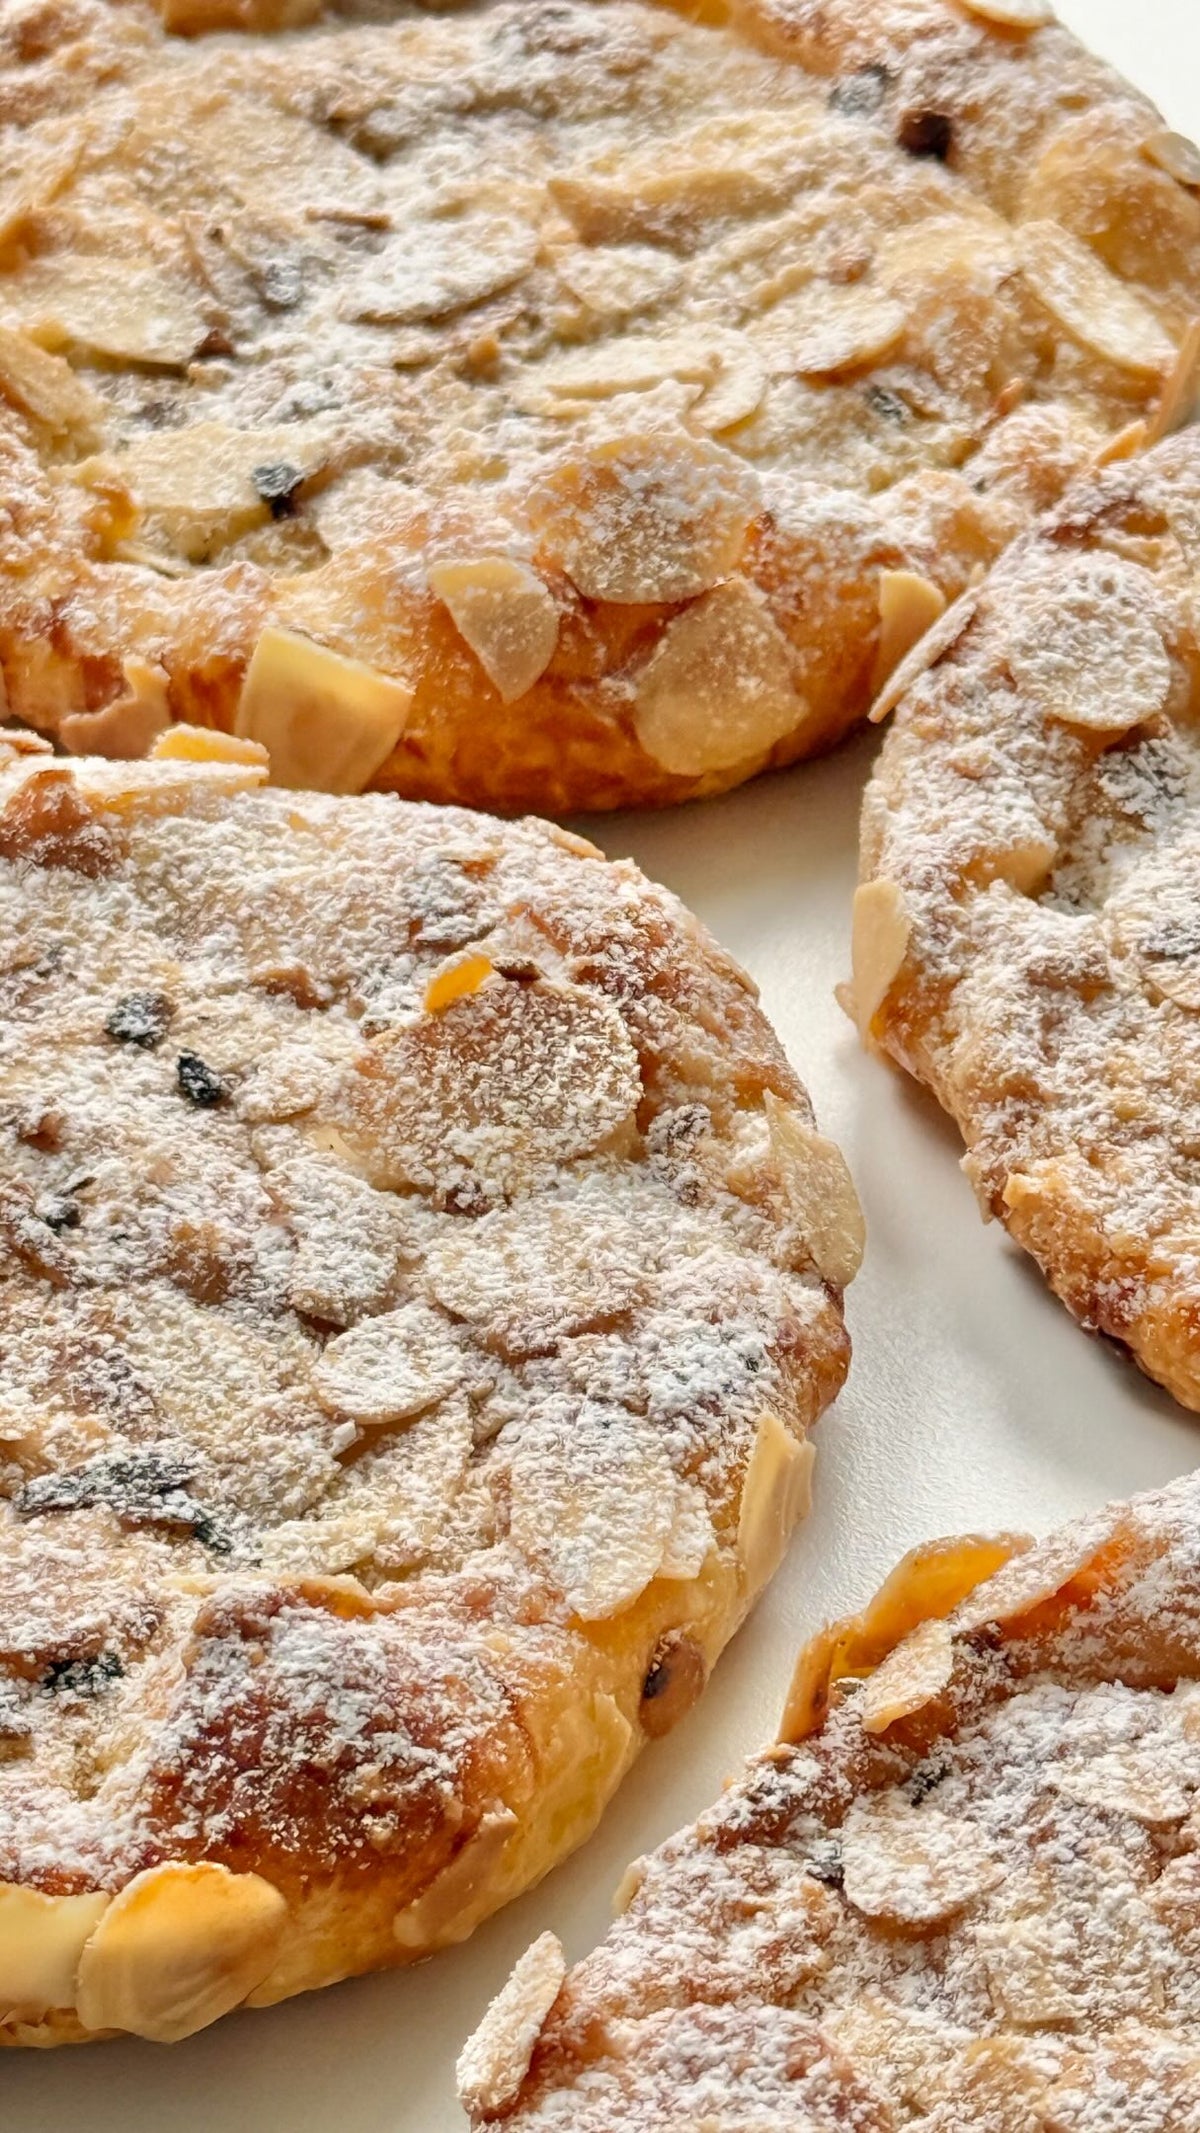
Bülbül Yuvasi von Food with Style, fertig angerichtet
Pastry

Bülbül Yuvası

Perfectă pentru Eid / Bayram - un clasic minunat din bucătăria turcească: delicată, elegantă și potrivită pentru orice masă de dulciuri.

Distribuie
Porții
24 bucăți
Coacere 15 minute

Ingrediente

  • Pentru uns

Preparare

  1. 1
    Pentru sirop, se dau în clocot apa și zahărul și se lasă să fiarbă la foc mic aproximativ 12 minute. Se adaugă zeama de lămâie și se mai fierbe 5 minute. Apoi se lasă să se răcească complet.
  2. 2
    Se amestecă untul, uleiul de floarea-soarelui, oul, iaurtul și sarea. Se adaugă grișul, praful de copt și făina și se frământă un aluat moale. Se învelește în folie alimentară și se lasă la rece în frigider aproximativ 30 de minute.
  3. 3
    Se întinde aluatul și se decupează în total 48 de cercuri, fiecare cu diametrul de aproximativ 5 cm.
  4. 4
    La jumătate dintre cercuri se decupează și o gaură în mijloc, cu diametrul de aproximativ 2,5-3 cm.
  5. 5
    Se așază cercurile întregi în tava tapetată cu hârtie de copt și se ung ușor marginile cu albuș.
  6. 6
    Se așază cu grijă deasupra cercurile cu gaură și se presează ușor.
  7. 7
    Se ung toate cu amestecul de gălbenuș și lapte.
  8. 8
    Se umplu golurile din mijloc cu nucile tocate.
  9. 9
    Se coc la 175°C (căldură sus/jos) aproximativ 15-20 de minute, până când prăjiturile capătă o culoare frumoasă aurie. Timpul de coacere poate varia ușor în funcție de cuptor.
  10. 10
    Se lasă prăjiturile să se răcească complet.
  11. 11
    Apoi se toarnă cu grijă siropul călduț sau rece peste ele și se așteaptă până este absorbit complet.

Video

Bülbül Yuvasi Questions
The syrup must be completely cool before it meets the freshly baked, still-hot nests - that temperature contrast is what lets them absorb just enough without collapsing. Since the syrup simmers for about 12 minutes plus 5 more after the lemon juice, make it first and let it cool while you work on the dough. Pouring warm syrup over warm pastries is the most common reason they turn mushy.

Yes - chopped pistachios, hazelnuts, or almonds work in place of the 60 g walnuts, since the nuts sit in the center opening rather than being worked into the dough. Chop them to a similar size so they fill the 2.5-3 cm hole neatly and don't tumble off during baking. Keep the amount roughly the same, or the nests will look sparse.

Keep them at room temperature in a tin or airtight container rather than the fridge, where the dough dries out and the syrup goes sticky. Let them cool and finish absorbing the syrup completely before stacking, and put parchment between layers so the glazed tops don't stick together. They're best in the first few days, while the edges still have some bite.

Both the syrup and the dough are made for advance work: the syrup needs to cool fully anyway and can rest in the fridge, and the dough is already wrapped in plastic wrap for chilling. Let the dough come back to a workable temperature before rolling, or the 5 cm circles will crack at the edges. Assemble and bake on the day you plan to serve - the nests taste best fresh.

The egg white brushed on the edges of the whole circles is the glue - brush it right onto the rim where the ring will sit, then press the top ring down gently so the two layers actually bond. Rolling the dough too thick or unevenly is the other culprit, as thicker bases puff up and push the rings sideways in the oven. Also avoid overfilling the center with walnuts before baking, since a heaped middle can lift the ring as the dough rises.

delicios, testat și gata să inspire

Explorează peste 400 de Rețete Delicioase