
Mini Cream Puffs Recipe

Mini Cream Puffs Recipe

Mini Cream Puffs Recipe

Mini Cream Puffs Recipe

Food with Style
Servings

6 servings

Prep Time

40 minutes

Cook Time

28 minutes

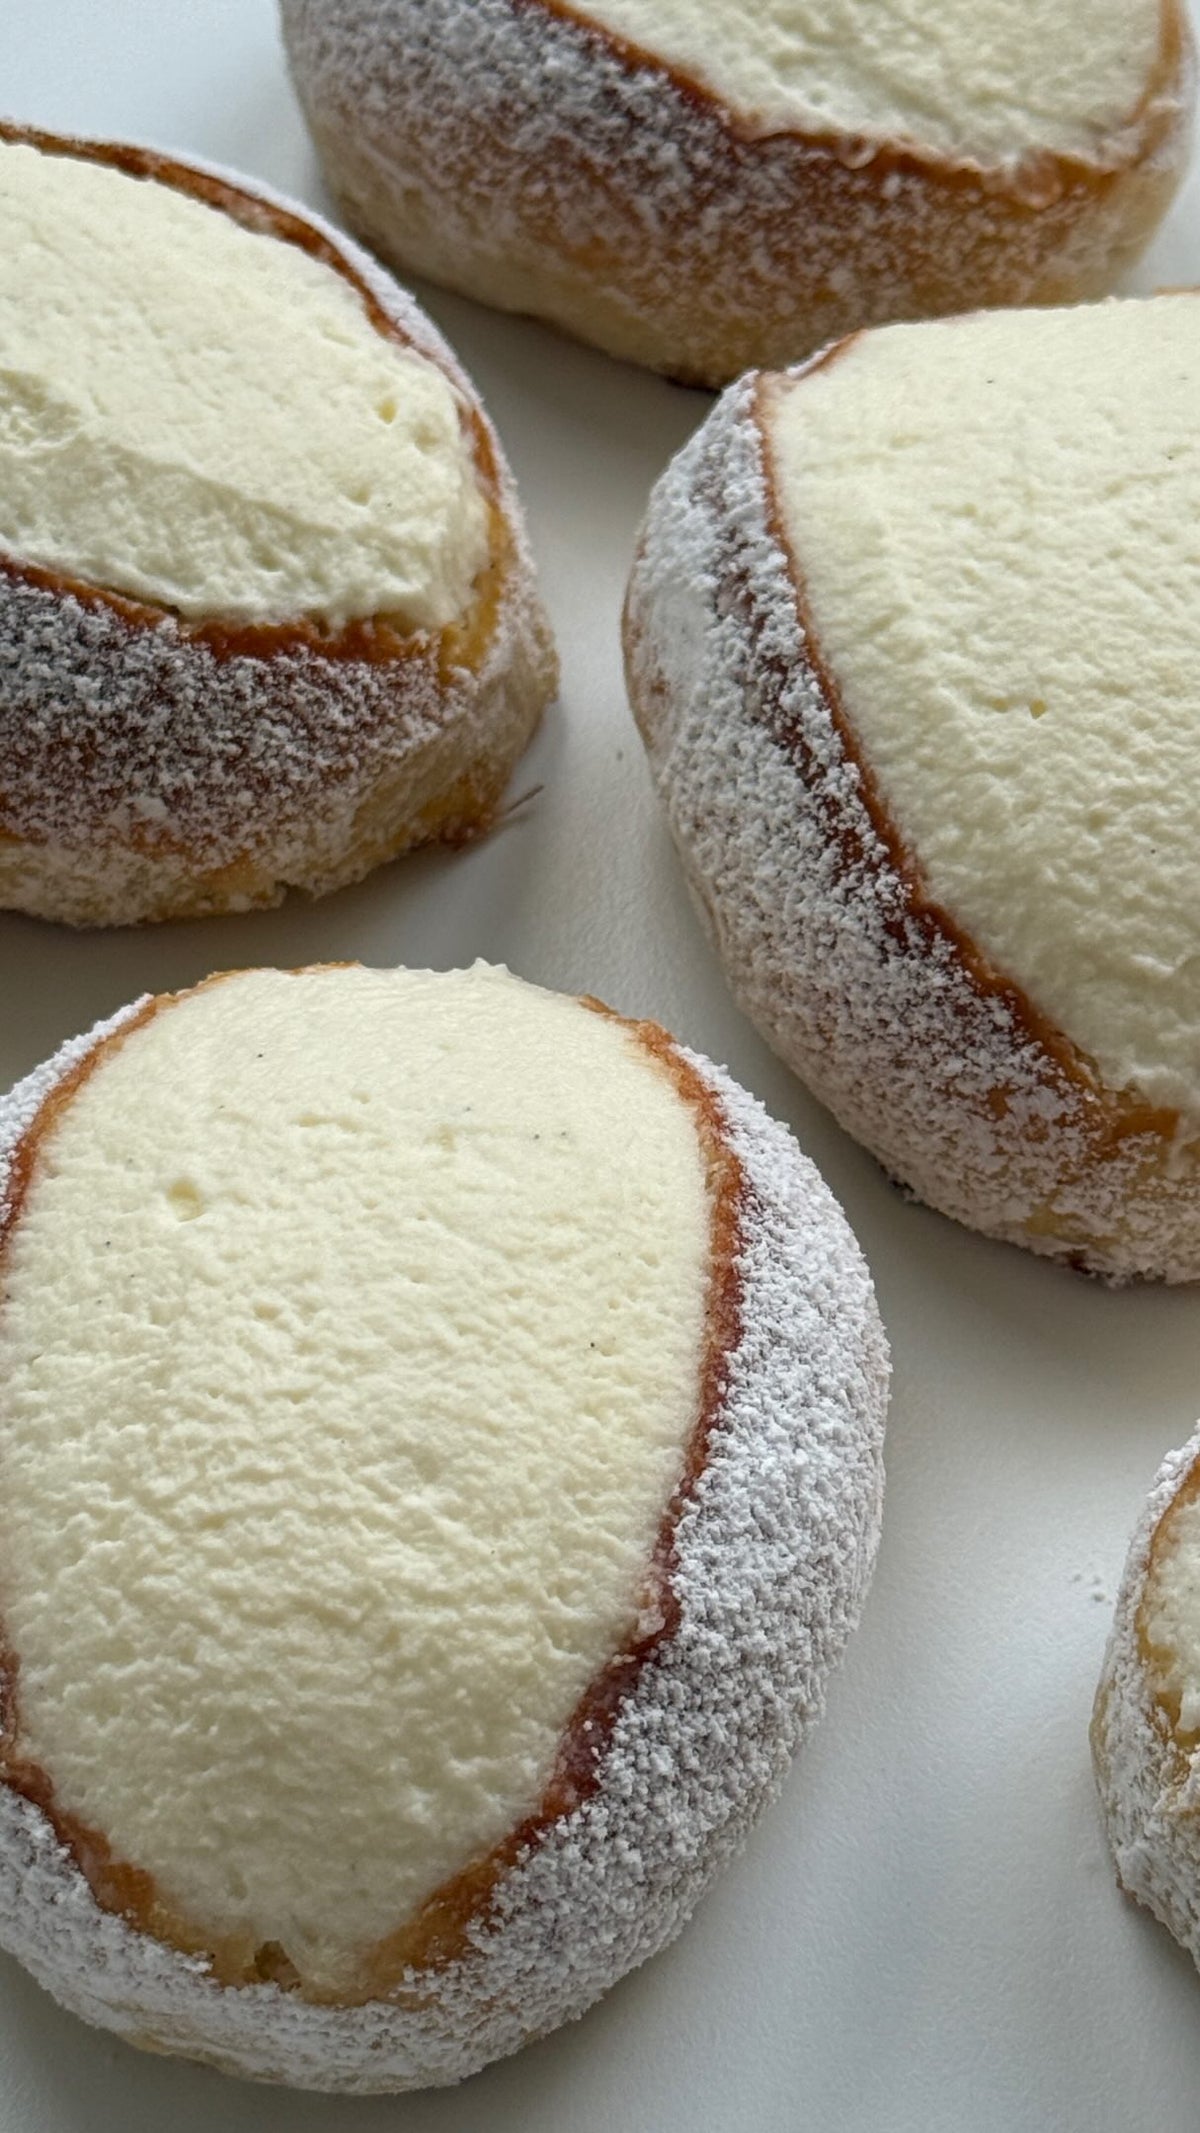
Indulge in the light and airy delight of Mini Cream Puffs, a perfect addition to your dessert repertoire! These luscious creations feature delicate choux pastry, filled with rich whipped cream and a hint of sweetness from powdered sugar. They embody the charm of traditional dessert recipes while offering easy preparation for all baking enthusiasts.

With just a few ingredients—including butter, flour, and eggs—you can whip up a batch of these delightful treats in no time. Ideal for parties or a sweet treat at home, these dessert ideas will impress guests and satisfy cravings. Explore the joy of baking with this easy dessert recipe, perfect for any occasion. Don’t miss out on making these scrumptious mini cream puffs—your taste buds will thank you!

Ingredients

    • - 60g Butter
    • - 150ml Water
    • - 75g All-Purpose Flour
    • - A Pinch of Salt
    • - 2 Eggs (Size M)

    • - 350ml Whipped Cream
    • - 2 Tablespoons Powdered Sugar
    • - Fresh Berries or Powdered Sugar for Garnish (Optional)

    Directions

      1. Preheat the oven to 200 degrees Celsius (Top and bottom heat, middle rack)
      2. In a pot, bring water, butter, and salt to a boil. Add the flour all at once and stir until the dough comes away from the pot’s bottom
      3. Remove the pot from the heat, let it cool, and add the eggs one by one while stirring constantly. The dough should be smooth and glossy
      4. Fill the choux pastry into a piping bag with a star tip
      5. Pipe small 5 cm wide portions of dough onto a baking sheet lined with parchment paper
      6. Place the mini cream puffs in the preheated oven. After 20 minutes, reduce the temperature to 180 degrees and bake for an additional 5-8 minutes until golden brown. Important: Do not open the oven door during baking to prevent collapsing
      7. After baking, turn off the oven, wait for 5 minutes, then wedge a wooden spoon into the oven door (carefully open a small gap) to allow the cream puffs to cool slowly and retain their shape
      8. Let the baked cream puffs cool completely
      9. For the Filling
      10. Whip the cream with powdered sugar until stiff
      11. Slice the cream puffs horizontally and fill them with the whipped cream
      12. Garnish with fresh berries or dust with powdered sugar as desired.

      Mini Cream Puffs Questions

      To achieve perfect mini cream puffs, pay attention to the crucial steps of making choux pastry and managing the baking process. First, when boiling the water and butter, make sure the mixture reaches a rolling boil before adding the flour; this creates a strong dough base. Stir vigorously after adding the flour until it forms a smooth ball that pulls away from the sides of the pot. Allow the dough to cool for a few minutes before adding the eggs; this prevents them from cooking. When piping, aim for uniform sizes—about 5 cm wide—so they bake evenly. Finally, it's essential not to open the oven door during the first phase of baking, as this will cause the pastries to collapse. After baking, let them cool with the door slightly ajar to maintain their shape.

      While classic mini cream puffs filled with whipped cream and powdered sugar are delightful, there are numerous ways to customize and add flavor to your treats. Consider infusing your whipped cream with flavors by adding vanilla extract, almond extract, or citrus zest to the cream before whipping. You can also try folding in melted chocolate or cocoa powder for a rich chocolate cream filling. For added texture, consider mixing in finely chopped nuts or fruit puree. Additionally, for a different twist, you can incorporate spices like cinnamon or cardamom into your choux pastry to enhance the overall flavor profile. Experimenting with different fillings like pastry cream, mousse, or flavored custards can also take your mini cream puffs to another level of deliciousness!

      To maintain the delicate texture and flavor of mini cream puffs, proper storage is vital. After baking, store the empty cream puffs in an airtight container to preserve their crispness. They can be kept at room temperature for up to a day or refrigerated for several days. However, it’s best to fill them fresh before serving to avoid sogginess, as filled cream puffs will lose their crunch upon sitting due to the moisture from the cream. If you need to prepare your pastries in advance, you can pipe the filling into the cream puffs just before serving for best results. Additionally, consider garnishing them with fresh berries or a dusting of powdered sugar right before sharing with guests to maintain a polished and appetizing presentation.

      When making mini cream puffs, it is critical to avoid several common mistakes that could lead to disappointing results. One frequent error is not allowing the dough to cool sufficiently before adding the eggs, leading to scrambled eggs in the mixture rather than a smooth pastry dough. Another common mistake is opening the oven door too early—this can cause the airy puffs to fall flat. Additionally, not piping consistent sizes can result in uneven baking, where some puffs might be overcooked while others are undercooked. Lastly, ensure that all ingredients are measured accurately; for example, too much flour can make the dough heavy, and too little can make it collapse. By being mindful of these pitfalls, you can create beautifully puffed, light pastries every time.

      Absolutely, mini cream puffs can be adapted for gluten-free and dairy-free diets with a few simple substitutions. For a gluten-free version, substitute regular all-purpose flour with a gluten-free all-purpose flour blend, ensuring it contains xanthan gum, which helps mimic the elasticity of gluten. For the filling, you can choose dairy-free whipped cream options made from coconut milk or a plant-based cream substitute. Make sure to check labels for any added sugars or preservatives that may not fit your dietary needs. Testing the recipe in advance is recommended to achieve the right texture and flavor profiles. With these substitutions, you can provide a delightful treat for everyone, regardless of dietary restrictions!