Marble Cake Recipe

Marble Cake Recipe

star

Marble Cake Questions

To achieve a stunning marble effect in your marble cake, it’s essential to alternate between the vanilla and chocolate batters carefully. When layering the two batters in the cake pan, don’t worry about precise measurements—just dollop the batters in turns. After placing your layers, take a skewer or a knife and gently swirl through the batters in a figure-eight motion. This technique creates a beautiful marbled pattern without overmixing, which could result in a uniform color rather than distinct layers. Remember, the aim is to have both flavors distinct yet harmoniously combined, giving that inviting look that prompts everyone to dive in!

Absolutely! There are several ways to make healthier substitutions while still achieving a delicious marble cake. For the butter, consider using unsweetened applesauce or Greek yogurt to lower the fat content while maintaining moisture. You can also replace granulated sugar with coconut sugar or natural sweeteners like honey or maple syrup, but be mindful of the conversion ratios as they vary in sweetness and moisture. For flour, using whole wheat flour can add fiber and nutrients; however, you might need to adjust the liquid content slightly. Additionally, you can use unsweetened cocoa powder and opt for dark chocolate with a higher cocoa content for a richer flavor that might help reduce added sugars. Always keep in mind that some modifications may affect the cake's texture, so it might take a little experimentation.

Maintaining moisture in your marble cake requires a few key steps. First, make sure not to overmix the batter, as this can lead to a dense cake. Incorporating the wet and dry ingredients alternately helps keep the batter from becoming tough. It’s also essential to bake the cake at the right temperature; too high can cause the exterior to set while the inside remains undercooked, resulting in a dry texture. Using room-temperature eggs and butter can create a fluffier batter that retains moisture better. Finally, once your cake is done, be sure to let it cool properly; allowing it to cool in the pan for 10-15 minutes before transferring it to a wire rack prevents excess steam from escaping, which can dry out the cake.

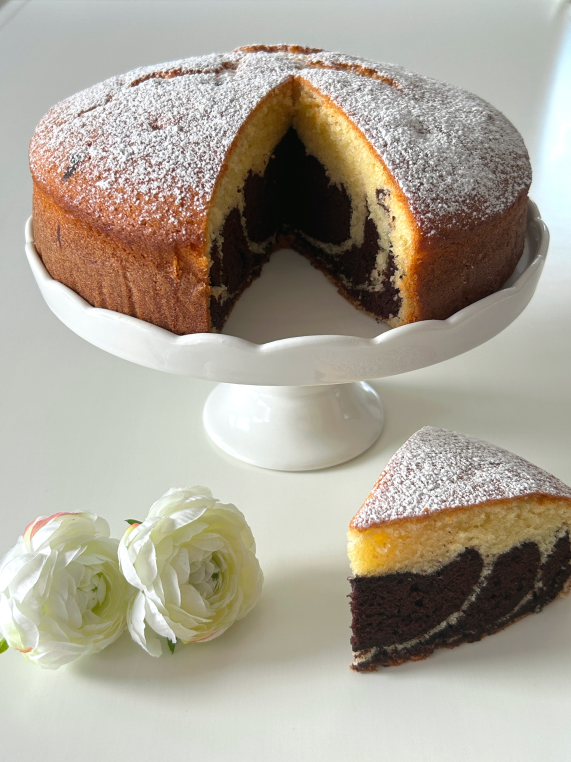
While the classic marble cake is delightful as is, there are multiple ways to spice up the flavor profile. For example, you can incorporate different flavor extracts such as almond or orange for a unique twist. Alternatively, adding a layer of fruit puree like raspberry or strawberry as a batter can provide a refreshing contrast to the rich chocolate and vanilla. For a fun texture, consider folding in chocolate chips, nuts, or even swirls of cream cheese for a rich, tangy flavor. For a seasonal touch, try adding spices like cinnamon or nutmeg for a cozy flavor, or incorporating pumpkin puree in the fall. Each variation can elevate your marble cake while maintaining its original whimsical charm.

Proper storage is key to ensuring that your marble cake remains fresh and delicious. After the cake has completely cooled, you can store it at room temperature in an airtight container for up to three days. If you need to keep it for a longer period, consider wrapping it tightly in plastic wrap or aluminum foil to prevent it from drying out and then placing it in the refrigerator, where it can last for about a week. If you wish to freeze the cake, this is also possible; wrap the cooled cake in plastic wrap and then aluminum foil or use a freezer-safe container. This can preserve its quality for up to three months. Just remember to allow it to thaw at room temperature before serving for the best texture and flavor experience!