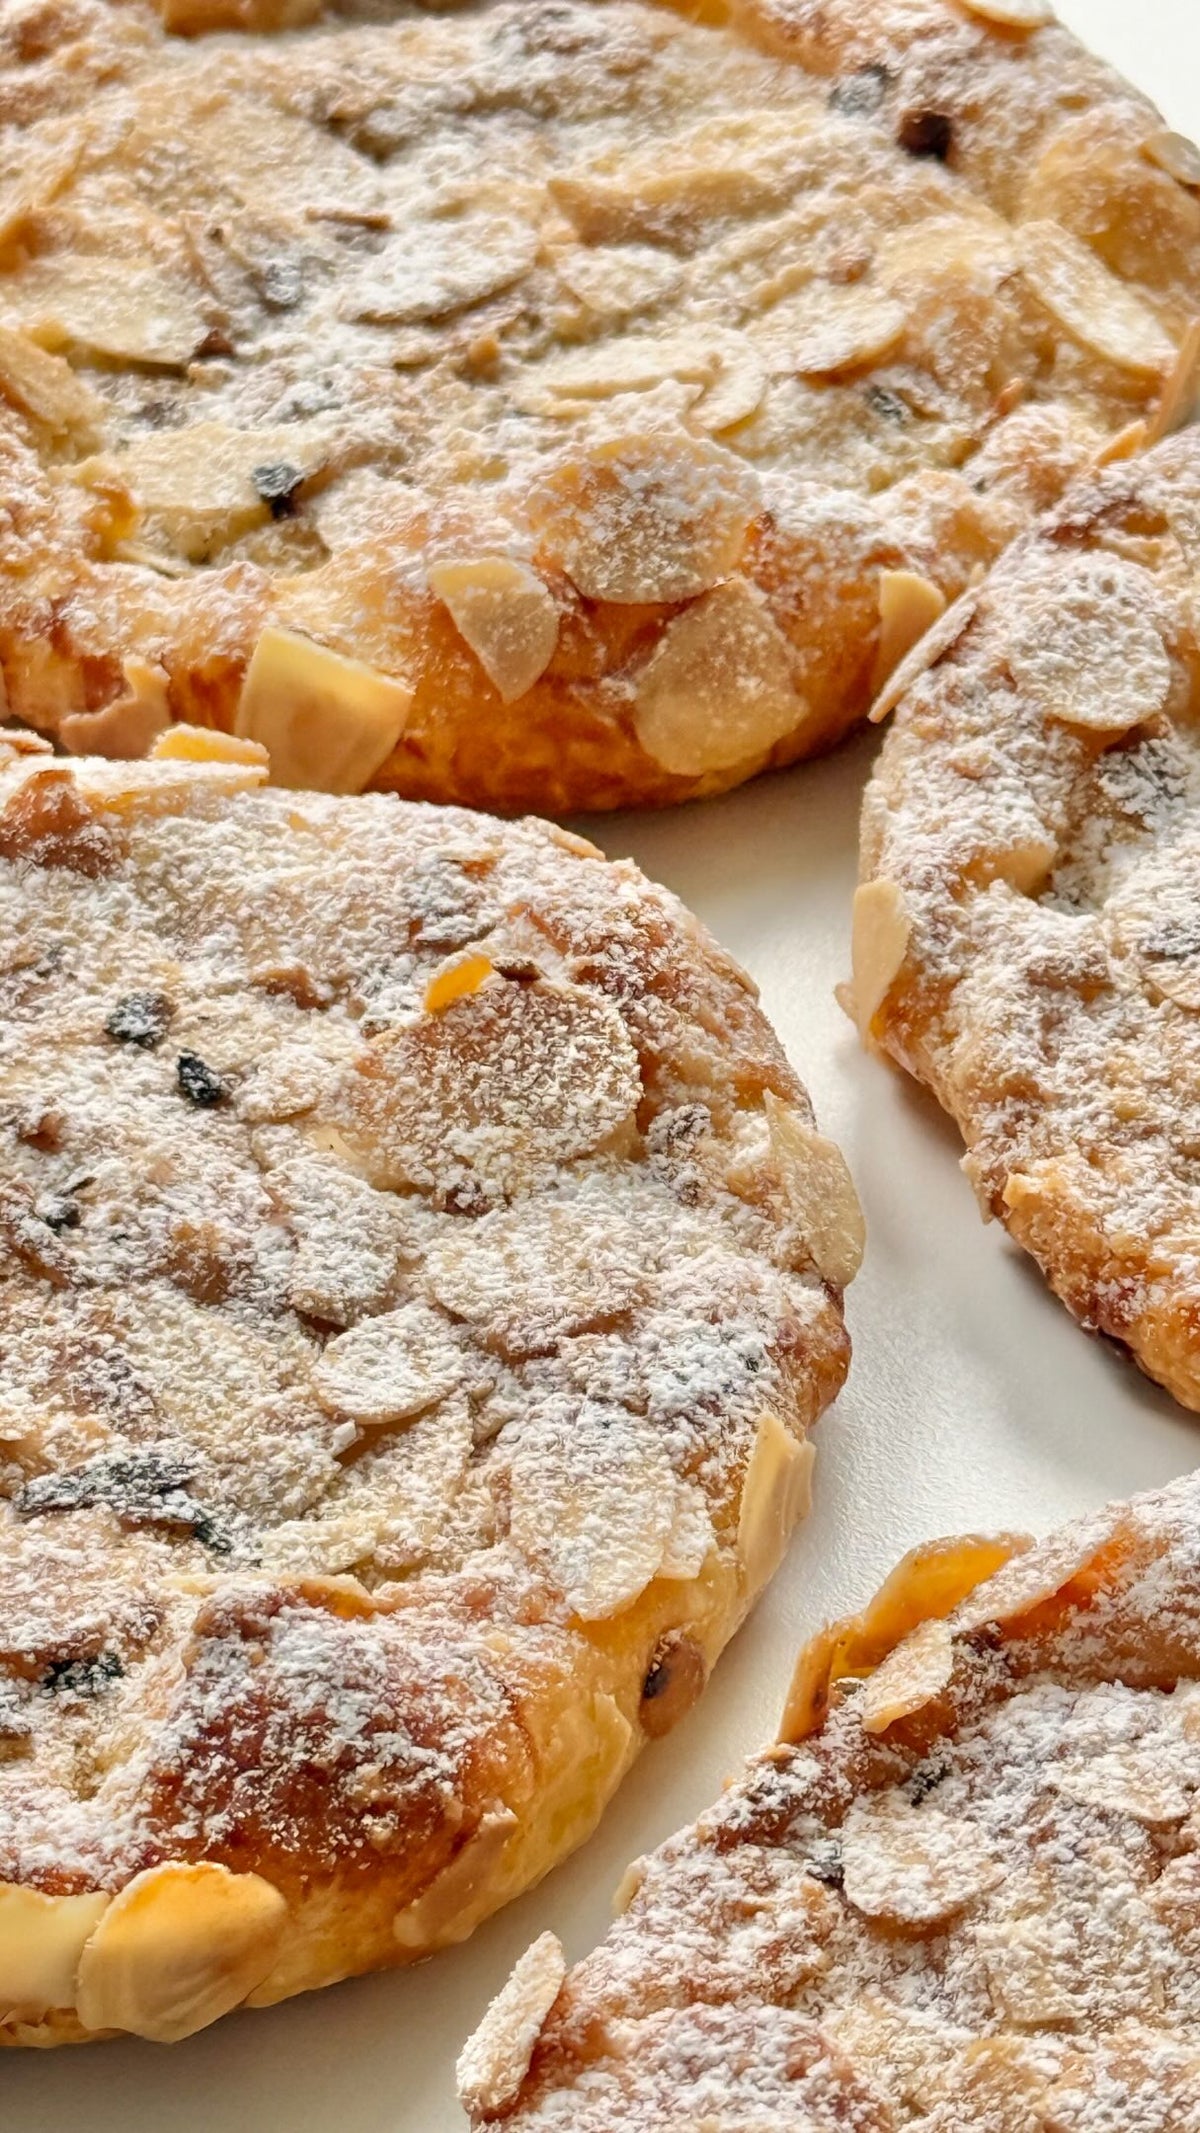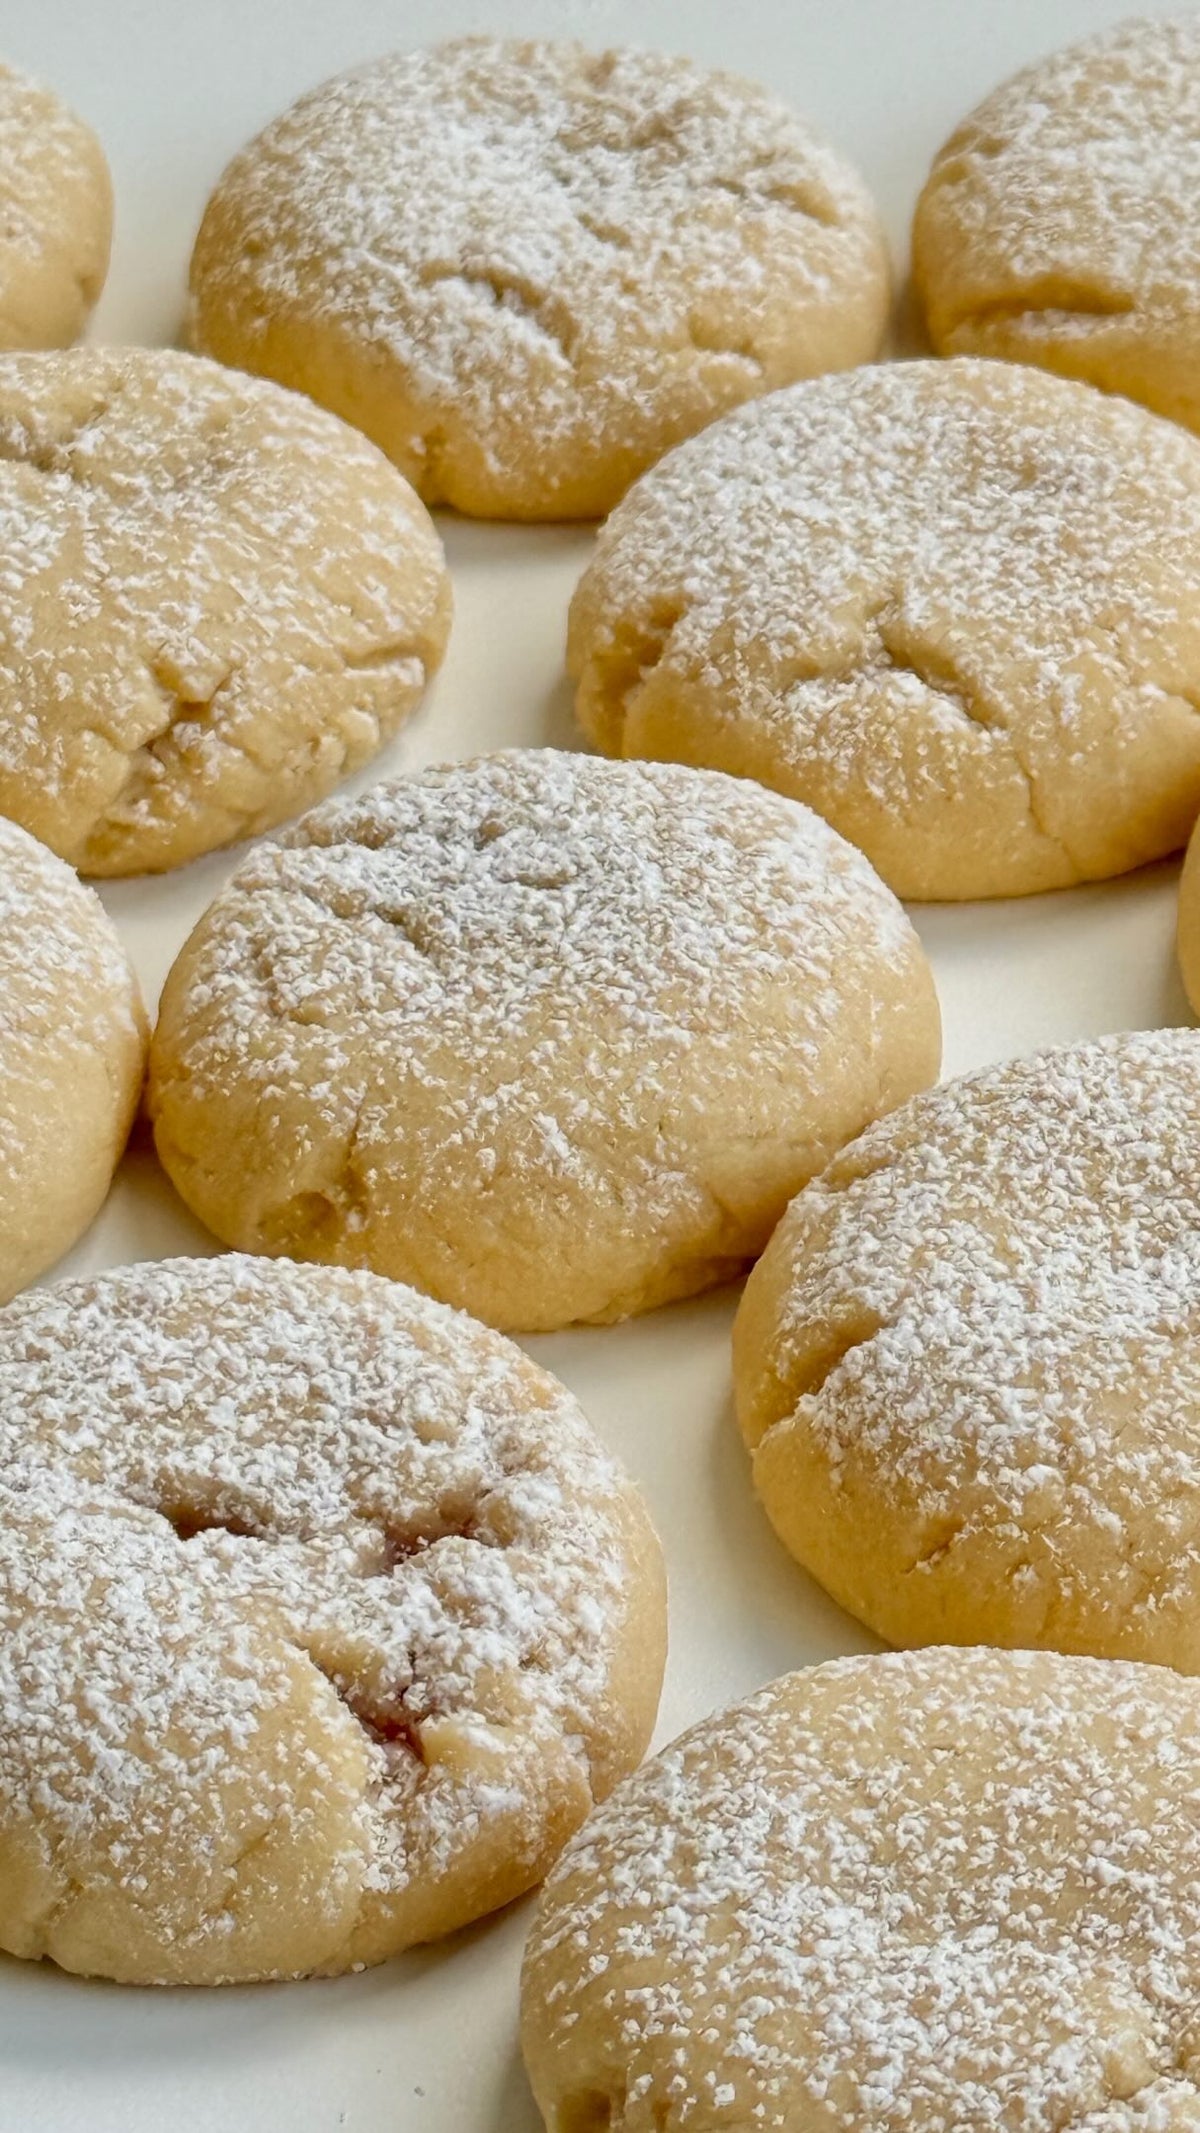
Blueberry Rings von Food with Style, fertig angerichtet
Pastry

Ciambelline ai mirtilli

Queste ciambelline di pasta lievitata sono non solo bellissime da vedere, ma anche una vera bontà. Un dolce che conquista tutti: perfetto con il...

Condividi
Porzioni
8 pezzi
Preparazione 1 ora 20 minuti
Cottura 20 minuti

Ingredienti

Preparazione

  1. 1
    Setacciate la farina in una ciotola, fate la fontana e unite il lievito, un po' di zucchero e un po' di latte. Lasciate riposare 5-10 min finché non si forma la schiuma. Aggiungete il latte rimanente, lo zucchero, il sale e metà dell'uovo, poi impastate. Infine incorporate il burro impastando fino a ottenere un impasto liscio (8-10 min). Coprite e lasciate lievitare 1 h fino al raddoppio.
  2. 2
    Per la crema pasticcera, mescolate con una frusta il latte, lo zucchero, l'amido di mais, i tuorli e la vaniglia in un pentolino. Portate a bollore mescolando finché non si addensa. Togliete dal fuoco, coprite con pellicola a contatto, fate raffreddare e trasferite in una sac à poche.
  3. 3
    Dividete l'impasto in 8 palline e stendete ciascuna in un rettangolo. Con la sac à poche formate una striscia di crema lungo il lato lungo e aggiungete 4-5 mirtilli. Ripiegate e sigillate il bordo. Praticate 5-6 tagli sull'altro lato, arrotolate e formate una ciambellina, unendo bene le estremità.
  4. 4
    Disponete le ciambelline su una teglia, coprite e lasciate riposare 15-20 min. Spennellate con il tuorlo e infornate a 180 °C / 350 °F (statico) per 20-25 min, fino a doratura. Fate raffreddare su una gratella e spolverate con zucchero a velo. La crema avanzata è ottima come dessert al bicchiere con frutta fresca. Le vostre ciambelline alla crema e mirtilli sono pronte: dorate fuori, cremose dentro, con una sorpresa fruttata.

Video

Blueberry Rings Questions
The most common cause is milk that was too hot: the 125 ml should be lukewarm, not warm to the touch, or it will kill the yeast. Check the foam test at the start - if the yeast, sugar and milk in the well don't bubble within 5-10 minutes, the yeast is dead or expired and it's worth starting over rather than continuing. A cool kitchen also slows things down, so give the dough a warm, draft-free spot.

Yes, but don't thaw them - add the 4-5 berries per ring straight from the freezer, otherwise they release juice that soaks the dough and makes the seam pop open during baking. Frozen berries hold more moisture, so seal the folded edge especially firmly. Expect a slightly longer bake within the 20-25 minute window since the cold fruit cools the pastry.

The custard is the ideal make-ahead component: cook it, press the plastic wrap directly onto the surface so no skin forms, and refrigerate it overnight. Whisk it smooth before piping, as it firms up considerably when chilled. The dough can also rest in the fridge overnight after kneading - just let it come back to room temperature before you divide it into the 8 balls.

Usually the filling line was piped too close to the edge or too generously, leaving nothing to seal against. Keep the custard line along the long side with a clear border of bare dough, then press the folded seam together firmly. It also helps to use the custard fully chilled and thick - warm or runny custard spreads as soon as the dough hits the 180 °C oven.

Because of the milk-and-egg-yolk custard, keep leftovers covered in the fridge rather than at room temperature, and eat them within a couple of days. They are best on baking day, since the yeast dough goes dry faster than the filling does. Freezing is not ideal - the custard tends to separate and turn watery on thawing - so freeze unfilled baked dough only if you must, and reheat briefly to freshen the crumb.

delizioso, testato e pronto a ispirare

Esplora oltre 400 Ricette Gustose