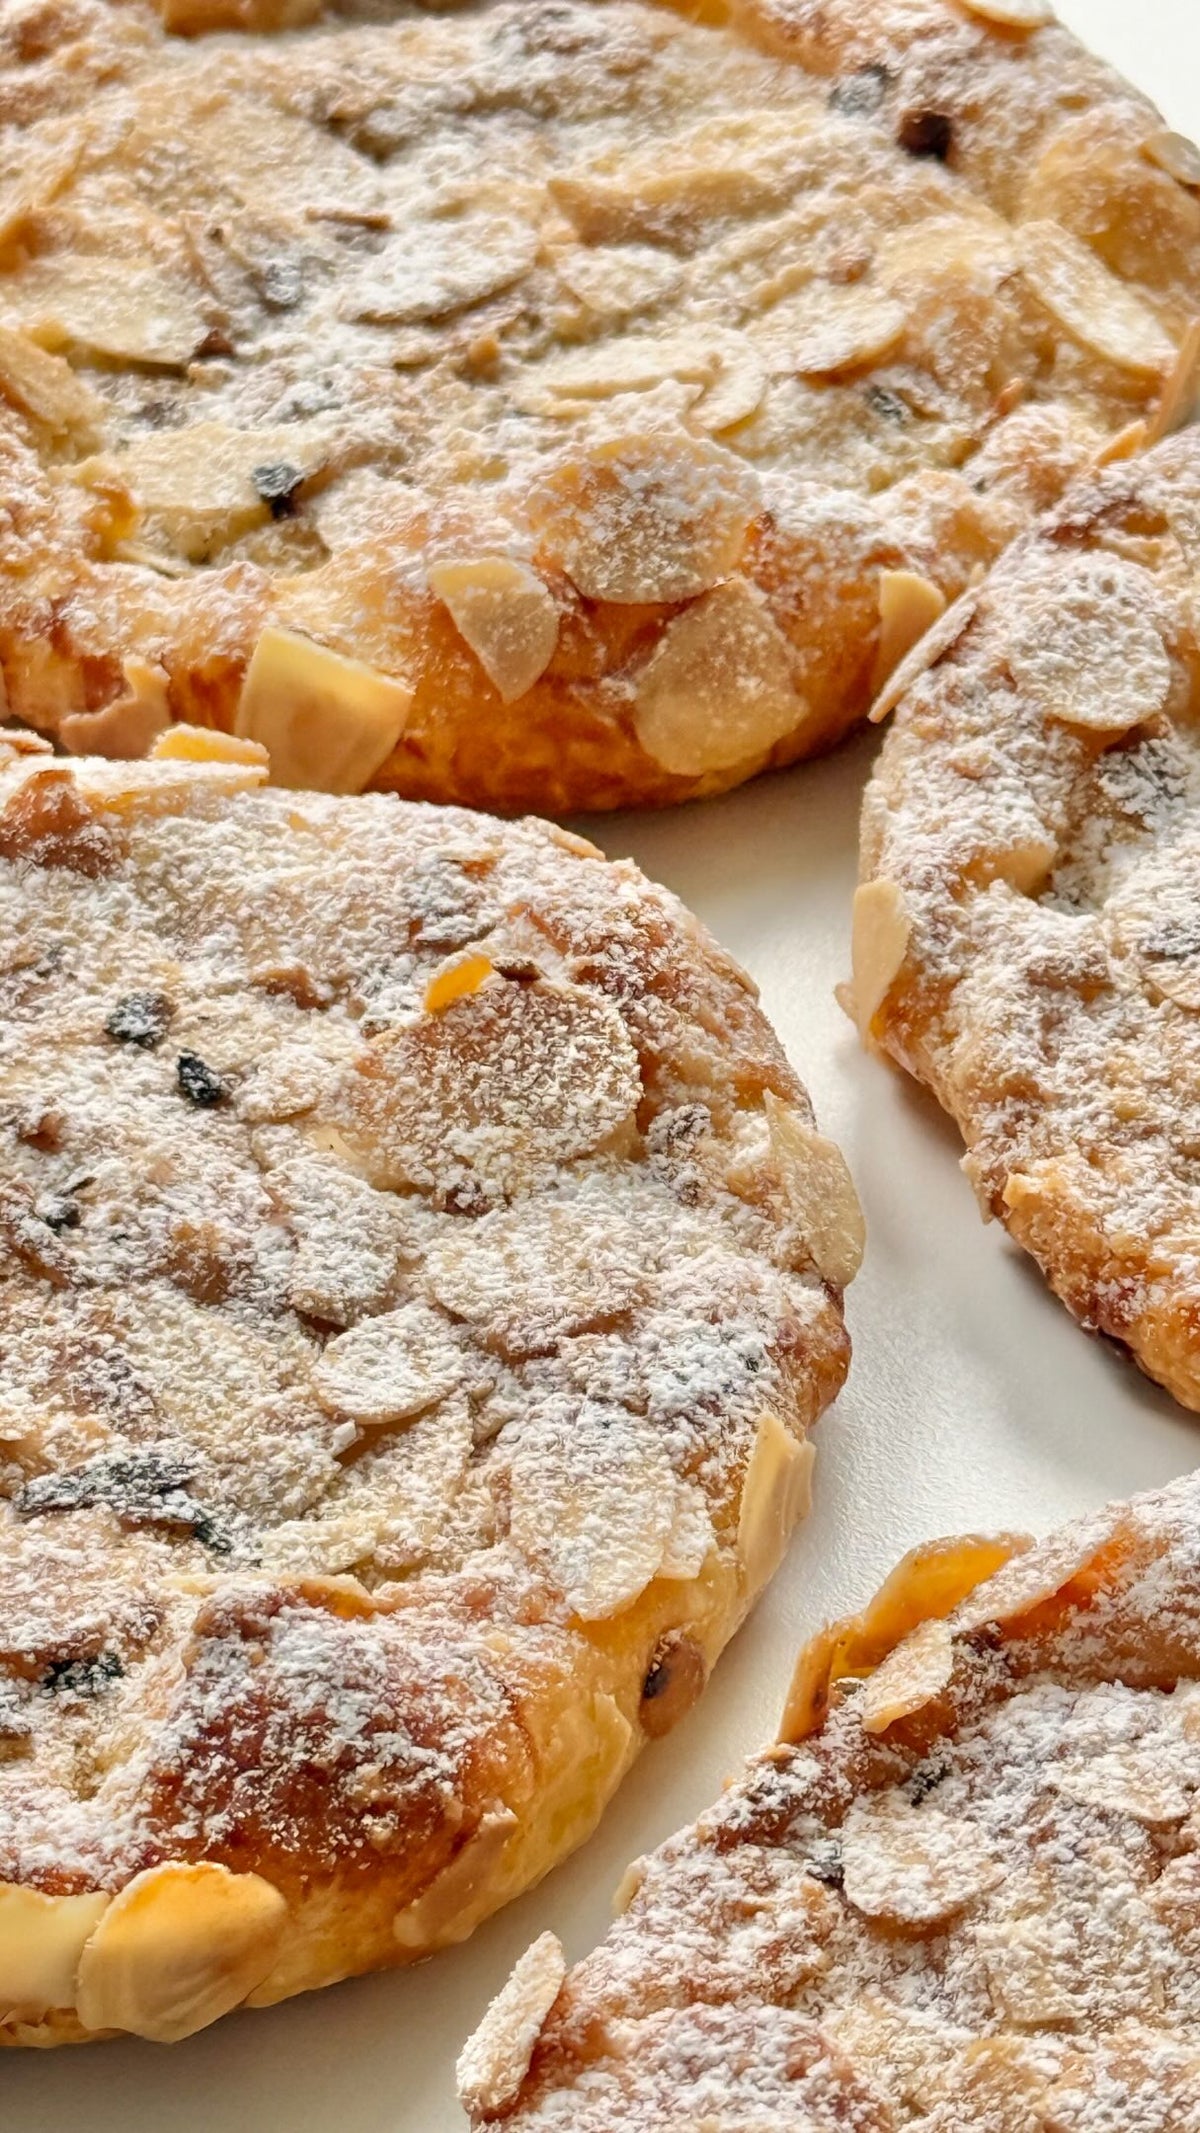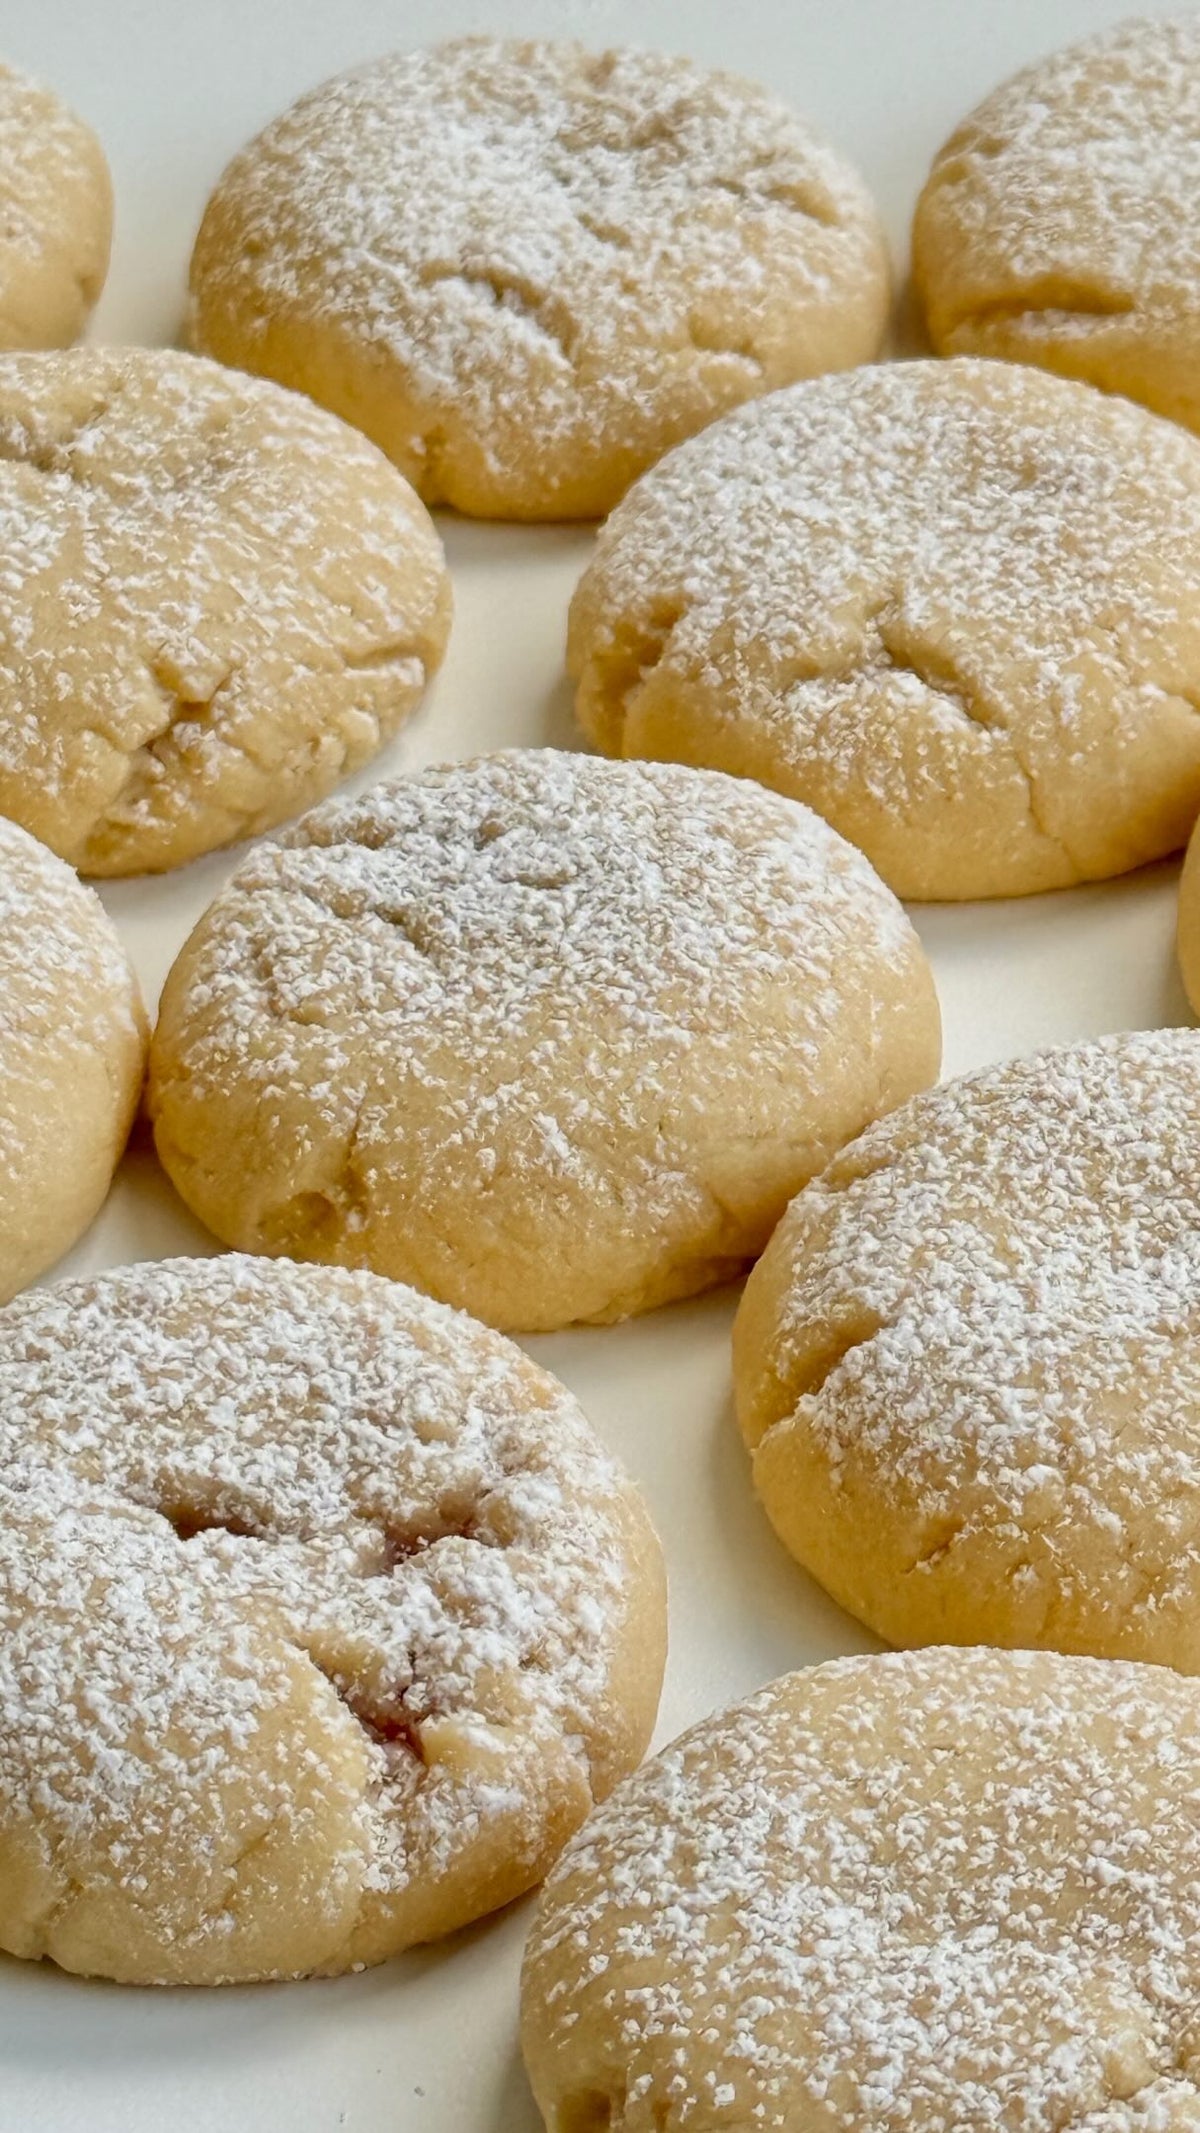
Bülbül Yuvasi von Food with Style, fertig angerichtet
Pastry

Bülbül Yuvası

Perfetti per l'Eid / Bayram: un meraviglioso classico della cucina turca, delicato, elegante e ideale per ogni tavola di dolci.

Condividi
Porzioni
24 pezzi
Cottura 15 minuti

Ingredienti

  • Per spennellare

Preparazione

  1. 1
    Per lo sciroppo, portare a bollore l'acqua con lo zucchero e far sobbollire per circa 12 minuti. Unire il succo di limone e far sobbollire per altri 5 minuti. Lasciare poi raffreddare completamente.
  2. 2
    Mescolare il burro, l'olio di semi di girasole, l'uovo, lo yogurt e il sale. Aggiungere il semolino, il lievito e la farina 00 e impastare fino a ottenere un impasto morbido. Avvolgere nella pellicola e far riposare in frigorifero per circa 30 minuti.
  3. 3
    Stendere l'impasto e ricavare in tutto 48 dischi di circa 5 cm di diametro.
  4. 4
    In metà dei dischi ritagliare al centro un foro di circa 2,5-3 cm di diametro.
  5. 5
    Disporre i dischi interi su una teglia foderata con carta da forno e spennellare leggermente i bordi con l'albume.
  6. 6
    Adagiarvi sopra con cura i dischi forati e premere delicatamente.
  7. 7
    Spennellare il tutto con il tuorlo sbattuto con il latte.
  8. 8
    Riempire le aperture centrali con le noci tritate.
  9. 9
    Cuocere a 175°C (forno statico) per circa 15-20 minuti, finché i dolcetti non sono ben dorati. I tempi di cottura possono variare leggermente a seconda del forno.
  10. 10
    Lasciare raffreddare completamente i dolcetti.
  11. 11
    Versarvi poi sopra con cura lo sciroppo tiepido o freddo e attendere che sia stato assorbito del tutto.

Video

Bülbül Yuvasi Questions
The syrup must be completely cool before it meets the freshly baked, still-hot nests - that temperature contrast is what lets them absorb just enough without collapsing. Since the syrup simmers for about 12 minutes plus 5 more after the lemon juice, make it first and let it cool while you work on the dough. Pouring warm syrup over warm pastries is the most common reason they turn mushy.

Yes - chopped pistachios, hazelnuts, or almonds work in place of the 60 g walnuts, since the nuts sit in the center opening rather than being worked into the dough. Chop them to a similar size so they fill the 2.5-3 cm hole neatly and don't tumble off during baking. Keep the amount roughly the same, or the nests will look sparse.

Keep them at room temperature in a tin or airtight container rather than the fridge, where the dough dries out and the syrup goes sticky. Let them cool and finish absorbing the syrup completely before stacking, and put parchment between layers so the glazed tops don't stick together. They're best in the first few days, while the edges still have some bite.

Both the syrup and the dough are made for advance work: the syrup needs to cool fully anyway and can rest in the fridge, and the dough is already wrapped in plastic wrap for chilling. Let the dough come back to a workable temperature before rolling, or the 5 cm circles will crack at the edges. Assemble and bake on the day you plan to serve - the nests taste best fresh.

The egg white brushed on the edges of the whole circles is the glue - brush it right onto the rim where the ring will sit, then press the top ring down gently so the two layers actually bond. Rolling the dough too thick or unevenly is the other culprit, as thicker bases puff up and push the rings sideways in the oven. Also avoid overfilling the center with walnuts before baking, since a heaped middle can lift the ring as the dough rises.

delizioso, testato e pronto a ispirare

Esplora oltre 400 Ricette Gustose