

Vanilla Yogurt Cakes Recipe

Vanilla Yogurt Cakes Recipe

Vanilla Yogurt Cakes Recipe

Vanilla Yogurt Cakes Recipe

Food with Style
Servings

6 servings

Prep Time

20 minutes

Cook Time

20 minutes

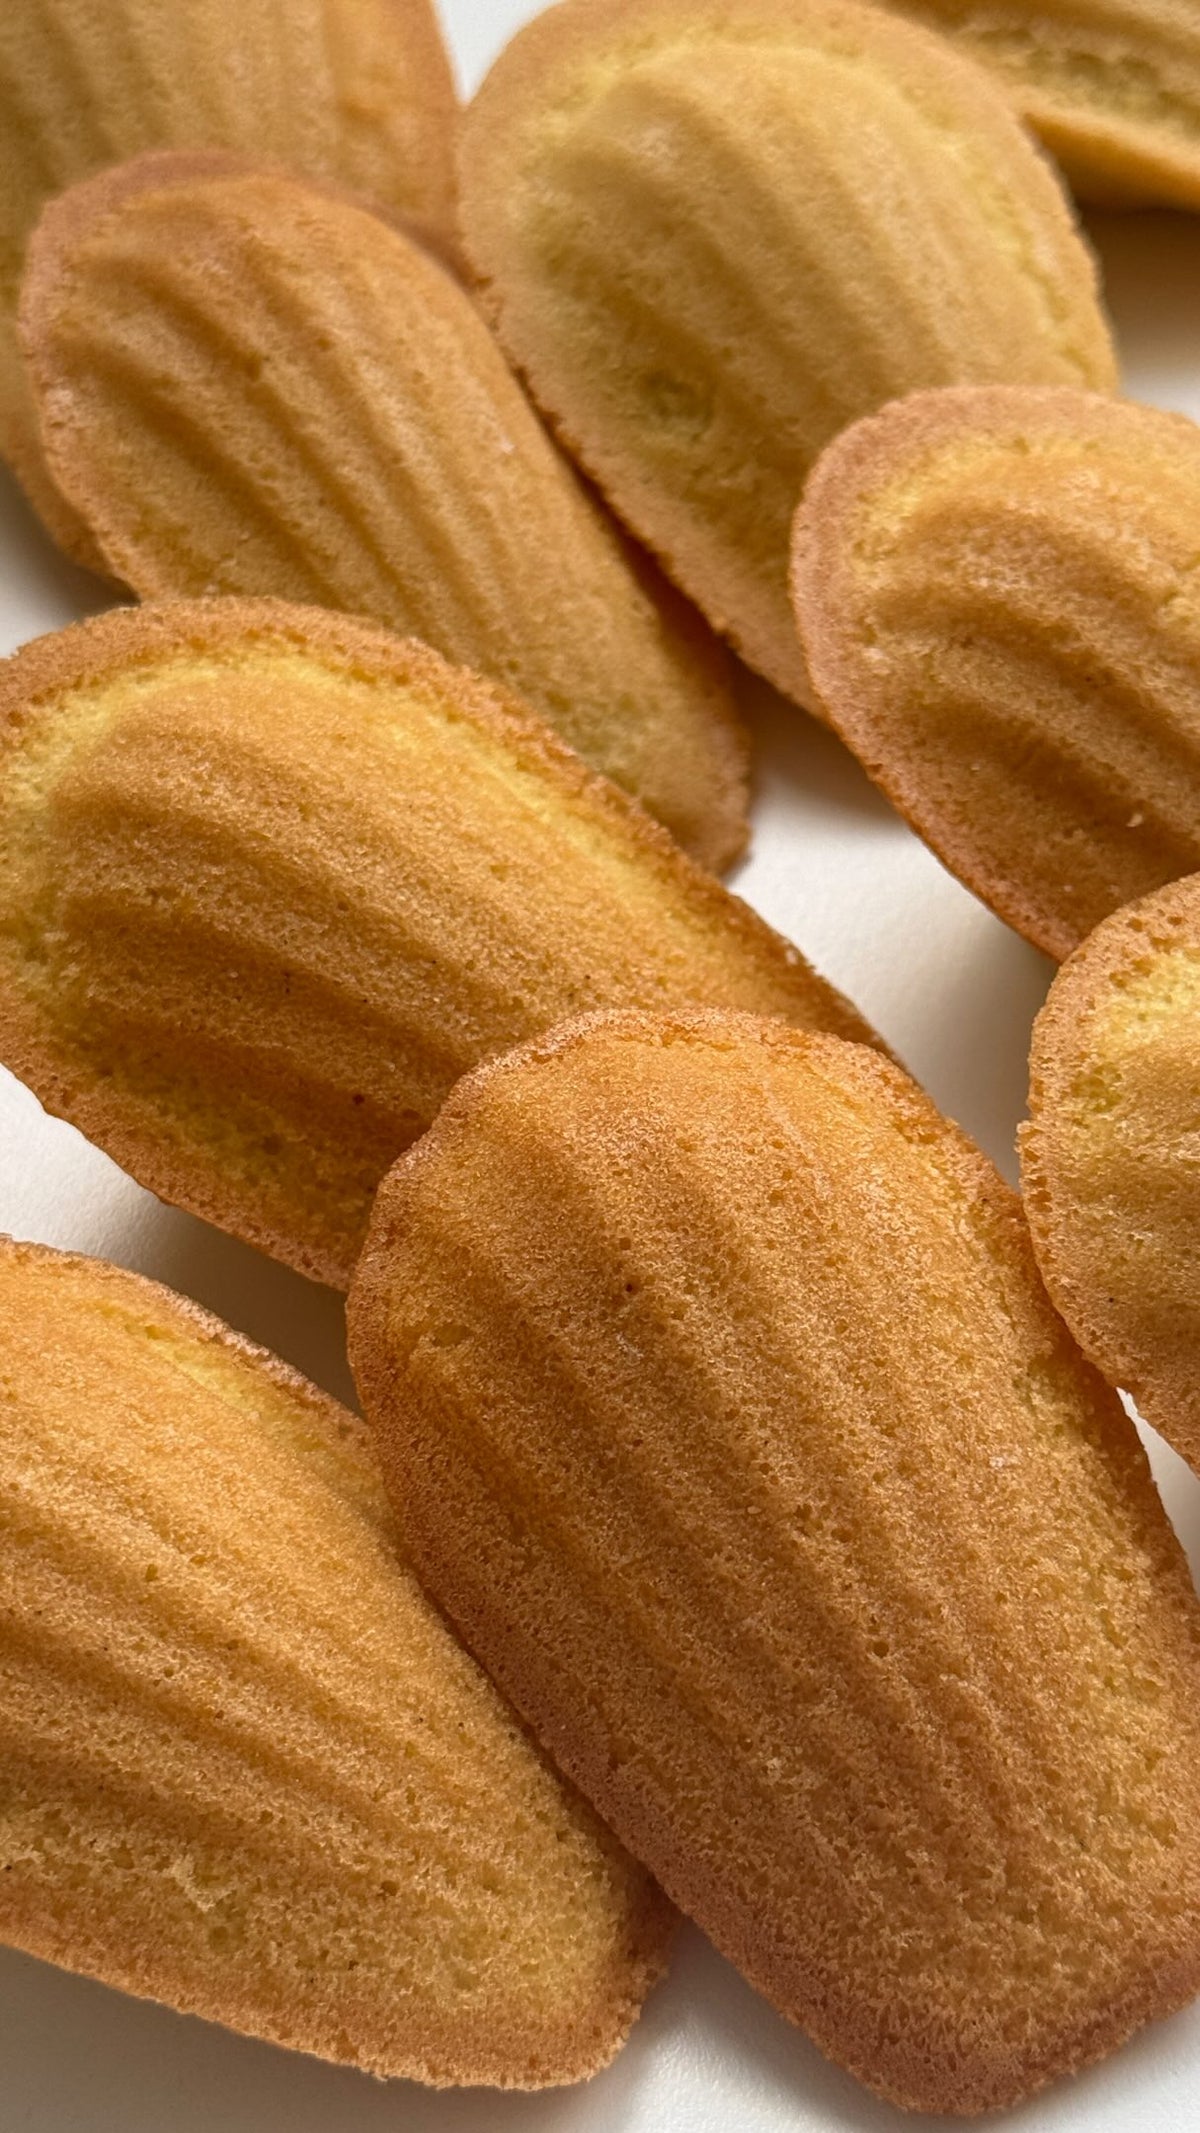
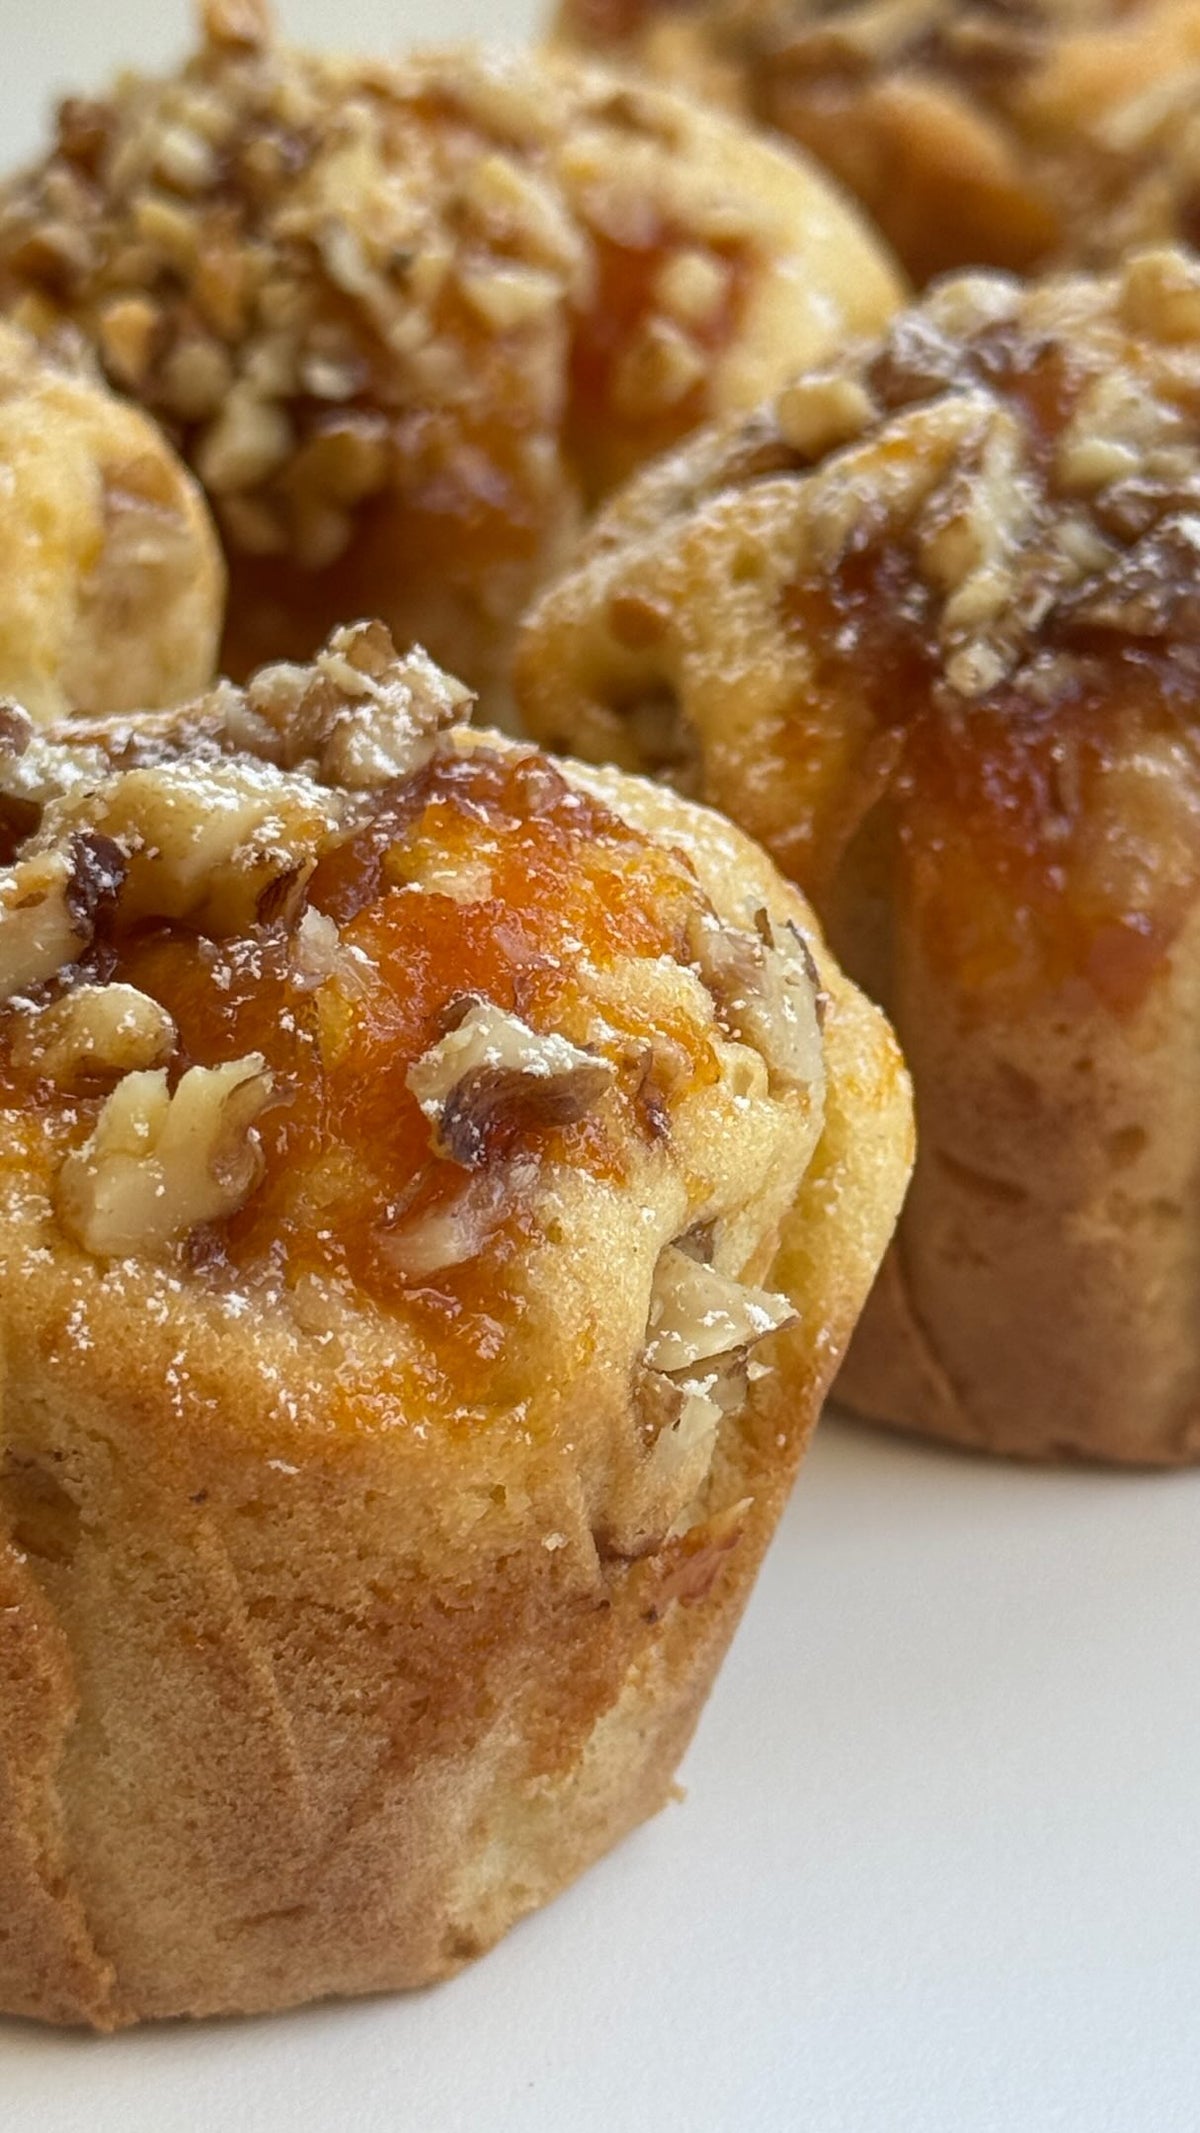
Indulge in the delightful world of desserts with our easy Vanilla Yogurt Cakes recipe! Perfect for any occasion, these mini cakes are a magnificent blend of fluffy texture and rich vanilla flavor. Simple to prepare, they require just a few basic ingredients—soft butter, sugar, eggs, and creamy Greek yogurt—making them an ideal choice for those seeking quick dessert ideas. With a baking time of only 15-20 minutes, your delicious treats will be ready in no time. Whether you're hosting a gathering or need a sweet treat to brighten your day, these cakes are sure to impress. Discover the joy of baking with this easy dessert recipe that will have everyone coming back for more!

Ingredients

    • 75 g soft butter
    • 75 g sugar
    • 1 egg
    • 125 g all-purpose flour
    • 1 tsp baking powder
    • 1 tsp vanilla extract or the seeds from one vanilla pod
    • A pinch of salt
    • 75 g Greek yogurt (or another creamy yogurt)
    • 2 tbsp milk

    Directions

      1. Mix the flour, powdered sugar, and salt in a bowl. Add the cold butter and work it in with your fingertips or a pastry cutter until the mixture is crumbly.
      2. Add the egg yolk and 1-2 tablespoons of cold water, quickly kneading into a smooth dough. Shape the dough into a disk, wrap in plastic wrap, and refrigerate for at least 30 minutes.
      3. Preheat the oven to 180°C (350°F)
      4. Roll out the chilled dough on a lightly floured surface and cut out 6 circles.
      5. Place the dough circles into 6 tartlet pans (about 8-10 cm in diameter), pressing the dough into the pans and trimming the excess.
      6. Prick the bottoms with a fork and cover with parchment paper and baking weights.
      7. Blind bake the tartlets in the preheated oven for 10 minutes. Remove the weights and parchment paper and bake for another 5 minutes until the crust is lightly golden. Remove from the oven and let cool.

      1. Cream the soft butter and sugar in a bowl until light and fluffy. Add the egg, vanilla extract, and Amaretto, and mix well. Fold in the ground almonds and flour until smooth.
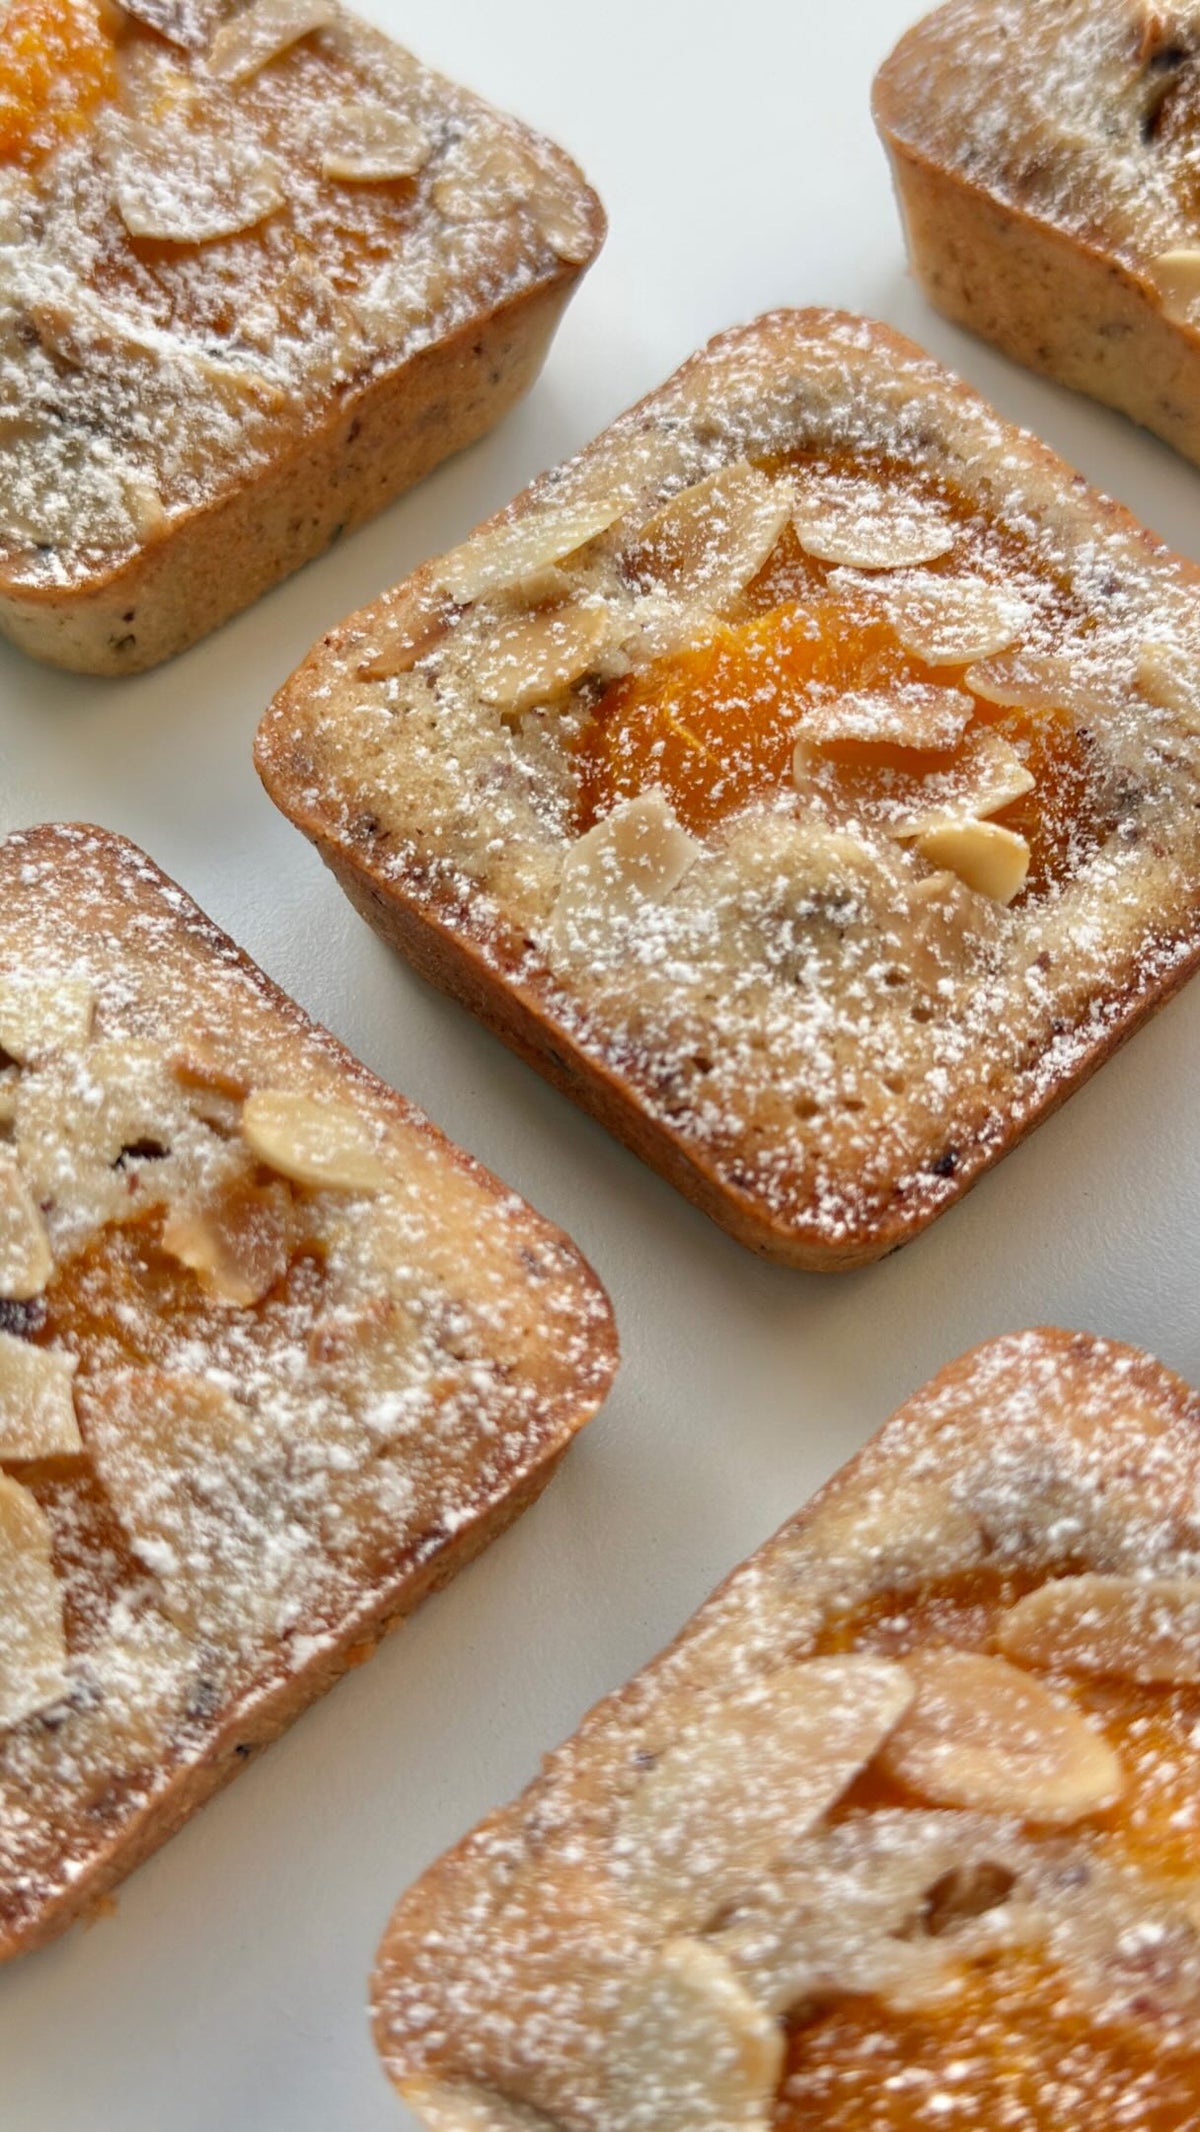
      2. Fill the cooled tartlet crusts with the almond cream and smooth the tops. Sprinkle with sliced almonds.
      3. Bake the filled tartlets in the preheated oven for about 15-20 minutes until the filling is puffed and golden brown.
      4. Remove the tartlets from the oven and let them cool completely. Dust with powdered sugar before serving.

      Vanilla Yogurt Cakes Questions

      Vanilla yogurt cakes are delightful mini cakes that incorporate the creaminess of yogurt into the batter, resulting in a moist and tender texture. Unlike traditional vanilla cakes made solely with butter or oil for moisture, these cakes leverage Greek yogurt, which not only adds a unique flavor but also contributes to a healthier profile. The yogurt replaces some of the fat, making the cakes lighter without sacrificing taste. Additionally, because of the use of yogurt, the cakes have a subtle tang that pairs perfectly with the sweetness of the vanilla, setting them apart from standard recipes. They are also quick to prepare—perfect for those days when you want a homemade treat without spending hours in the kitchen.

      Absolutely! While Greek yogurt is recommended for its thickness and rich flavor, you can easily substitute it with other creamy yogurts like regular plain yogurt, almond yogurt, or even coconut yogurt for a dairy-free option. Just keep in mind that the taste and texture may slightly vary depending on the yogurt you choose. For instance, using flavored yogurt (like vanilla or fruit-flavored varieties) will alter the overall taste of the cake, so stick with plain yogurt for the best results. If you opt for a thinner yogurt, you might want to drain some of the liquid to achieve a consistency similar to that of Greek yogurt, ensuring your batter remains rich and creamy.

      To achieve perfectly moist and fluffy vanilla yogurt cakes, several factors are essential. First, when creaming the butter and sugar, it's crucial to whip them together until the mixture is light and fluffy, which incorporates air and helps create a lighter texture in the finished cake. Moreover, be cautious not to overmix the batter once the dry ingredients are combined; overmixing can lead to dense cakes due to the development of gluten. Additionally, using fresh ingredients, particularly baking powder, ensures a good rise, creating that desirable fluffiness. Finally, monitoring your cakes closely while they bake is vital; err on the side of underbaking slightly, as the cakes will continue to cook a bit after being removed from the oven. This helps maintain their moisture level.

      Decorating vanilla yogurt cakes can be a fun and easy way to elevate them for special occasions. One simple method is to dust the cooled cakes with powdered sugar, giving them an elegant finish. You can also drizzle a simple glaze made from powdered sugar mixed with a little lemon juice or milk to add a delightful sweetness and shine. For a more festive touch, consider topping the cakes with fresh berries or edible flowers that contrast beautifully with the light color of the cakes. Another idea is to whip up a flavored whipped cream—mixing vanilla or citrus zest into heavy cream—then pipe this onto the cooled cakes for a delightful presentation. Don’t hesitate to get creative with toppings, as these small cakes can hold your unique flair!

      If you find yourself with leftover vanilla yogurt cakes—an impressive feat given how delicious they are—storing them properly is key to maintaining their freshness. Once the cakes have completely cooled, you can place them in an airtight container at room temperature for up to 2-3 days. If you'd like to extend their shelf life, storing them in the refrigerator will keep them fresh for about a week. For longer storage, you can freeze the cakes. Wrap each cake individually in plastic wrap and then place them in a freezer-safe bag or container. They can be frozen for up to three months. When you're ready to enjoy them, simply thaw the cakes at room temperature or pop them in the microwave for a few seconds to regain their delightful texture.