
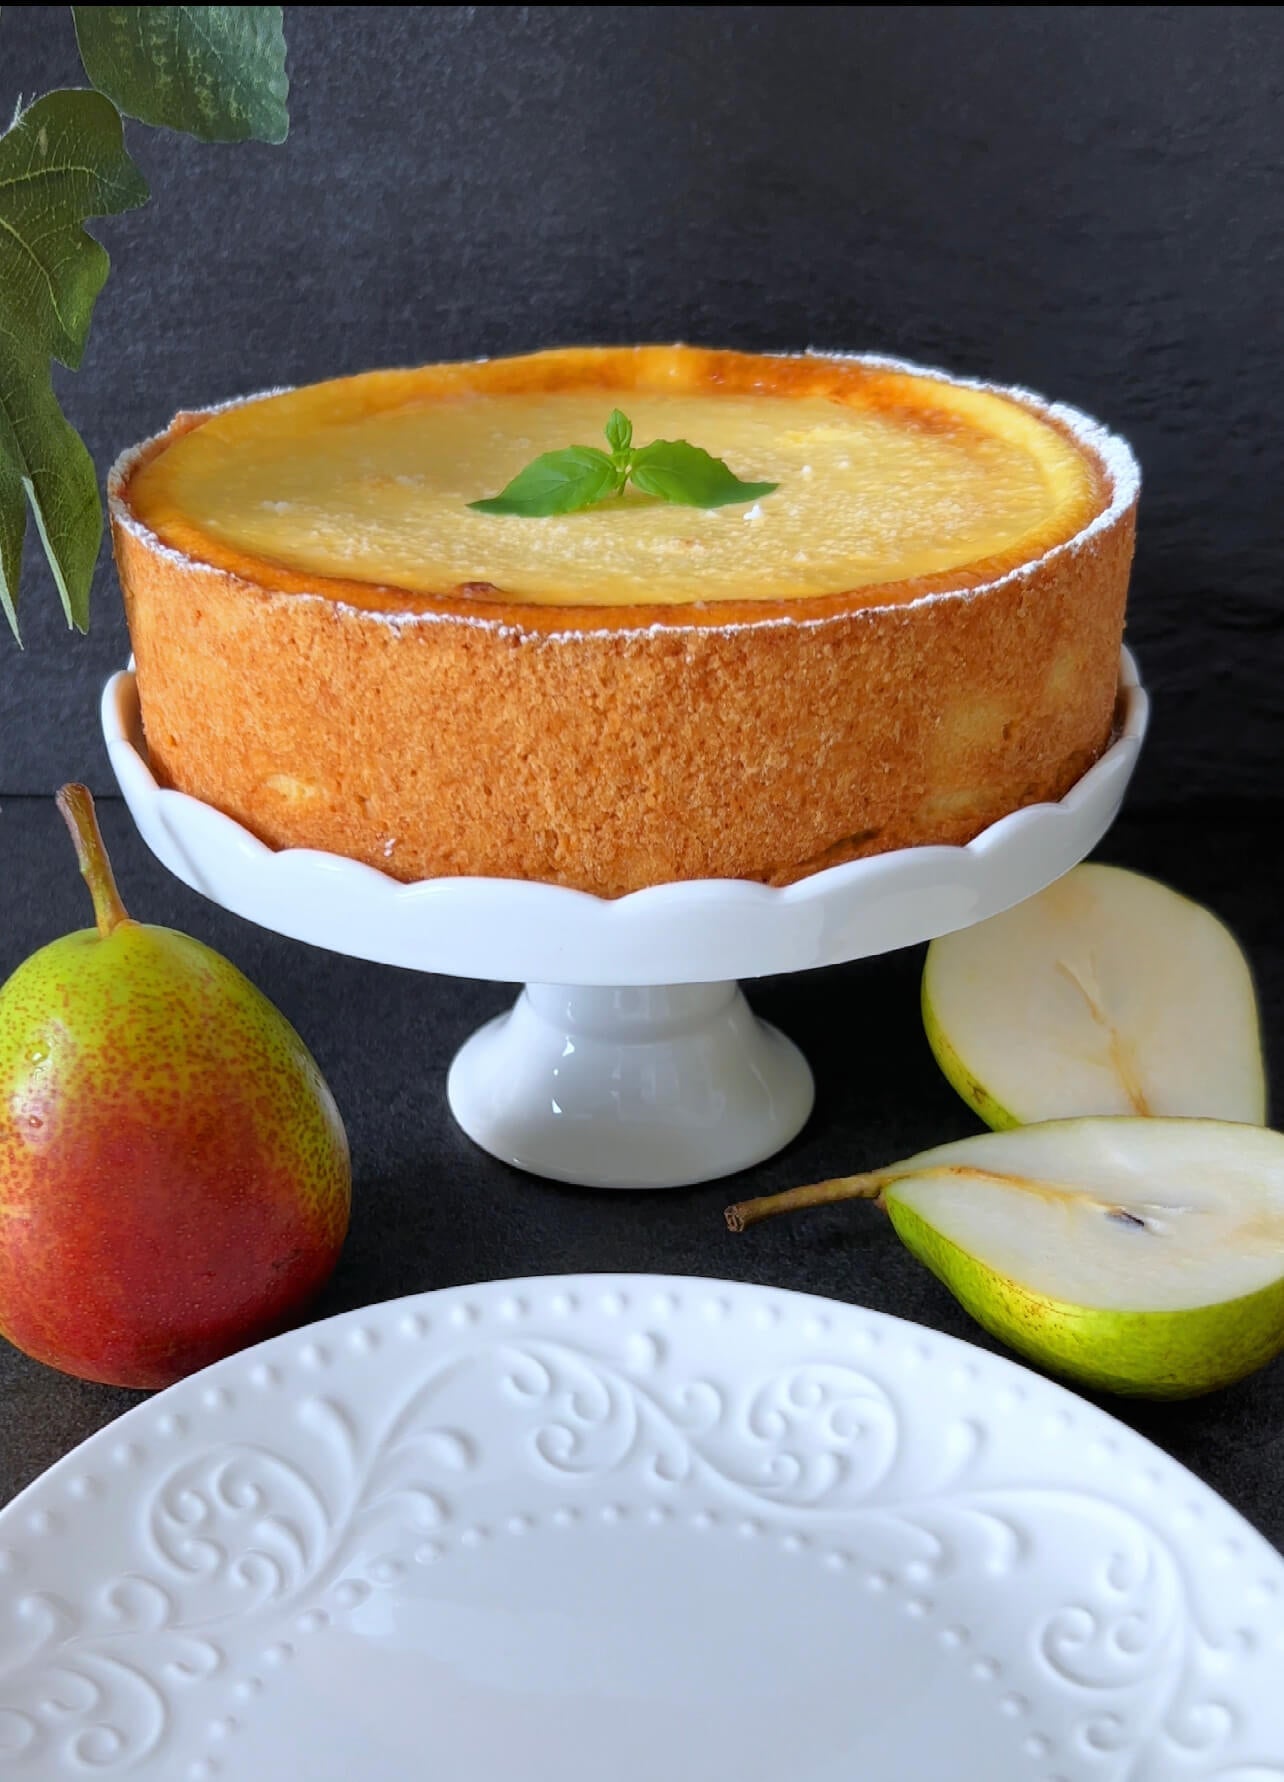
Cheesecake
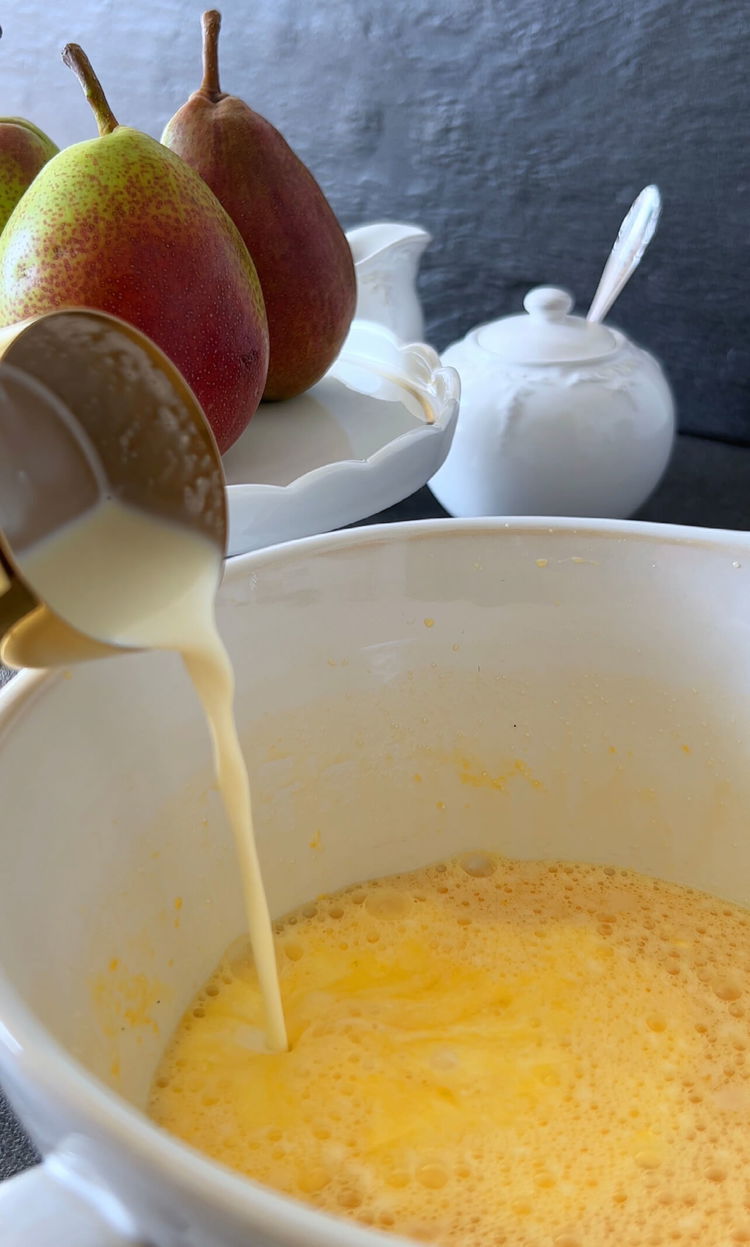
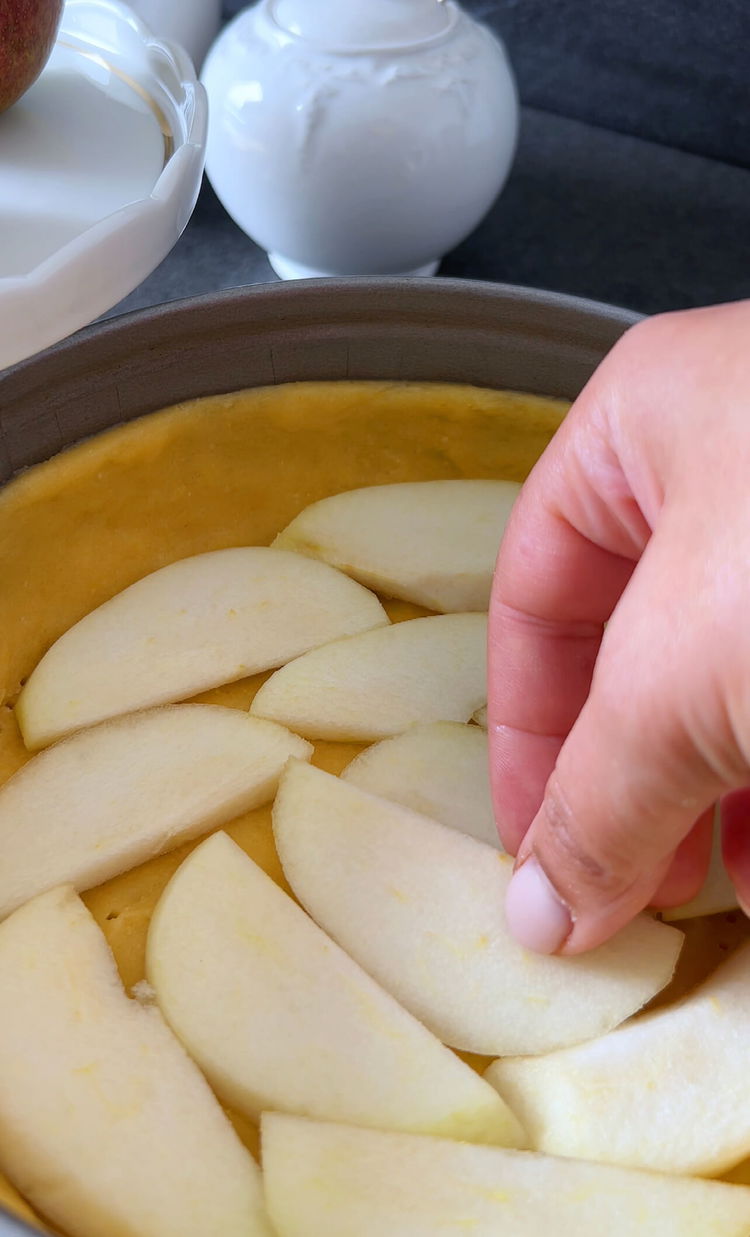
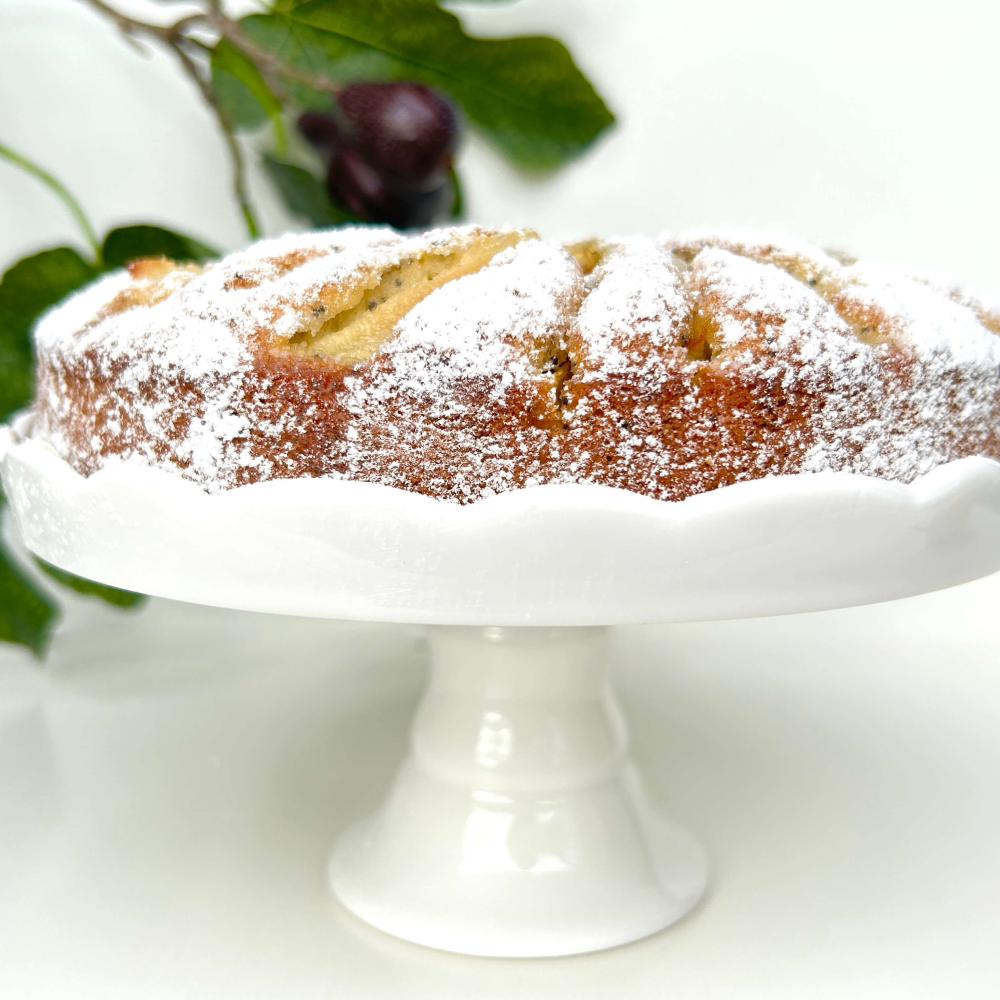
Pear Cheesecake Recipe

Pear Cheesecake Questions
Continue reading
delicious, tested, and ready to inspire
Explore 400+ Tasty Recipes
Want something more exclusive?
Our Recipe E-Book
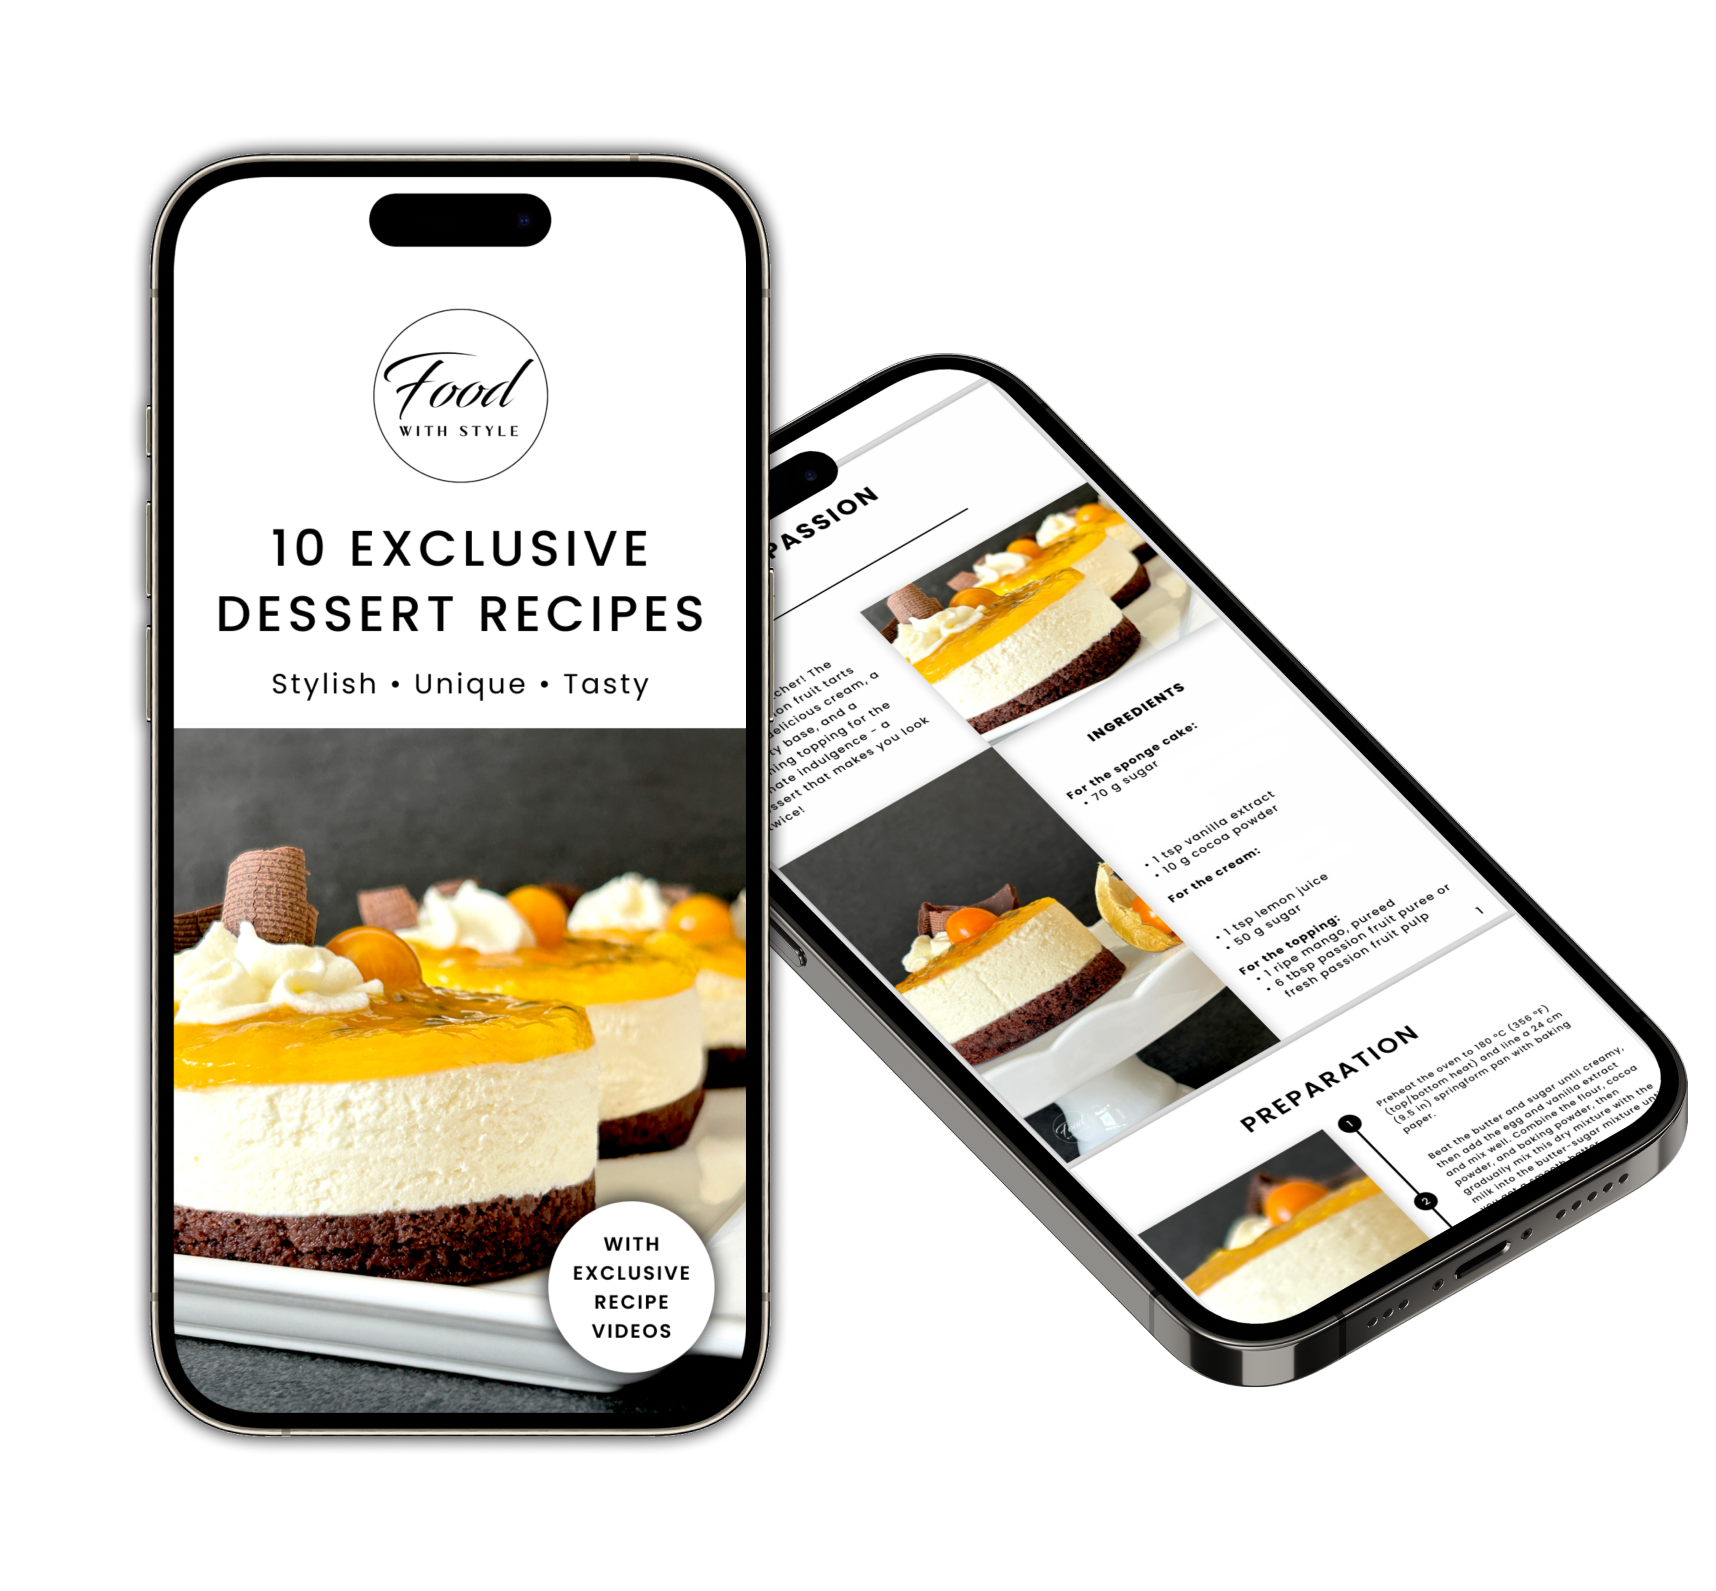

Food with Style
10 Exclusive Dessert Recipes
Language:English
Measurement:Grams
Quantity: