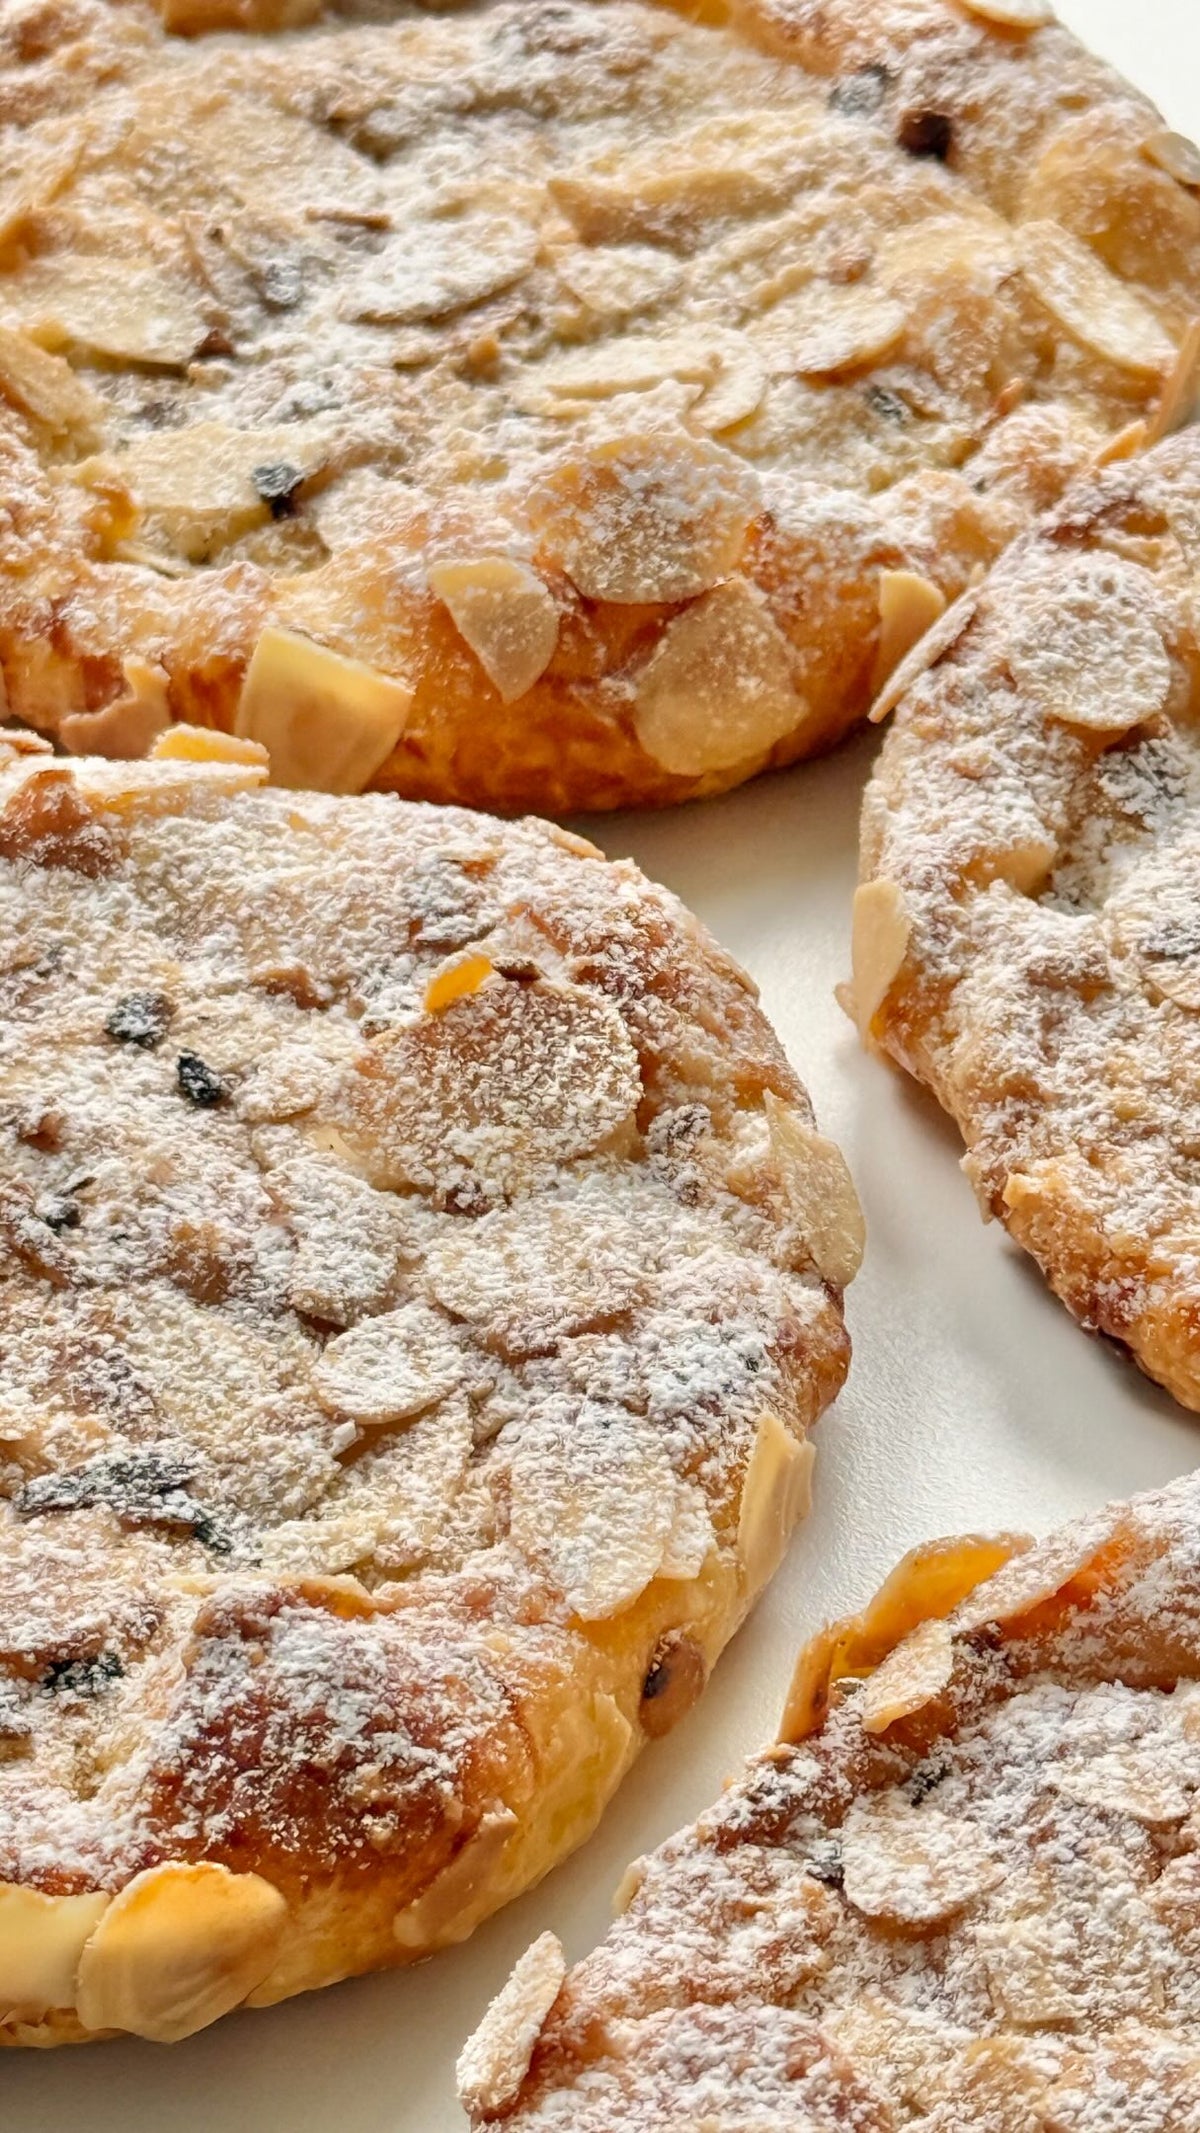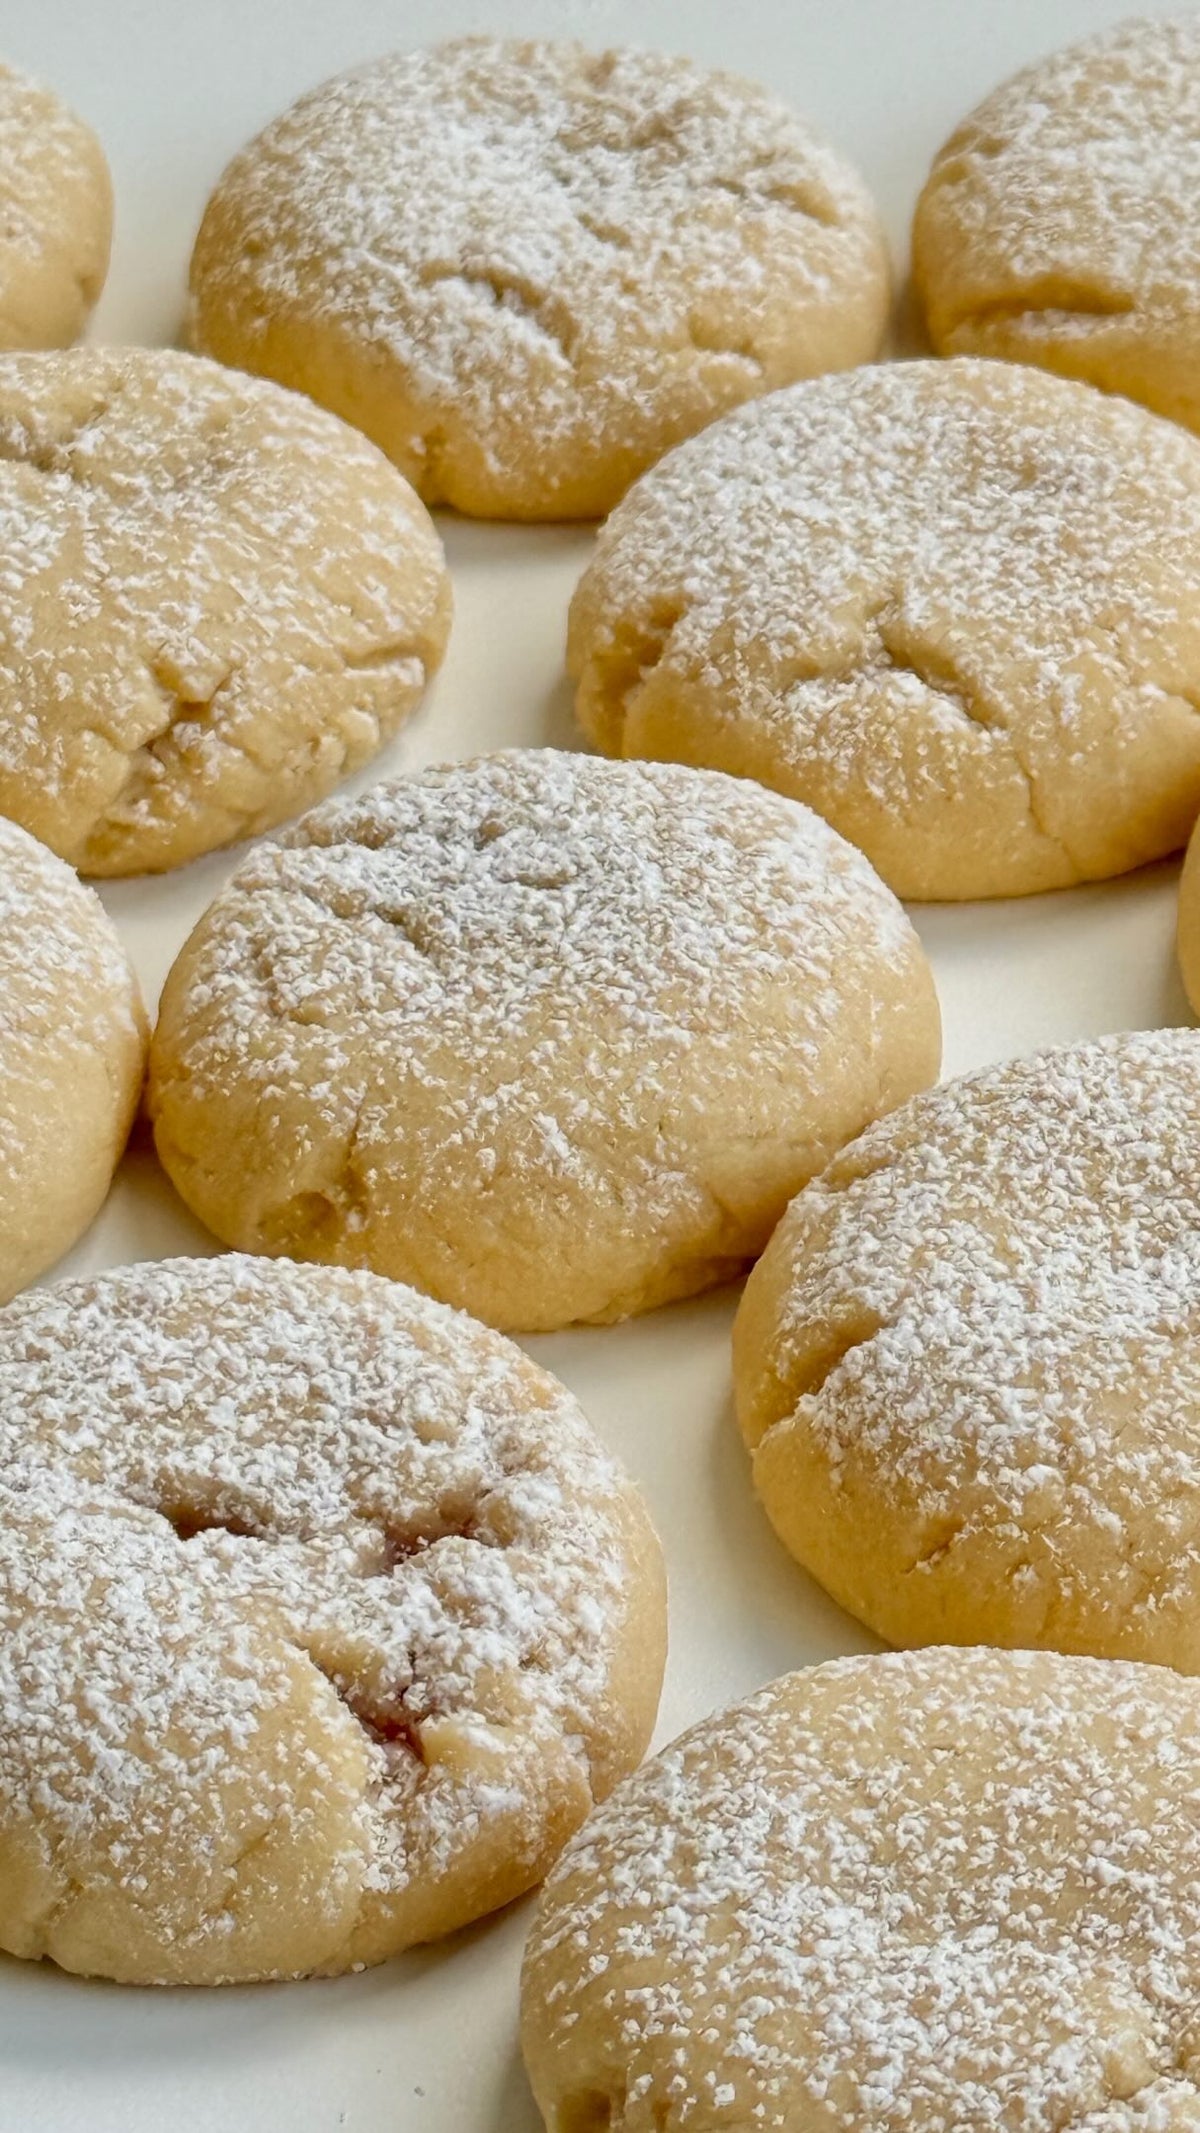
Bülbül Yuvasi von Food with Style, fertig angerichtet
Pastry

Bülbül Yuvası

Perfecto para el Eid / Bayram: un maravilloso clásico de la cocina turca, delicado, elegante y perfecto para cualquier mesa de postres.

Compartir
Raciones
24 piezas
Cocción 15 minutos

Ingredientes

  • Para pincelar

Preparación

  1. 1
    Para el almíbar, lleva a ebullición el agua con el azúcar y deja cocer a fuego suave unos 12 minutos. Añade el zumo de limón y cuece 5 minutos más. Luego deja enfriar por completo.
  2. 2
    Mezcla la mantequilla, el aceite de girasol, el huevo, el yogur y la sal. Incorpora la sémola, la levadura química y la harina, y amasa hasta obtener una masa blanda. Envuélvela en film transparente y déjala reposar en la nevera unos 30 minutos.
  3. 3
    Estira la masa y corta un total de 48 círculos de unos 5 cm de diámetro cada uno.
  4. 4
    A la mitad de los círculos, hazles además un agujero en el centro de unos 2,5-3 cm de diámetro.
  5. 5
    Coloca los círculos enteros en una bandeja de horno forrada con papel de hornear y pincela ligeramente los bordes con clara de huevo.
  6. 6
    Pon encima con cuidado los círculos con agujero y presiónalos suavemente.
  7. 7
    Pincela todo con la mezcla de yema de huevo y leche.
  8. 8
    Rellena las aberturas centrales con las nueces picadas.
  9. 9
    Hornea a 175°C (calor arriba y abajo) durante unos 15-20 minutos, hasta que los dulces estén bien dorados. El tiempo de horneado puede variar ligeramente según el horno.
  10. 10
    Deja enfriar los dulces por completo.
  11. 11
    Después vierte con cuidado el almíbar templado o frío por encima y espera hasta que lo hayan absorbido del todo.

Video

Bülbül Yuvasi Questions
The syrup must be completely cool before it meets the freshly baked, still-hot nests - that temperature contrast is what lets them absorb just enough without collapsing. Since the syrup simmers for about 12 minutes plus 5 more after the lemon juice, make it first and let it cool while you work on the dough. Pouring warm syrup over warm pastries is the most common reason they turn mushy.

Yes - chopped pistachios, hazelnuts, or almonds work in place of the 60 g walnuts, since the nuts sit in the center opening rather than being worked into the dough. Chop them to a similar size so they fill the 2.5-3 cm hole neatly and don't tumble off during baking. Keep the amount roughly the same, or the nests will look sparse.

Keep them at room temperature in a tin or airtight container rather than the fridge, where the dough dries out and the syrup goes sticky. Let them cool and finish absorbing the syrup completely before stacking, and put parchment between layers so the glazed tops don't stick together. They're best in the first few days, while the edges still have some bite.

Both the syrup and the dough are made for advance work: the syrup needs to cool fully anyway and can rest in the fridge, and the dough is already wrapped in plastic wrap for chilling. Let the dough come back to a workable temperature before rolling, or the 5 cm circles will crack at the edges. Assemble and bake on the day you plan to serve - the nests taste best fresh.

The egg white brushed on the edges of the whole circles is the glue - brush it right onto the rim where the ring will sit, then press the top ring down gently so the two layers actually bond. Rolling the dough too thick or unevenly is the other culprit, as thicker bases puff up and push the rings sideways in the oven. Also avoid overfilling the center with walnuts before baking, since a heaped middle can lift the ring as the dough rises.

deliciosas, probadas y listas para inspirar

Explora Más de 400 Recetas Deliciosas